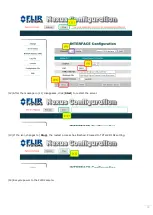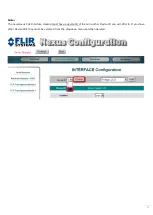
7
Adjusting the PC’s IP Address to a New Domain
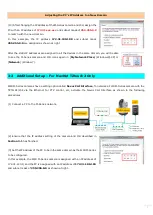
(13) After changing the IP address of the M-Series camera and JCU, assign the
PC with an IP address of
172.31.xxx.xxx
and subnet mask of
255.255.0.0
to match with the new domain.
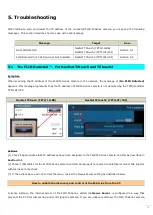
In this example, the IP address 172.31.100.100 and subnet mask
255.255.0.0 are assigned as shown at right.
After the static IP addresses are assigned to all the devices in the same domain, you will be able
to see the M-Series camera and JCU icons again in [My Network Place] (Windows® XP) or
[Network] (Window 7).
3-2 Additional Setup – For NavNet TZtouch2 Only
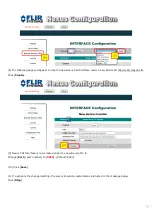
FLIR M-Series cameras have a setting option called Nexus CGI Interface. To network a FLIR M-Series camera with the
TZTL12F/15F via the Ethernet for PTZ control, etc, activate the Nexus CGI Interface as shown in the following
procedures.
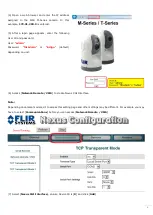
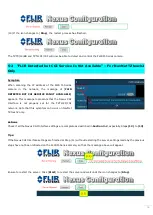
(1) Connect a PC to the M-Series network.
(2) Ensure that the IP address setting of the camera and JCU described in
Section 3-1 has finished.
(3) Set the IP address of the PC to be in the same domain as the FLIR M-Series
to be configured.
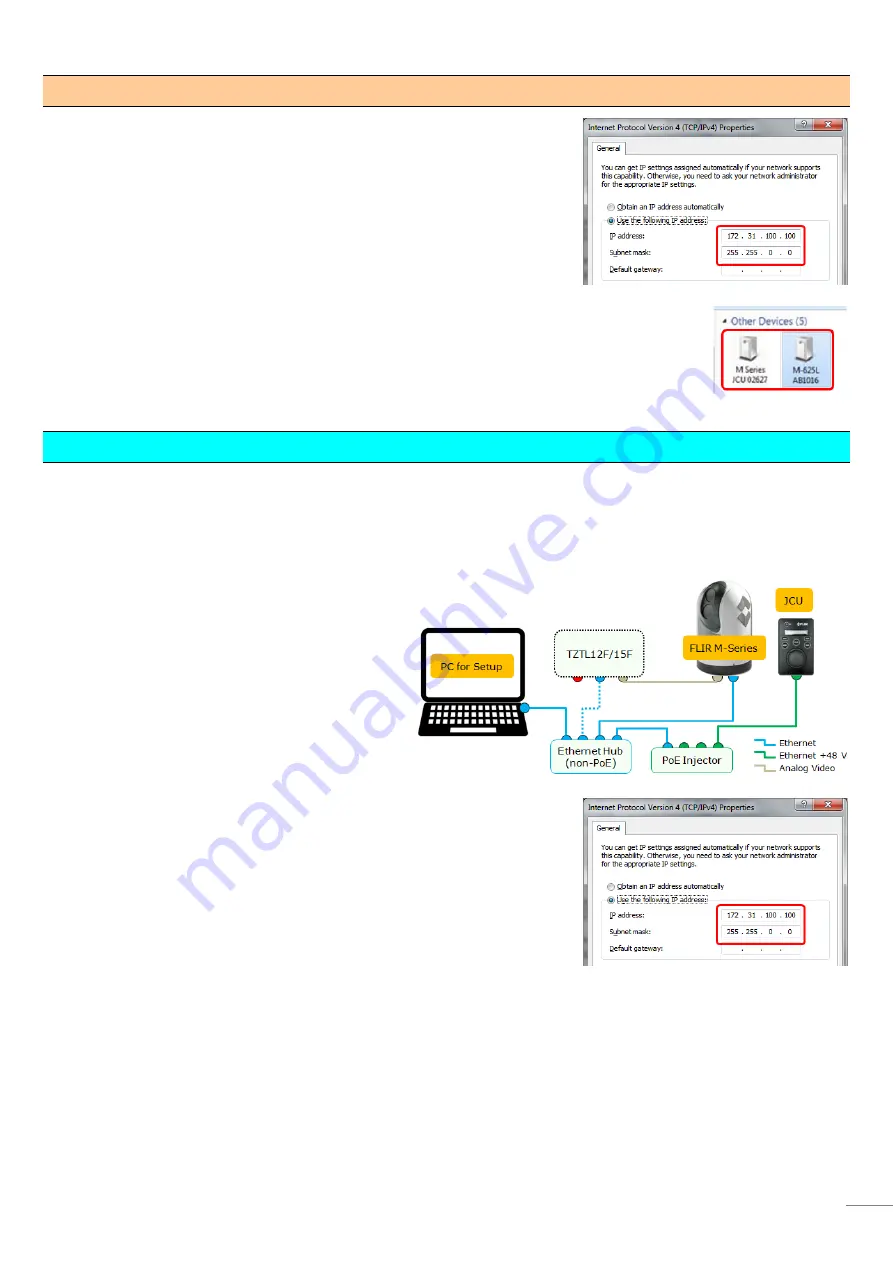
In this example, the FLIR M-Series camera is assigned with an IP address of
172.31.200.9, and the PC is assigned with an IP address of 172.31.100.100
and subnet mask of 255.255.0.0 as shown at right.

