FUNAI DVA-206LX User Manual Download Page 6

Welcome

Welcome to this MICRO Digital Home Theater system - a complete system with a DVD/CD player, AM / FM 
receiver and built-in amplifier. Now you can enjoy all your favorite home entertainment media in one 
integrated package, including:

 DVD movies in Dolby Digital

 Audio / Video CDs

 MP3 files recorded on CD-R or CD-RW

 Plus all your favorite AM / FM radio stations

In case warranty service is required, please take a moment to attach your receipt to this manual and write 
down your Serial Number, located on the back panel of the DVD system: ____________________________. 

Compatible Discs

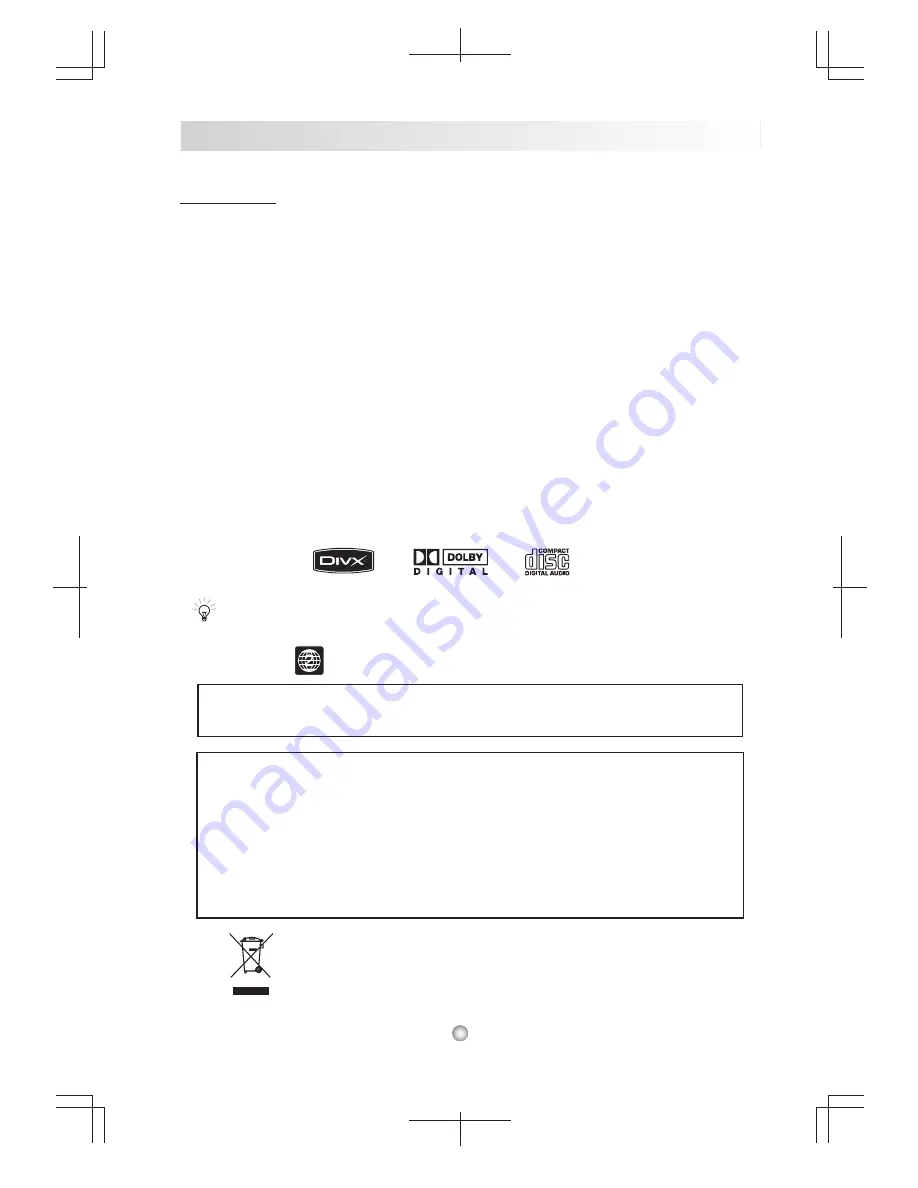
This DVD System can play discs with the following logos:

 DVD Video (+DVD R / +DVD RW / -DVD R / -DVD RW )

 Dolby Digital

 Audio CD (CDDA)

 Video CD (VCD / SVCD)

 MP3 / JPEG files on CD-R / CD-RW

 DIVX / MPEG4 


Region - Your system has a region code printed on the back of the unit and will only play DVD discs 
labeled with the same region code.

Chapter 1                                                                Getting Started

5

When Facing with any abnormal operations or playback, customers can reset the 
system to normal by pressing the power button on the front panel or remote control. 

Copyright Statement

This product incorporates copyright protection technology that is protected by method 
claims of certain U.S. patents and other intellectual property rights owned by Macro vision 
Corporation and other rights owners. Use of this copyright protection technology must be 
authorized by Macro vision Corporation, and is intended for home and other limited viewing 
used only unless otherwise authorized by Macro vision Corporation. Reverse engineering or 
disassembly is prohibited.

Manufactured under license from Dolby Laboratories. "Dolby" and the double-D symbol are 
trademarks of Dolby Laboratories. Confidential Unpublished Works.

Note

Note

Don't throw away the battery with general house waste, dispose of it correctly as 
chemical waste.

Summary of Contents for DVA-206LX

Page 1: ...DVA 206LX USER S MANUAL MICRO DVD SYSTEM...

Page 2: ...ck 3 Support MP3 JPEG MPEG4 playback 4 Support CD CD R CD RW playback 5 Support DVD R DVD RW 6 Support DVD R DVD RW 7 Powerful output 10Wrms X 2 8 Dolby Digital bit stream optical output 9 24 bits 192...

Page 3: ...to qualified service personnel To prevent electric shock match wide blade of plug to wide slot fully inserted To ensure a minimum distance of 5 cm around the apparatus for sufficient ventilation To en...

Page 4: ...tub wash bowl kitchen sink and the like Subject to direct sunlight or heater In a dusty environment In where strong magnetic fields are generated On a surface that is unstable or subject to vibration...

Page 5: ...8 Adjusting Stereo Mono 18 Using the Radio Data System RDS 18 Radio Data System 18 Receiving RDS Broadcasts 18 RDS Features 18 Program Service Station Name PS 18 Radio Text RT 18 Program Type PTY 19 C...

Page 6: ...k of the unit and will only play DVD discs labeled with the same region code Chapter 1 Getting Started 5 When Facing with any abnormal operations or playback customers can reset the system to normal b...

Page 7: ...ough on screen menus 8 ZOOM For DVD VCD or CD with JPEG files to zoom pictures at 2 3 4 1 2 1 3 or 1 4 time of original size 9 SLOW In DVD VCD mode to select slow motion forward backward playback at 1...

Page 8: ...to pause 28 SKIP FORWARD In DVD VCD CD mode to skip to the next chapter or track In Tuner mode to skip to the next stored station 29 SKIP BACKWARD In DVD VCD CD mode to skip to the previous chapter o...

Page 9: ...revious chapter or track Long press repeatedly to scan backward at 2 4 8 or 20 times of normal speed In Tuner mode to select preset stations with lower numbers 8 Disc Tray 9 USB For USB plug 10 EJECT...

Page 10: ...nformation is received 10 A B Lights if the disc is in AB repeat mode 11 Repeat Repeat 1 Lights if the disc is in repeat mode REPEAT lights if Repeat All mode is selected REPEAT 1 lights if Repeat 1 T...

Page 11: ...requency Effect LFE output 2 AUX IN For external stereo audio input 3 VIDEO For Composite Video output 4 S VIDEO For Optional S Video output 5 SCART For Scart Video or Audio output Rear Panel Note Not...

Page 12: ...video cable from the Video Out jack on the back panel of the DVD system to your television s Video In jack S Video For better video quality you can connect the system to your TV with a S Video cable n...

Page 13: ...e sure the exposed tips of each speaker wire are separated to the distance that they cannot touch each other after they are inserted into the connectors Do not connect any other speakers or devices th...

Page 14: ...wire antenna keep it as horizontal as possible The antenna is directional so you may need to move it around to get the best reception FM wire antenna Note Note 13 Note Note Step 6 Connect External Aud...

Page 15: ...D system is in standby mode The standby lights on the display 3 Press key on the remote control then go into DVD mode if you power on the system for the first time To save energy turn off the main swi...

Page 16: ...ation The following keys are used to display and navigate within the setup menu SETUP Press to display and exit the Setup menu Press to move left right for selection ENTER Press to confirm selection i...

Page 17: ...etup icon 3 Select DEFAULT 4 Select RESET 5 Press ENTER to confirm the selection Rating Setup Page In this setup page you can set the parental control lock and rating level from 1 to 8 This setting ta...

Page 18: ...layback press the Play button To skip to the next or previous chapter track press I skip forward or I skip backward To scan forward or backward at variable speeds during playback press scan forward or...

Page 19: ...t all FM stations provide RDS service nor do they provide the same type of services If you are not familiar with the RDS system check with your local radio stations for details on RDS services in your...

Page 20: ...e control to switch to the AUX IN function Before you begin turn down the volume to avoid sudden and excessive noise form the speakers Note Note Note Note Connecting USB Card Reader This system suppor...

Page 21: ...PBC MENU to bring up the DVD title menu where you select the desired title Press ENTER and the system will start playing from the desired title DVD discs have Title and Chapters There can be several T...

Page 22: ...VCD can be programmed according to your preference To make a Program during DVD playback 1 Press PROGRAM and then a Program list appears on the screen 2 Enter the title numbers under T columns and the...

Page 23: ...press Manual Playback To ensure proper playback of discs burned with MP3 files make sure the files have been recorded at a bit rate of at least 128kpbs Note Note Note Note If there is any gap blank da...

Page 24: ...000 0 3 00000000 0 4 00000000 0 5 0000005 0 6 0000006 0 7 0000007 0 8 0000008 0 9 0000009 1 0 0000010 Auto Play Function 1 Insert a CD R CD RW disc with JPEG files into the disc tray 2 After reading i...

Page 25: ...tions DVD TUNER AUX is selected 2 When SLEEP OFF appears on the display press the keys repeatedly until you can select your desired length of time from 10 20 30 60 90 120 to 150 mins To cancel the Sle...

Page 26: ...o input DVD picture does not fit The aspect ratio of the disc is fixed on your DVD screen on standard television No sound Securely connect all audio cables Repair or replace any damaged audio or speak...

Page 27: ...ode on the DVD does not match the system Moisture has condensed inside the system Remove the disc and leave the system turned on for about half an hour Disc is not played Program Play or Repeat Play i...

Page 28: ...IO Scart connectors only Harmonic distortion Less than 0 1 FM Tuner Section System PLL quartz locked digital synthesizer system Tuning range 87 50 108 00MHz 50kHz step Antenna FM wire antenna Antenna...

Page 29: ...28 General Power Requirements 230V CA 50Hz Power Consumption 55W Dimensions approx 170 x 137 x 310 mm Mass approx 3 1kg Operating Temperature 5 to 35 C Operating Humidity 5 90...

Page 30: ...hot air ducts or leave it in a car parked in direct sunlight as the temperature may rise considerably inside the car After playing store the disc in its case On cleaning discs Before playing clean the...

Reviews: