background image

24

If you can't use it even when you are 
subscribed, it is possible that the voicemail 
service has not been initiated. Please refer to 
the detailed instruction manual for how to 
initiate the service.  

p.___

I tried to make a call using a prepaid SIM/USIM 
card but I couldn't connect. 

If you are using a prepaid SIM/USIM, you 
cannot make a call unless you have enough 
money left in the account. 

I cannot save an image to the terminal.

It is possible that you do not have enough 
storage space. Delete unnecessary data and 
try again.

p.___

I can't find the address book I registered.

Try switching the address book in the 
terminal with the SIM card address book and 
search again. If it is set to Show All (Zhuyin), 
it will be shown in the first relevant 
BoPoMoFo tab that is in the Zhuyin field in 
the address book. 

p.___

I want to change the Chinese display to English or 
the English display to Chinese. 

Please refer to the "Bilingual setting." 

p.___

I don't know how to enter characters.

Please refer to "Entering characters." 

p.___

I cannot receive the network very well.

Your network setting may be incorrect. Refer 
to "Network search setting." 

p.___

Using the Kisekae tool changes the order of the 
menu.

Some Kisekae tools do not support horizontal 
screens. In addition, depending on the kind 
of menu, the menu structure for the first layer 

of the tree may change according to the 
frequency of usage. 

p.___

The profile information does not display the phone 
number. 

The profile does not show your own phone 
number. Neither does it allow you to edit it. 
However, if you have registered your own 
phone number to the SIM/USIM card with a 
terminal other than F905i, it will be displayed 
as your own phone number. [*This is TBD as 
the specifications will change] 

I want to change the terminal back to the factory 
default. 

Please refer to "Delete all data" in the 
detailed instruction manual.

p.___

List of useful shortcuts

We have shortcut keys that enable you to 
access functions by pressing only a few keys. 
This is a convenient function unique to F. 

Basic operations

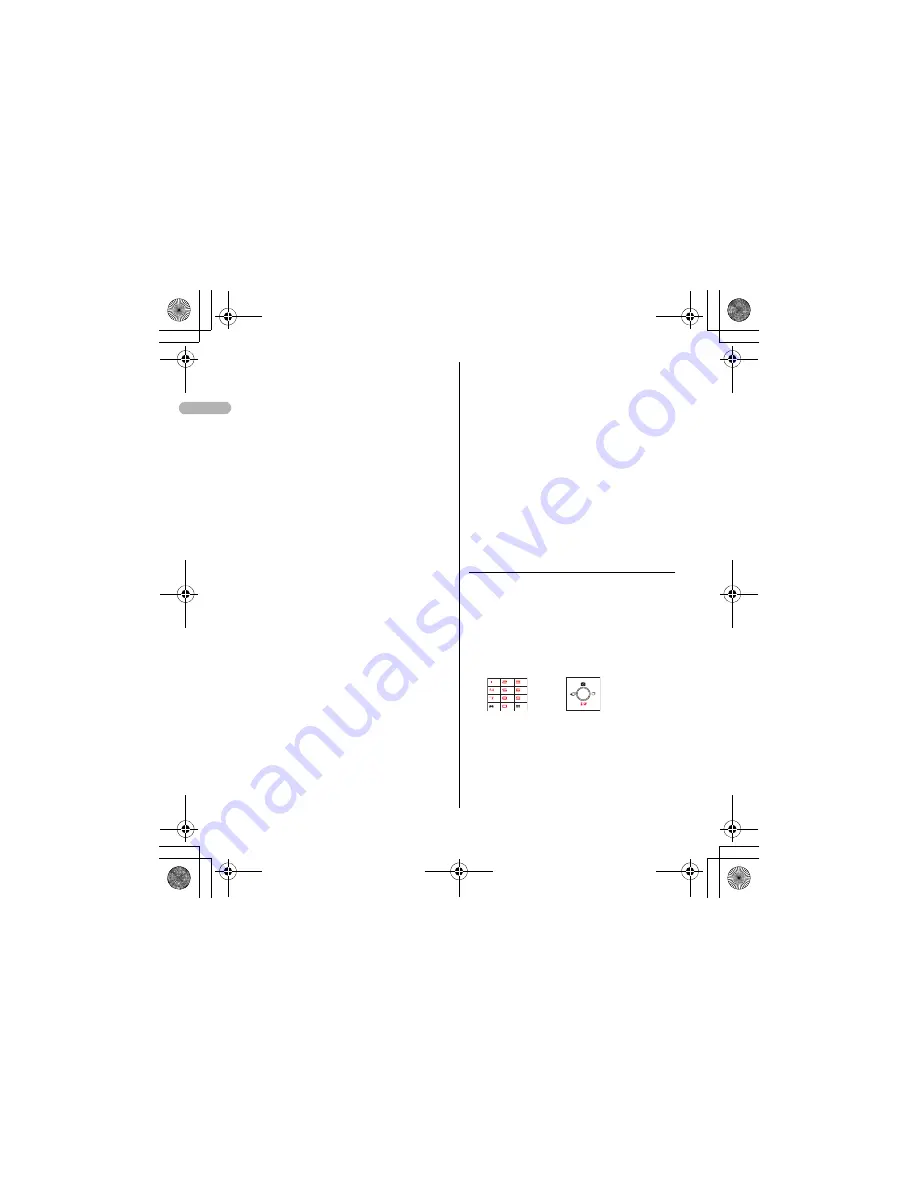
Access shortcut (i-mode)

You can access a website by pressing just two keys!
*You need to register in advance. 

+

Two-key shortcuts (i-appli)

You can start i-appli by pressing just two keys!
*You need to register in advance. 

Number keys 0-9

i-mode/i-appli key

QIR.book  Page 24  Thursday, April 17, 2008  3:14 PM

Summary of Contents for F905i

Page 1: ...QIR book Page 1 Thursday April 17 2008 3 14 PM ...

Page 2: ...alls with or without a SIM USIM card inserted if a 3G UMTS or GSM network is within range However emergency calls may not be possible on all mobile phone networks or when certain network services or phone features are in use You should therefore never rely solely upon any mobile phone for essential communications such as medical emergencies QIR book Page 2 Thursday April 17 2008 3 14 PM ...

Page 3: ... phonebook entries 14 Searching the Phonebook 14 Sound Screen Light Settings 14 Sound settings 14 Setting volume of various sounds such as ring alert and alarm sound 14 Screen settings 14 Changing font size 14 Switching to English 15 Setting clock display 15 Information 15 Light settings 15 Setting the lighting patterns and colors used for an incoming call mail or during a call 15 Other Settings 1...

Page 4: ...ntering symbols 21 Entering fixed phrases 21 Copying pasting characters 21 Copying characters 21 Pasting characters 21 Network Service 21 Voicemail service 21 Information 21 Call waiting 21 Activating deactivating the service 21 Answering another call 22 Making another call 22 Ending a call 22 Call Forwarding 22 Incoming call barring service 22 Caller ID 23 Questions and Answers 23 List of useful ...

Page 5: ...5 QIR book Page 5 Thursday April 17 2008 3 14 PM ...

Page 6: ...t of the brightness dDisplay P26 eIn camera Use to shoot the image of yourself send the image of yourself over a videophone call fmMENU key Use to display menus perform the operation shown in the upper left part of the guide area Press and hold for 1 second or more Start Cancel Side key hold gtVideophone start e scroll A a key a b d c e i f g h k l m j n o p q r s t u C F E w x v D y H J I G z A B...

Page 7: ... and space switch status display hide of guide area in wide display loBarcode Reader key Start Barcode Reader mMicrophone Do not cover with your finger while talking or recording sound nMulti cursor key gEnter key Use to perform the selected operation activate Focus mode Press and hold for 1 second or more Start i αppli set for one key shortcut uCamera key Use to activate Still camera adjust volum...

Page 8: ...ting an image recording a movie operating Music player operate according to the settings of Indicator light or Light alert Simple light or Light xSub display P29 yBuilt in antenna The terminal has a Built in antenna To talk in better conditions do not cover the antenna with your hand zFingerprint sensor P108 Register authenticate fingerprint ABack cover BStrap opening CSpeaker DPLeft Side key Acti...

Page 9: ...e noise Swinging display YOKO MOTION With the terminal open rotate the display 90 degrees to the right or left to display Horizontal display Information Do not rotate the display with the terminal folded May cause the display and around the keys to be scratched Display overview Top of the display a Battery icon b Signal level icon c Out of service area d Self mode ON e In data transfer mode f In i...

Page 10: ...Mail service d Unread messages e Unread ToruCa f Silent mode ON Personalized silent mode ON g Call alert volume OFF Vibrator for voice call ON Call alert volume set OFF vibrator for voice call ON h In Public mode Drive mode i Answer machine ON recorded messages full j Keypad dial lock ON Side key hold ON k Personal data lock ON l Reading UIM IC card lock ON m Available multi cursor key Lock on clo...

Page 11: ...d on the tray in the direction shown in the figure IC Corner cut UIM cPush the tray fully until it stops aHolding the tab pull out the tray until it clicks and carefully remove UIM Removing UIM slot Tab Press here with your thumb Back Cover Attaching aRemove the back cover by sliding it about 2 mm in the direction of the arrow while pressing it with your thumb QIR book Page 11 Thursday April 17 20...

Page 12: ...Convex part bWith the label side of the battery pack face up align the convex part of the battery pack with the concave part of FOMA terminal insert the battery pack in the direction of a and press it in the direction of b until it fits cBring the 5 tabs of the back cover to meet the cuts in FOMA terminal Slide in the direction of d to fit in while pressing in the direction of c so that no gap is ...

Page 13: ...up manually Voice Videophone Calls Making voice videophone calls 1 Enter a phone number 2 Select a call type Making a voice call n Making videophone calls t 3 When ending the call f Redial Received calls Making a call using Redial Received calls 1 r Redial or l Received calls ePlace the cursor on a party to redial 2 n or t Receiving voice videophone calls Receiving voice videophone calls 1 A call ...

Page 14: ...and me31 For UIM phonebook place the cursor on the party and me3 3 Editep Overwriting confirmation screen appears Deleting phonebook entries Example Deleting a phonebook entry in the Terminal phonebook 1 peSearch the phonebook 2 Place the cursor on a phonebook entry and me4e1 or 2e Yes Deleting from UIM phonebook Place the cursor on a party and me4e Yes Searching the Phonebook 1 me Phonebook Logs ...

Page 15: ...ldeSelect a lighting color 3 p Other Settings Using fingerprint authentication Registering fingerprint to be used for authentication Register fingerprint 1 me Settings NW services e462eAuthenticate ep 2 OK ePress the sensor with your finger and slide slowly downwards by following the instruction message 3 Enter a display nameep Set whether to use only fingerprint authentication for authentication ...

Page 16: ...u e Menu List p while downloading a page Stopping downloading a page 3 Select an item to view 4 When you quit viewing a site fe Yes Go to location Displaying websites 1 de51 2 Enter a URLep In alphabet input mode repeatedly press 1 to enter etc and TV to enter imode net tw com com tw http www https www www asp html etc Fingerprint access Fingerprint authentication The current position relative to ...

Page 17: ...as follows Ordinary screen memo Protected screen memo Downloading i motion from sites 1 Display a siteeSelect an i motion During downloading press p and select Yes to stop downloading g Pause Play Normal type j Side keys Adjust volume p Streaming type is interrupted by selecting Yes on the confirmation screen and Normal type is stopped Pressing g while stopped plays the i motion from the beginning...

Page 18: ...https www www asp html etc Press c or m9 to stop connecting or m8 to stop connecting with multiple windows Connecting to Home 1 Displaying from bookmark 2eSelect a foldereSelect a bookmark to display Connecting from Entry URL log 32eSelect a URLeg Connecting to Browser history 4eSelect a URLeg 3 After reading a website fe Yes Information When you connect to the full browser for the first time a wa...

Page 19: ...Removing attachment ae Yes 2 Select the type of the file to attacheSelect the attachment sourceeSelect a foldereSelect a file Editing sending sent saved i mode mail Example Editing unsent messages 1 ae4 Editing sent message ae5 2 Select a folder 3 Select a message Editing sent message Select a messageep 4 Editep Check new message Mail 1 Side key 1 sec or more Displaying newly received i mode mail ...

Page 20: ... sec or more Move to the beginning of the current chapter tune r Side key 1 sec or more Move to the next chapter tune M Pressing twice quickly Save the current tune or tune in pause to Quick playlist Entering characters The allocation of the keys is as follows TBD the following figure will be replaced Entering characters Zhuyin Example Entering 1 Enter characters in the BoPoMoFo entry mode 9905 2 ...

Page 21: ...pying pasting characters Copying characters On the character entry screen me1 31 on the message text entry screen eSelect the start pointeSelect the end point Pasting characters On the character entry screen place the cursor at the position to paste characters and me3 4 on the message text entry screen Network Service Voicemail service 1 me Setting NW service e81eSelect a menu item to operate Info...

Page 22: ...e Yes c Check settinge Yes e Remove all settingse Yes 4 Call Forward Videophone e Unconditional a Set and activatee 1 b Clear and deactivatee Yes c Check settinge Yes e Busy a Set and activatee 1 b Clear and deactivatee Yes c Check settinge Yes e No reply a Set and activatee 1 b Clear and deactivatee Yes c Check settinge Yes e Not reachable a Set and activatee 1 b Clear and deactivatee Yes c Check...

Page 23: ...y with the FET 3 5G Receiver can t read my decomail or i mode mail with pictograms This terminal supports decomail but if the destination terminal does not support decomail it will be displayed differently In addition if i mode mail with pictograms is sent to a non imode terminal the message may not be displayed correctly p ___ I can t connect to i mode i mode is a service that requires subscripti...

Page 24: ...work setting may be incorrect Refer to Network search setting p ___ Using the Kisekae tool changes the order of the menu Some Kisekae tools do not support horizontal screens In addition depending on the kind of menu the menu structure for the first layer of the tree may change according to the frequency of usage p ___ The profile information does not display the phone number The profile does not s...

Page 25: ... start the schedule by pressing and holding the phonebook key Press and hold the phonebook schedule key Answering machine voice memo memo You can start the answering machine voice memo menu by pressing and holding the upper side key You can change the function to start through configuration i mode query i mode You can make a query to i mode center by pressing and holding the lower side key or pres...

Page 26: ...MENU key Privacy mode security Start cancel by pressing the received call history key You need to configure in advance Self mode manner Start cancel by pressing and holding the clear key Press and hold the lower side key Press the mail key twice Number of minutes to set 1 60 mins Redial key Press and hold the MENU key Press and hold the clear key QIR book Page 26 Thursday April 17 2008 3 14 PM ...

Reviews: