21
EN
Adjusting/Processing Images (Eff ect)
Adjusting the Brightness
Vignette
~
Ÿ
!
~
Ÿ
!
Follow the steps below to adjust the brightness.
Press the
(Brightness) button while shooting/
playback screen is displayed.
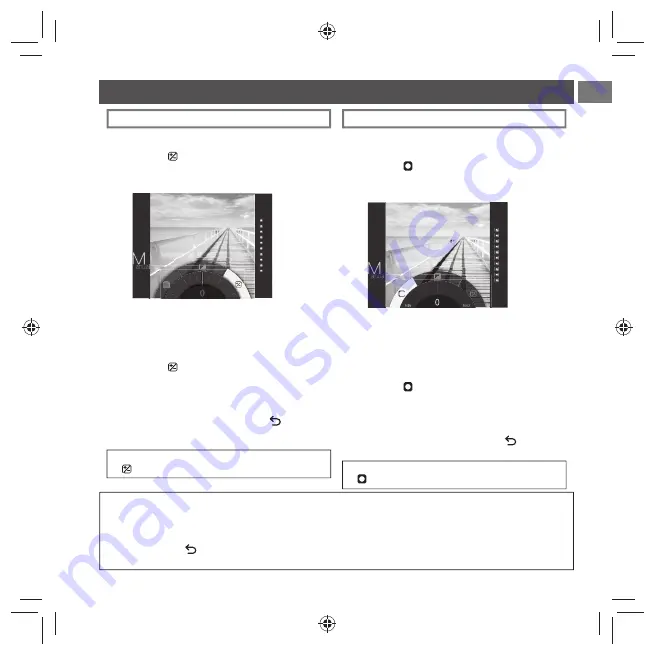
The screen below appears.
Use the command dial to adjust the brightness.
Turn the command dial clockwise to brighten the
image, and turn the dial counterclockwise to darken
it.
Press the
(Brightness) button again.
The adjusted brightness is applied to the image and
returns to the previous screen.
• You can also return to the previous screen by
pressing the MENU/OK button or
(back)
button.
• To cancel the adjusted brightness, press and hold the
(Brightness) button.
Adjust the brightness of four corners on the image. Follow
the steps below to adjust the brightness.
Press the
(Vignette) button while shooting/
playback screen is displayed.
The screen below appears.
Use the command dial to adjust the brightness of
the four corners.
Turn the command dial clockwise to darken the
corners, and turn the dial counterclockwise to
brighten them.
Press the
(Vignette) button again.
The adjusted brightness is applied to the image and
returns to the previous screen.
• You can also return to the previous screen by
pressing the MENU/OK button or
(back)
button.
• To cancel the adjusted brightness, press and hold the
(Vignette) button.
Notes on image effects:
• Each adjusted value or effect remains after you take a picture. However, it will be disabled when you view the image on a
device (e.g. computer) other than this camera (except for filters “Retro”, “ Film Frame”, and “Sequence”).
• You can apply multiple effects to one image.
• Press and hold the
(Back) button to cancel all adjusted values or effects.
• Depending on the subject or camera settings, images may (in some cases) be grainy or vary in brightness and hue.
instax̲BO-14̲14lang.indb 21
instax̲BO-14̲14lang.indb 21
8/8/2018 5:51:58 PM
8/8/2018 5:51:58 PM


