24
A
Shooting Mode
3
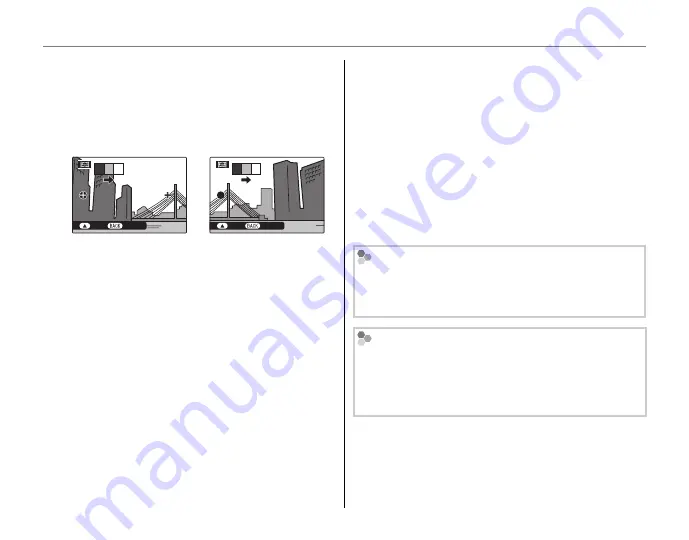
Frame the next shot to overlap with the
previous picture by superimposing
1
on
2
so that they form a solid circle (
z
). The
camera will release the shutter automatically.
2
3
1
END
CANCEL
Pan direction
Display after 1st shot
Shutter released
2 3
1
END
CANCEL
4
Take the last shot as described in Step 3.
5
Press
MENU/OK
to save the picture.
C
Caution
• Panoramas are created from multiple frames. The
camera may in some cases be unable to stitch the
frames together perfectly.
• The desired results may not be achieved with
moving subjects, subjects close to the camera,
unvarying subjects such as the sky or a field of grass,
subjects that are in constant motion, such as waves
and waterfalls, or subjects that undergo marked
changes in brightness. Panoramas may be blurred if
the subject is poorly lit.
For Best Results
Move the camera carefully to keep it horizontal.
When
1
and
2
are overlapped, the camera must
be still.
Printing Panoramas
Depending on the page size and the size of the
panorama, panoramas may print with their edges
cropped out or with wide margins at the top and
bottom or at both sides.


