Red-Eye Reduction:
Use this mode when photographing people in low-light conditions to ensure
that the subjects' eyes appear natural. The flash fires a pre-flash just before the picture is taken
and then fires again to take the actual picture. The pre-flash causes the subject’s eyes to adjust
in a way that minimizes the likelihood of red-eye effect.
Forced Flash:
Use this mode to photograph backlit scenes, such as a subject against a window
or in the shade of a tree, or to obtain the correct colors when you are shooting under lighting
such as fluorescent tubes. In this mode, the flash fires in bright as well as dark conditions.
Suppressed Flash:
The flash does not fire. Use this mode for photography using indoor lighting,
for shots taken through glass, and for photography in venues such as theaters or at indoor
sporting events where the distance is too great for the flash to be effective.
Slow Synchro:
This mode uses a flash with a slow shutter speed, allowing you to both illuminate
subjects and capture light from a dark background. This allows you to take pictures of people at
night that clearly show both your subjects and the nighttime backdrop. To prevent camera shake,
always use a tripod.
To choose the proper flash mode, set the Mode switch to Still image and press the Flash button to
cycle through the flash modes until you reach the one you want. The last flash mode displayed is
selected. The chosen flash mode icon appears in the upper-left corner of the LCD monitor.
Flash control sensor
The flash control sensor registers available light to determine whether the flash will fire (in Auto
mode). Be careful not to cover the flash control sensor (as well as the flash and lens) when
recording an image.
Lens
The lens is the “eye” of the camera. It focuses light rays on the CCD which are processed by the
camera’s processor to create the image. Many cameras have a zoom lens, which allows you to
increase the size of the image without moving closer to your subject (see "Zoom buttons").
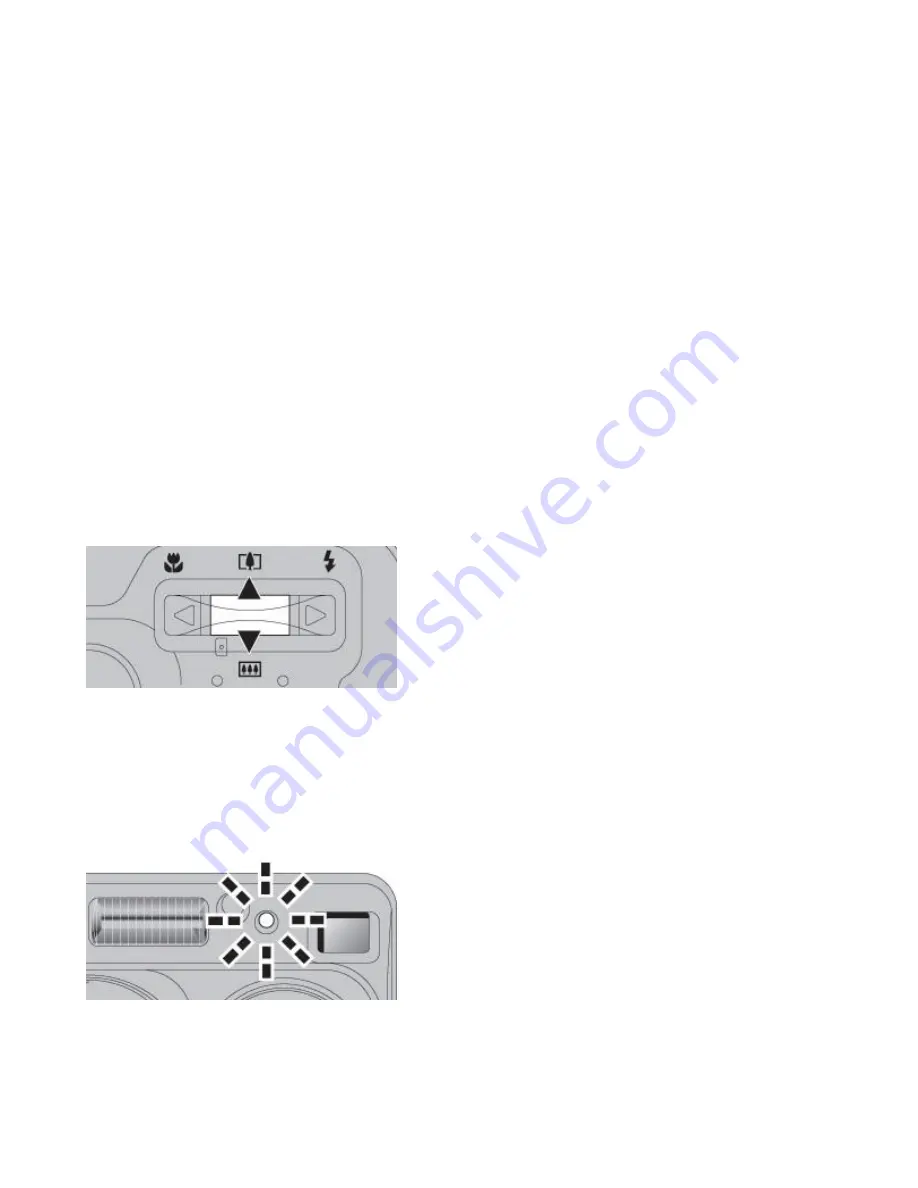
The Fujifilm FinePix A205 has a 3x optical zoom and a digital zoom that offers up to 2.5x
additional magnification. The zoom is activated by pressing the up arrow to zoom in (telephoto)
and the down arrow to zoom out (wide angle).
The camera has a built-in lens cover that protects the lens when the camera is shut off.
Self-timer lamp
When the Self-timer feature is activated, the self-timer lamp lights for 5 seconds and then starts
flashing. Five seconds later the camera makes a clicking noise and takes the picture. A counter on
the LCD monitor counts down the time until the shot is taken. Self-timer mode is automatically
canceled after each shot.
Viewfinder window
The optical viewfinder lets you compose your picture without using the LCD monitor, saving
battery power.
Page 2 of 10
topic
1/5/2004
http://www.fujifilm.com/JSP/fuji/epartners/digitalcamera/quickstart/FujiCourses/resources/c...


