Freecom
TapeWare
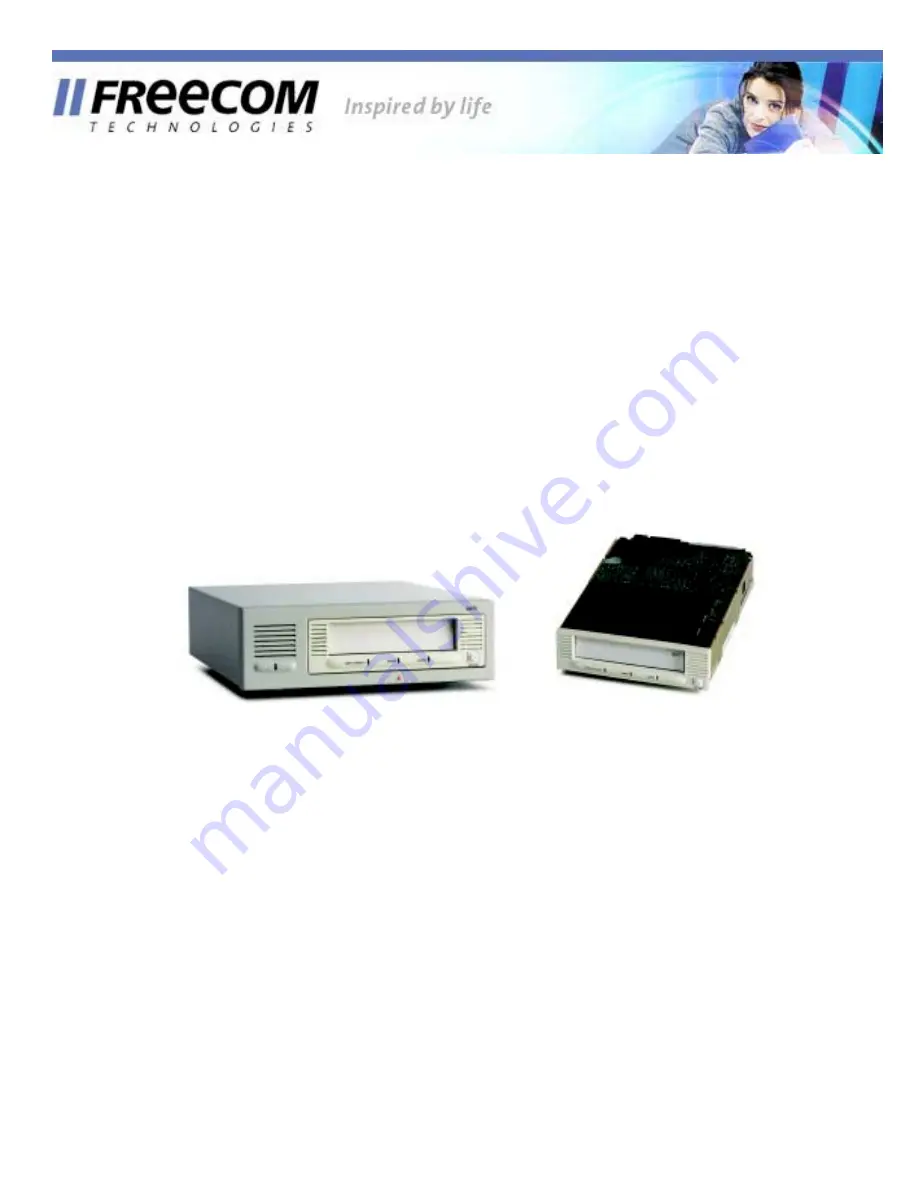
DLT-VS80i, DLT-VS80es
Installation and Operations Guide
Page 1: ...Freecom TapeWare DLT VS80i DLT VS80es Installation and Operations Guide...
Page 2: ...Initial Preliminary Release 02 2001 2 06 Updated LED Sequence 03 2001 2 16 Updated External SCSI ID Setting 04 2001 4 05 Updated logo and product name 05 2001 5 04 Edits per Jeff Faucet 06 2001 07 03...
Page 3: ......
Page 4: ......
Page 5: ...irements 2 1 2 2 2 Before You Start 2 1 2 3 Installing your DLT VS80es Desktop Drive 2 2 2 3 1 Installation Overview 2 2 2 3 2 Unpacking your Drive and Selecting a Location 2 2 2 3 2 1 Unpacking your...
Page 6: ...T 3 2 3 2 1 2 Indicator Activity During Drive Operation 3 3 3 3 Using Cartridges 3 5 3 3 1 Loading a Cartridge 3 5 3 3 2 Unloading a Cartridge 3 5 3 3 3 Cartridge Write Protect Switch 3 6 3 3 4 Caring...
Page 7: ...essary SCSI and Power Cables to your Drive 2 7 Figure 2 5 SCSI ID Jumper Block Location 2 10 Figure 2 6 Installing the Terminator 2 11 Figure 2 7 SCSI Ribbon Cable with Terminator Built in 2 12 Figure...
Page 8: ...iv...
Page 9: ...sfer rate of 3 MB s up to 6 MB s with 2 1 compression The capacity you realize in practice depends on the data set which affects the actual compression ratio Your DLT VS80 is built on a 5 inch half he...
Page 10: ...1 2 5 Compatibility Your DLT VS80 is read compatible with the DLT4000 format using DLTtape IV cartridges For current information on operating system application and driver compatibility visit www 4be...
Page 11: ...le Ended SE SCSI bus Make sure your SCSI host adapter or controller supports these standards If you connect your DLT VS80 to an SE SCSI bus the drive s performance is limited to the maximum data trans...
Page 12: ...server or workstation Turn off and remove the power cables from all devices attached to the selected server or workstation 5 Install an LVD SE SCSI host adapter in the server or workstation that is t...
Page 13: ...riginal or equivalent packing materials to preserve your warranty 2 3 2 2 Selecting a Location for your Drive Select a location for your DLT VS80esDesktop Drive that is flat sturdy level and close to...
Page 14: ...I ID is not being used by another device on the same SCSI bus you do not need to change the SCSI ID Figure 2 1 DLT VS80esDesktop Drive Rear Panel Layout Note If your DLT VS80esDesktop Drive is attache...
Page 15: ...the selected server or workstation does not already have an installed SCSI 2 LVD SE host adapter install one now For more information on SCSI host adapter requirements see page 2 1 To connect the SCSI...
Page 16: ...or on your SCSI host adapter or to the connector on the previous SCSI device on the SCSI bus Figure 2 3 Attach SCSI Cable to Server or Workstation or to Previous SCSI Device SCSI Host Adapter FC Tw DL...
Page 17: ...ke sure the power switch on the rear panel of your DLT VS80esDesktop Drive is in the OFF position Attach the female connector on the power cable to the power connector on the rear panel of the drive U...
Page 18: ...VS80 Internal Drive if necessary 4 Shut down and turn off the server or workstation that is to host for DLT VS80 Internal Drive Remove the power cable from the selected server or workstation Turn off...
Page 19: ...still in the shipping box reach under and around the drive carefully lift it out of the shipping box and place it on the work surface top facing up Do not stand the drive on either end 4 Carefully re...
Page 20: ...lowing table SCSI ID 0 1 2 3 4 5 6 7 Jumper Block SCSI ID 8 9 10 11 12 13 14 15 Jumper Block Table 1 Setting the SCSI ID Jumper Block Factory default SCSI ID 2 4 3 2 When to Use Termination If your DL...
Page 21: ...connector on one end of the supplied SCSI ribbon cable as shown in Figure 2 6 You can use a cable end terminator as shown in Figure 2 6 or an inline terminator whichever is most convenient Continue w...
Page 22: ...ting system and turn off the selected server or workstation Turn off all attached accessory devices such as printers and other SCSI devices Remove the power cables from the host server or workstation...
Page 23: ...2 13 2 Remove the cover from the host server or workstation as described in the server s or workstation s manuals Figure 2 8 Remove Server Workstation Cover...
Page 24: ...or workstation s manuals 4 Slide your DLT VS80 Internal Drive into the open drive bay Figure 2 9 Install Drive in an Open Drive Bay Tower 2U server shown Note Install an LVD SE SCSI host adapter in t...
Page 25: ...I host adapter or you need to purchase a cable adapter Contact Benchmark Storage Innovations or your SCSI host adapter manufacturer for information Note Refer to page 2 10 to determine if you need to...
Page 26: ...equire mounting rails for internal devices Contact your server or workstation manufacturer for information Note Use screws provided Using an alternative length screw could cause damage to the unit If...
Page 27: ...operating instructions 2 5 1 Troubleshooting If the LEDs on the front panel act differently than described above your drive is not working properly Table 2 helps you troubleshoot drive problems Sympto...
Page 28: ...ake sure the terminator is properly seated on the open SCSI connector on the rear panel of the desktop drive or on the last device on the SCSI bus 2 Make sure an LVD SE terminator is in place on the e...
Page 29: ...t be improperly terminated 1 If your DLT VS80 is the last or only device on the SCSI bus make sure the drive is properly terminated Make sure only the last device is terminated 2 If your DLT VS80 is n...
Page 30: ......
Page 31: ...t panel LEDs and controls how to load and eject DLTtape IV cartridges how to use and care for DLTtape IV cartridges and how to use the cleaning cartridge Note For current information on operating syst...
Page 32: ...T VS80 it conducts a Power On Self Test POST This test ensures that your drive is working properly and is ready to use 1 While POST is in progress watch the front panel LEDs The LEDs turn on all at on...
Page 33: ...illuminated or blinking immediately after POST Table 4 describes what each front panel indicator means Drive Status Indicator Activity Power to drive The Ready LED is on No power to drive The Ready L...
Page 34: ...eserved Clean Media amber Blinking Off A hard read write error that is probably recoverable has occurred Clean the drive The LED is off after completing a cleaning cycle with a DLT1 cleaning cartridge...
Page 35: ...eded to prepare a cartridge visit http www 4benchmark com support faqDetail cfm FaqID 40 3 3 1 Loading a Cartridge To load a cartridge into your DLT VS80 After the drive completes POST insert the DLTt...
Page 36: ...3 Cartridge Write Protect Switch All DLTtape IV cartridges have a write protect switch to prevent accidental erasure of data Before loading a DLTtape IV cartridge into your DLT VS80 make sure the writ...
Page 37: ...IV cartridges in their storage cases If a DLTtape IV cartridge has been exposed to temperatures outside the ranges specified above stabilize the cartridge at room temperature for the same amount of ti...
Page 38: ...ethod your DLT VS80 unloads it within approximately 25 seconds Figure 3 5 DLT Cleaning Cartridge Each cleaning cartridge has a useful life of 20 cleanings The cleaning cartridge includes a label with...
Page 39: ...IV cartridge containing the appropriate information Your DLT VS80 can also update the drive s firmware from the host server or workstation See the WRITE BUFFER command in the DLT1 DLT VSTape SCSI Inte...
Page 40: ...r DLT VS80 drive remove it before proceeding 2 If possible power cycle turn the drive s power off then back on and allow the Power On Self Test POST to complete successfully The drive will emit a buzz...
Page 41: ...rmware Upgrade Troubleshooting If the firmware upgrade failed the drive does not unload the Firmware Upgrade cartridge at the end of the process Refer to Table 5 for troubleshooting information Proble...
Page 42: ...4 4...