


8
FRÄNKISCHE |
OI WLAN Access Point 100 DATALIGHT
®
3 Configuration
Make sure that the device
is properly connected.
Please find information in
the associated installation
instructions.
Initial configuration
We recommend making the initial config-
uration via one of the LAN interfaces of
the device, e.g., via the front socket. To
do so, connect the LAN interface of
your PC with the WLAN AP.
In the delivery condition, the address of
the PC must be programmed
in the 192.168.0.xxx range
(x
≥
0
≤
255, x
≠
5!). Subnet mask:
255.255.255.0
1. Start your web browser
(e.g., Internet Explorer, Firefox, etc.)
and enter http://192.168.0.5 in the
address line.
If the web browser’s pop-
up blocker is enabled, you
must explicitly allow
access via the respective
dialogue.
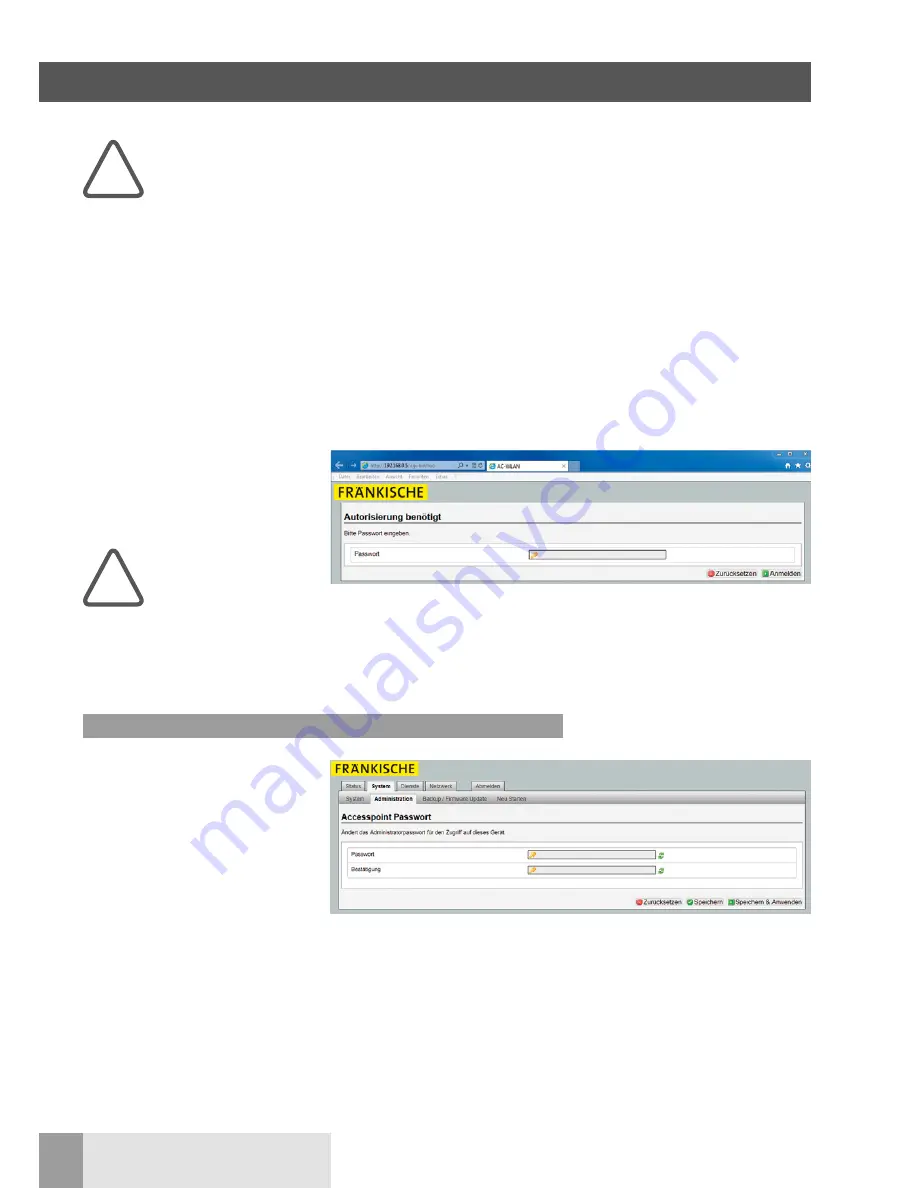
2. Enter the password (delivery condi-
tion: admin) and log in.
3. If the initial configuration can only be
effected via WLAN, first search the
WLAN AP via the wireless interface
of the device intended for commis-
sioning (tablet PC, etc.). The WLAN
AP logs in to the network with the
“DATALIGHT” SSID. In the delivery
condition, the WLAN password is
wireless123.
If you want to change the SSID, only use
letters (without spaces or special char-
acters) and numbers.
Individual configuration
The device is delivered with factory set-
tings and ready for operation.
Using the web interface, you can config-
ure the WLAN AP and adapt it to your
requirements (e.g., language). Access is
possible via patch cable, termination or
WLAN.
We recommend adapting and/or check-
ing the following:
n
password
n
device name
n
time zone
n
language
Go to “System/Administration” (Sys-
tem/Administration) for password set-
tings. Increase access protection by
selecting an individual password. The
password becomes visible when click-
ing on the green arrows.
Only use letters (without spaces and
special characters) and numbers.
Confirm the password and
save it by clicking “Save & Apply”
(Speichern & Anwenden).
!
!
3.1 Password setting


