17
file that bundles all of the sounds together (you can opt to download the sounds individually if you have a
slow internet connection). The new sounds can then be programmed into the HammerJack by using the
FOXPRO Sound Programming Utility, which is covered in the next section.
The first step is to download and install the FOXPRO Sound Programming Utility. The installer for the
FOXPRO Sound Programming Utility for Windows can be downloaded directly from the FOXPRO website by
visiting: http://www.gofoxpro.com/programmer Mac users please visit: http://www.gofoxpro.com/mac
Follow the provided instructions on the installation page to install the software and become familiar with it.
The FOXPRO Sound Programming Utility enables you to add new sounds, rearrange sounds, remove sounds,
manage your categories, and backup the sounds from the HammerJack to your computer. Each of the links
previously listed contain steps for installing and launching the programming software.
Connecting the HammerJack to your Computer
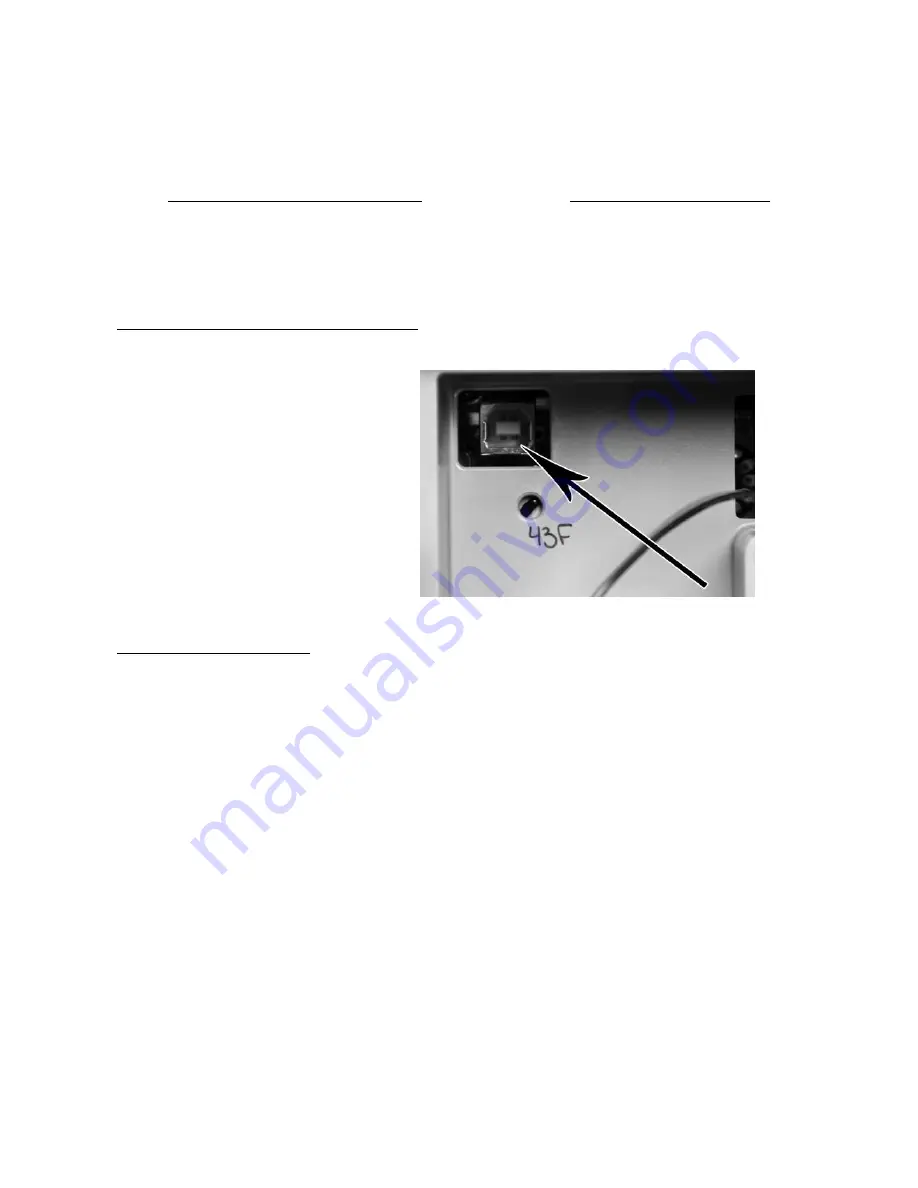
The USB port is located on the back wall inside of the battery compartment on the HammerJack. Connect
your USB cable between the USB port in the
HammerJack and a USB port on your
computer. Make sure the HammerJack is
powered off while it is connected to your
computer! After connecting the HammerJack
to your computer, launch the utility. The
utility should recognize the device and
display the sounds currently installed in the
HammerJack in the “Caller Sound Files”
column on the right. If this is your first time
using the utility, the “Source Sound Files”
column on the left will be empty.
File Locations & Sound Library
When you initially launch the Sound Programming Utility, it creates a folder called “FOXPRO” in your
computer’s Documents folder (this applies to both Windows and Mac versions). New sounds, or sounds that
you wish to install into the HammerJack, should be saved in the Documents -> FOXPRO -> Sounds folder for
easy access—consider this folder the location of your sound library. You can save new sounds to an
alternate location, if you wish, and use the “Browse Library” (Windows) or “Browse” (Mac) to navigate to
that location.
Overview on Programming New Sounds:
1.
Connect the HammerJack to your computer.
2.
Launch the programming utility.
3.
If you do not see your new sounds under the "Source Sound Files" column, use the "Browse
Library" or “Browse” button to navigate to the correct location. When the appropriate files are
found, double-click on any of the sounds to automatically load all files from that location into the
“Source Sound Files” column.
4.
Select one, multiple, or all sound files in the "Source Sound Files" column.
5.
Click on the position you wish to load the sounds into on the “Caller Sound Files” column and
click "Insert.” We recommend adding all new sounds at the end of the existing list so that you
can preserve the category assignments. If you insert sounds elsewhere, be advised that you will
need to closely examine your category assignments to make any needed corrections.
6.
When complete, Windows users must click on the "Update Caller" button to save your changes.
Mac users will not have an “Update Caller” button as the sounds are inserted in real time.
7.
Next, click on the “Edit Categories” button to launch the category editor. The category editor
features two columns. The column on the left features all sounds in your game call. The column
Summary of Contents for Hammerjack
Page 1: ......


