5
77
5-2 RAID enable in bIoS
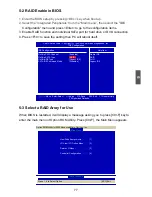
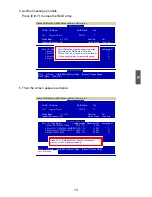
1. Enter the BIOS setup by pressing <DEL> key when boot up.
2. Select the “Integrated Peripherals” from the “Main menu”, then select the
“IDE
Configuration” menu and press <Enter> to go to the configuration items.
3. Enable RAID function and individual SATA port for hard drive or DVD connection.
4. Press <F10> to save the setting then PC will reboot itself.
5-3 Select a RAID Array for Use
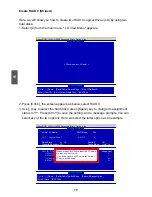
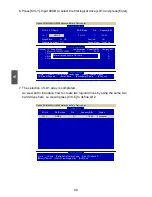
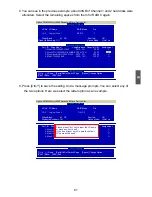
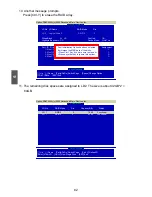
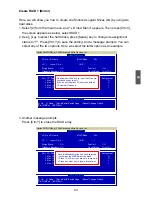
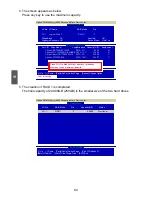
When BIOS is restarted, it will display a message asking you to press [Ctrl-F] key to
enter the main menu of Option ROM Utility. Press [Ctrl-F], the Main Menu appears.
Option ROM Utility (c) 2008 Advanced Micro Devices, Inc.
View Drive Assignments. . . . . . [ 1 ]
LD View / LD Define Menu . . . .
[ 2 ]
Delete LD Menu . . . . . . . . . . . . [ 3 ]
Controller Configuration . . . . . .
[ 4 ]
[ Main Menu ]
Press 1..4 to Select Option
[ESC] Exit
[ Keys Available ]
CMOS Setup Utility - Copyright (C) 1985-2006, American Megatrends, Inc.
IDE Configuration
IDE Configuration
Help Item
OnChip SATA Channel
[Enabled]
Native IDE
OnChip SATA Type
I RAID
OnChip IDE Type
[Legacy IDE]
AHCI
SATA IDE Combined Mode
[Disabled]
Legacy IDE
↑↓←→:Move Enter:Select +/-/:Value F10:Save ESC:Exit F1:General Help
F9:Optimized Defaults
[RAID]


