40
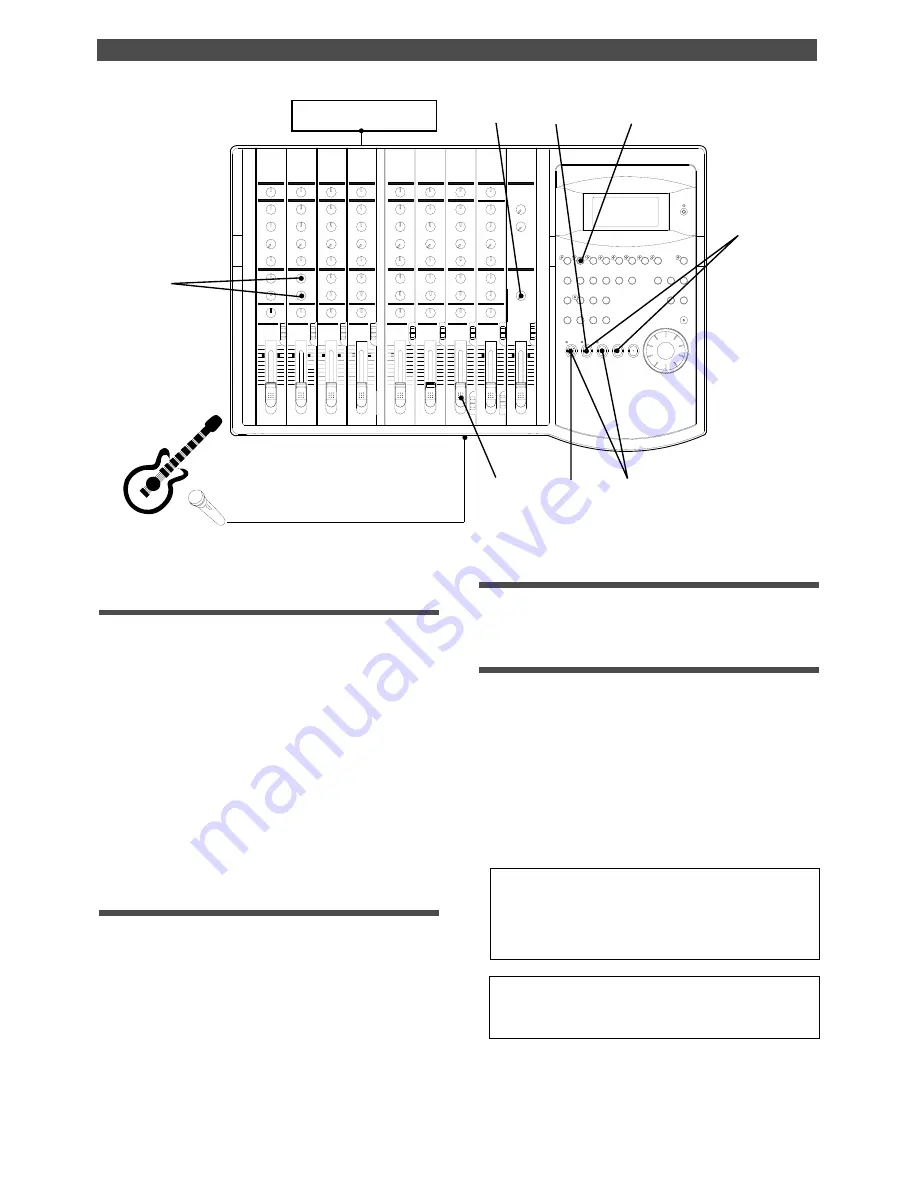
Recording to a Metronome Sound
9
1
3, 11
5, 13
6, 12
7
2, 8
Compressor/Limiter
4
Monitoring the guitar sound and
adjusting the recording level
1. Press the RECORD button.
Track 2 enters input monitoring mode.
2. Play the guitar.
3. Adjust the recording level of the guitar sound using
the channel 7 input fader.
As you raise the input fader, level meter 2 will respond.
4. Adjust the output level on the compressor/limiter.
5. Adjust the guitar monitoring level using the channel
2 MON mix section.
Use the channel 2 MON knob to adjust the level, and use
the MON PAN knob to adjust the stereo image.
Starting recording
6. Locate the top of the Program.
7. Hold down the RECORD button and press the PLAY
button to start recording.
8. Play the guitar in time with the metronome.
The guitar sound is recorded at the recording level
adjusted in step 3.
Quitting recording
9. Press the STOP button to stop the recorder.
Checking the recorded sound
10. Set the RECORD TRACK select key 2/R to off.
11. Lower channel 7 input fader.
12. Locate the top of the Program and start playback.
13. Turn the channel 2 MON knob to the left to check
the recorded guitar sound.
Since the Metronome function still remains on, you can
hear the metronome sound during playback as you turn
the channel 8 MON knob.
Note:
When you finish using the Metronome function, turn the
function off in SETUP mode.
Note:
When the Metronome function is on, you cannot record
data on track 8, nor can you play data recorded on track 8.
If you wish to re-record the sound, use the Undo/Redo
function to re-start recording as explained in the “Basic
Recording”. Refer to “Quick Operation Guide.”
10
5, 13


