‐‐‐‐‐‐‐‐‐‐‐‐‐‐‐‐‐‐‐‐‐‐‐‐‐‐‐‐‐‐‐‐‐‐‐‐‐‐‐‐‐‐‐‐‐‐‐‐‐‐‐‐‐‐‐‐‐‐‐‐‐‐‐‐‐‐‐‐‐‐‐‐‐‐‐‐‐‐‐‐‐‐‐‐‐‐‐‐‐‐‐‐‐‐‐‐‐‐‐‐‐‐‐‐‐‐‐‐‐‐‐‐‐‐‐‐‐‐‐‐‐‐‐‐‐‐‐
English
Version
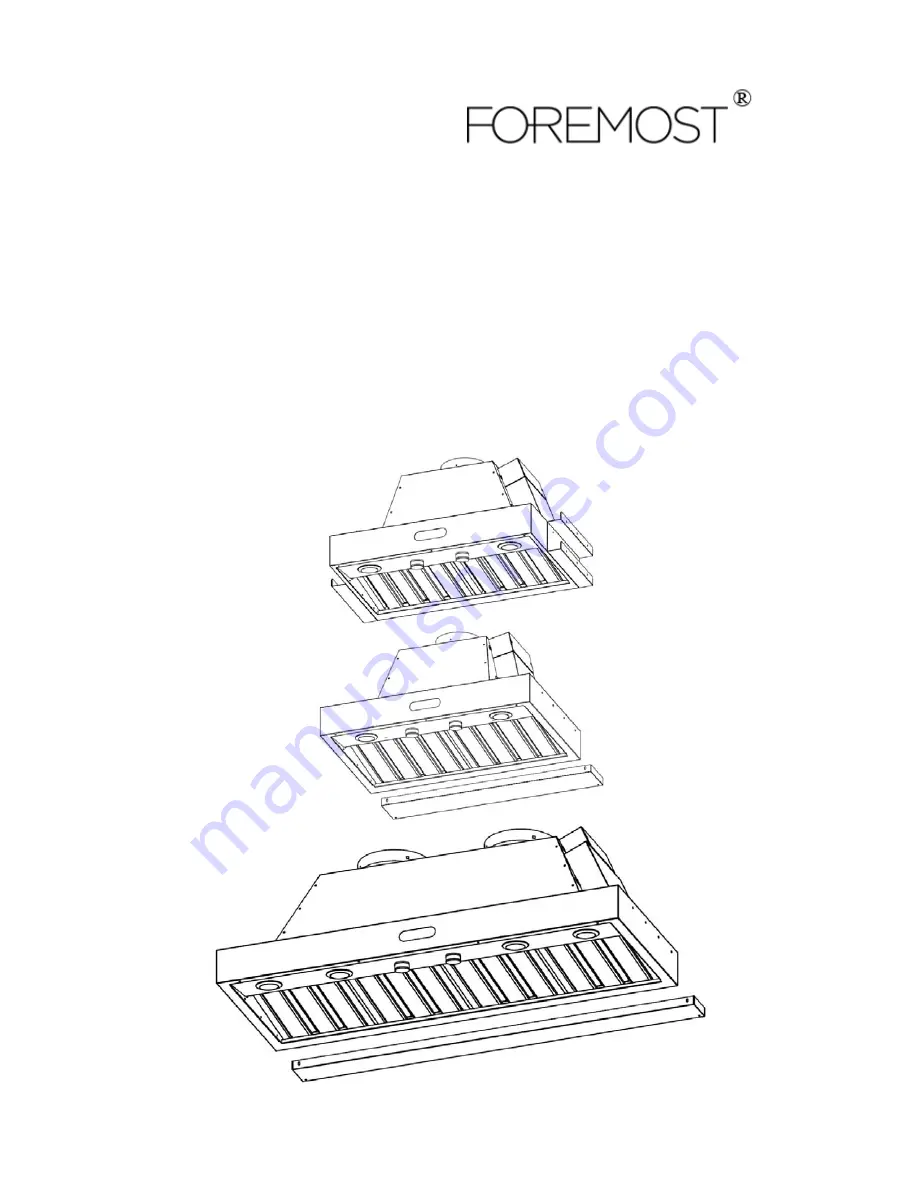
Range
Hood
Inserts
Installation
Instructions
and
Operation
Manual
Models
:
FRHI
‐
30T
FRHI
‐
36T
FRHI
‐
30S
FRHI
‐
36S
FRHI
‐
42S
FRHI
‐
48S
FRHI
‐
42M


