52
A.
Configure La Fonera
A Configure La Fonera
4.
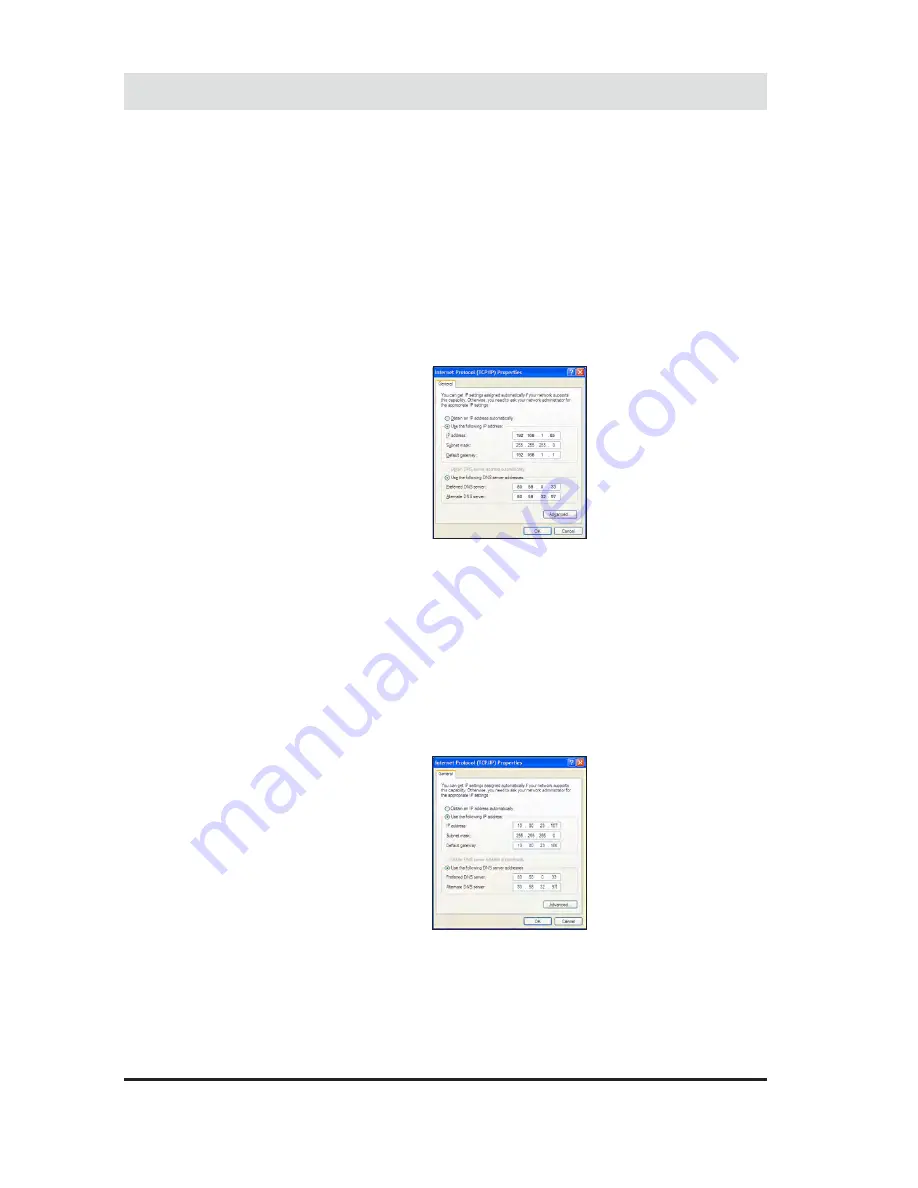
At this point you should see a screen like the one
shown in the next figure. If the
Obtain an IP address
automatically button found on the upper side of the
dialog box is activated, it means that you have a NON
static IP, and you’re probably using DHCP. In this case
you shouldn’t modify the connection parameters in this
section of the Management Console. If the Use the
following IP address button is activated, it means you
DO have a static IP, and you’ll need to configure some of
La Fonera’s parameters.
5.
If you’ve reached this point, it means you’ve checked
that you have a static IP in the previous steps. The
previous screen contained some information that we’ll
need to be able to configure La Fonera to suit your
needs. The easiest thing to do is copy all the information
you see in the dialog box onto a piece of paper, as you’ll
need to type it afterwards. Once you’ve done this, go
back to the Management Console (refer to section A.2)
to finish the configuration process
The rest of the process is straightforward. You just have
to type the data you wrote down into the respective field
that you’ll find in the section
Advanced>Internet Connection
.
Remember that you must change the
Mode
to
Static IP
.
Summary of Contents for LA FONERA
Page 1: ...La Fonera User Manual ...
Page 6: ...What s FON 1 What s FON 1 1 ...
Page 8: ...2 Register in FON 2 Register in FON ...
Page 13: ...3 What s La Fonera 3 What s La Fonera ...
Page 16: ...4 Install La Fonera 4 Install La Fonera ...
Page 31: ...5 Your Fonero profile 5 Your Fonero profile ...
Page 37: ...37 5 Your Fonero profile 5 Your Fonero profile 5 5 Personalize your Access Portal ...
Page 43: ...A Configure La Fonera A Configure La Fonera ...
Page 58: ...B Troubleshooting B Troubleshooting ...
Page 87: ...C Glossary C Glossary ...
Page 102: ......


