<
Back Next
>
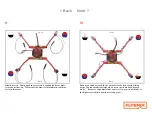
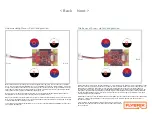
When attaching the props, eeach prop has a marking on it. For example the 60 MM props use A or B markings on the
underside of the prop. This indicates the shape of the prop. When attached to the correct motor, the propeller cuts
through the air creating lift. Since the motors spin in opposite directions, the props have two shapes that corre-
spond to the direction the motor spins. When building Flybrix, red/blue motors always need an A shaped prop. The
A shaped props spin with their leading edge going from high to low. Black/white motors always take the B shaped
prop. When the black/white motors spin counterclockwise, the B props leading edge goes from high to low, again
creating lift by pushing the air upward.
What happens if the props aren’t marked with an A and B? HINT: You can tell by the shape of the props! Think about
it this way.... You want the leading edge of the prop to angle from low to high in the direction the motor spins to
push the air upward.
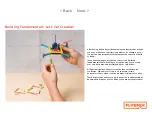
One more thing... When attaching your props, make sure the prop isn’t on
upside down! The flat side of the prop (all props have slight curves) should
be on the bottom.
Front
Back
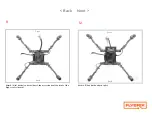
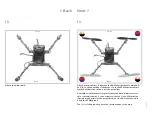
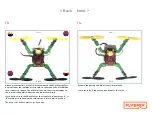
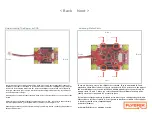
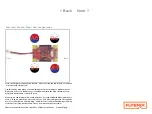
Motors for a quadcopter are always connected to the board in the same way. In port 0 always use a red/blue
motor. In port 6 aways use a black/white motor. Port 1 is black/white and port 7 is always red/blue. Even if your
design is creative and positions the motors in new ways, make sure that port 0 always gets a red/blue motor etc.
(it’s possible to change the motor configurations in the advanced settings if you want to experiment with that
feature, however factory settings are standard red/blue port 0 etc).
Notice as you go clockwise around the board, the motors rotate between red/blue and black/white, and the
black/white motors are diagonal across the board as are the red/blue motors.
Why do you think this is? HINT: Red /blue motors spin clockwise and the black/white motors spin counterclock-
wise Do some investigative work on your own to understand the physics behind motor rotation and positioning,
or visit the Flybrix Forum and ask your question!
To experiement... try putting both red/blue motors on one side of the board and bloth black/white on the other.
Let us know what happens!
0
6
1
7
Understanding Motor + Port Configuration
The Basics of Prop + Motor Configuration
Front
Back
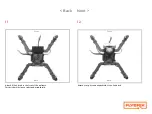
A
B
B
A
Summary of Contents for Angle Armed Quad
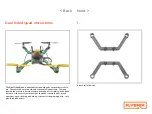
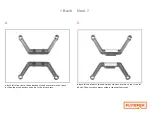
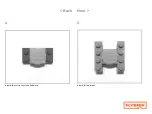
Page 20: ... Back Next 2 Attach 4 1x1 knobs 3 Attach 2 1x6 bricks ...
Page 21: ... Back Next Design Check In Side View 4 Attach your battery ...
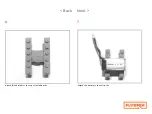
Page 22: ... Back Next 5 Attach 2 1x4 bricks and 4 1x1 knobs to the 1x4 bricks 6 Attach 2 1x6 bricks ...
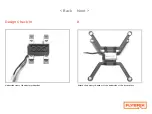
Page 30: ... Back Next 4 Attach the velcro tile to the 2x4 brick 5 Attach 2 1x4 bricks ...

