<
Back Next
>
We suggest reading all the way through these instructions before
beginning. There are 4 things you need to do to with either the app (or
the joystick controller to fly:
Pairing (aka binding) This step connects the the flight control board to
the app. Essentially it means the two can “talk” to each other. (Step 1 in
the app)
Arming - which means props are able to spin. (Step 3 in the app)
Disarming - stopping props from spinning. Upon landing or crashing,
make sure to disarm your motors. Leaving the motors on and unable to
spin stresses the motors, causing them to burn out prematurely. (Step 3
in the app)
PRE FLIGHT
When you’re ready to fly, make sure the “front” (the side of your airframe
where the leads connect to the flight control board) face AWAY from
you. If the leads are facing you on takeoff, your controls will be reversed,
making it very difficult to control your airframe!
Grab your app and follow the 1, 2, 3 steps on the homescreen to get
airborne.!
NOTE: An external joystick controller can be added to the Quad Starter
Kit if you prefer a different flying experience (sold separately at flybrix.
com). For external joystick controller instructions are here.
Flying
If you’ve flown drones before, you’ll be able to fly your airframe just like a
ready-to-fly drone, however since Flybrix drones are made using bricks rath-
er than a rigid unibody frame, Flybrix is not designed to fly like a
performance or acrobatic drone.
Flybrix is about experimenting and learning through trial and error. Here
are some tips and tricks for flying.
Take off from a flat surface.
Every time your airframe turns on before you
fly, the flight control board calibrates to what it believes is “flat”, if you take
off from an uneven surface, the motors auto-tune in flight to keep your
airframe level. This means if you take off with a right tilt for example, your
airframe will vere right.
It’s also important to remember when you build your airframes, make sure
they have a flat bottom.
Throttle-up
for a clean takeoff rather than letting your airframe sit on the
ground with the motors spinning and gently increasing the throttle. After
a few tries, you’ll get a feel for how much to throttle-up for a clean takeoff.
Controls not working as expected?
For example, if you’re trying to bank
right using your roll controls and your airframe goes left... Make sure your
airframe is facing with the battery connector leads on the flight control
board facing you. If you have the cords pointing away from you, the con-
trols are flipped and you’re flying with the controls reversed.
Erratic flight?
This is a little tricky, because erratic flight can be caused by a
number of things, like piloting skill, the weight and balance of your builds
etc. But let’s say you’ve built an airframe according to the instructions we
gave you as an example. You shouldn’t experience erratic flight. Check to
make sure your battery is fully charged and your software is completely
up-to date.
Flying Tips / Troubleshooting
Summary of Contents for Angle Armed Quad
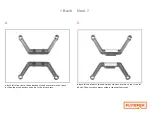
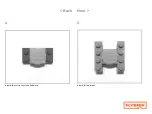
Page 20: ... Back Next 2 Attach 4 1x1 knobs 3 Attach 2 1x6 bricks ...
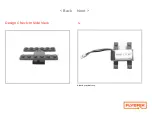
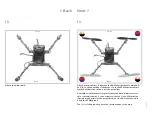
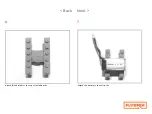
Page 21: ... Back Next Design Check In Side View 4 Attach your battery ...
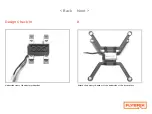
Page 22: ... Back Next 5 Attach 2 1x4 bricks and 4 1x1 knobs to the 1x4 bricks 6 Attach 2 1x6 bricks ...
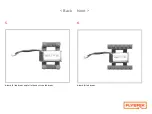
Page 30: ... Back Next 4 Attach the velcro tile to the 2x4 brick 5 Attach 2 1x4 bricks ...


