FlowLine PodView LI40 Series Quick Start Quide Download Page 2

|

   2


QS204260 Rev B 

WELCOME TO THE PODVIEW

®

 QUICK START 

The PodView

®

 Quick Start provides basic setup and use instructions for getting the PodView

®

 up and 

running quickly.  If you have a non-standard installation or setup requirement that is not addressed here, 
please refer to the PodView

®

 Manual or support documentation at flowline.com. 

 
WE DO YOUR LEVEL BEST™ 
 

Thank you for purchasing PodView

®

.  The indicator provides a LCD display and push button interface with an 

EchoPod

®

 sensor.  This Quick Start includes everything you’ll need to get the indicator up and running.   
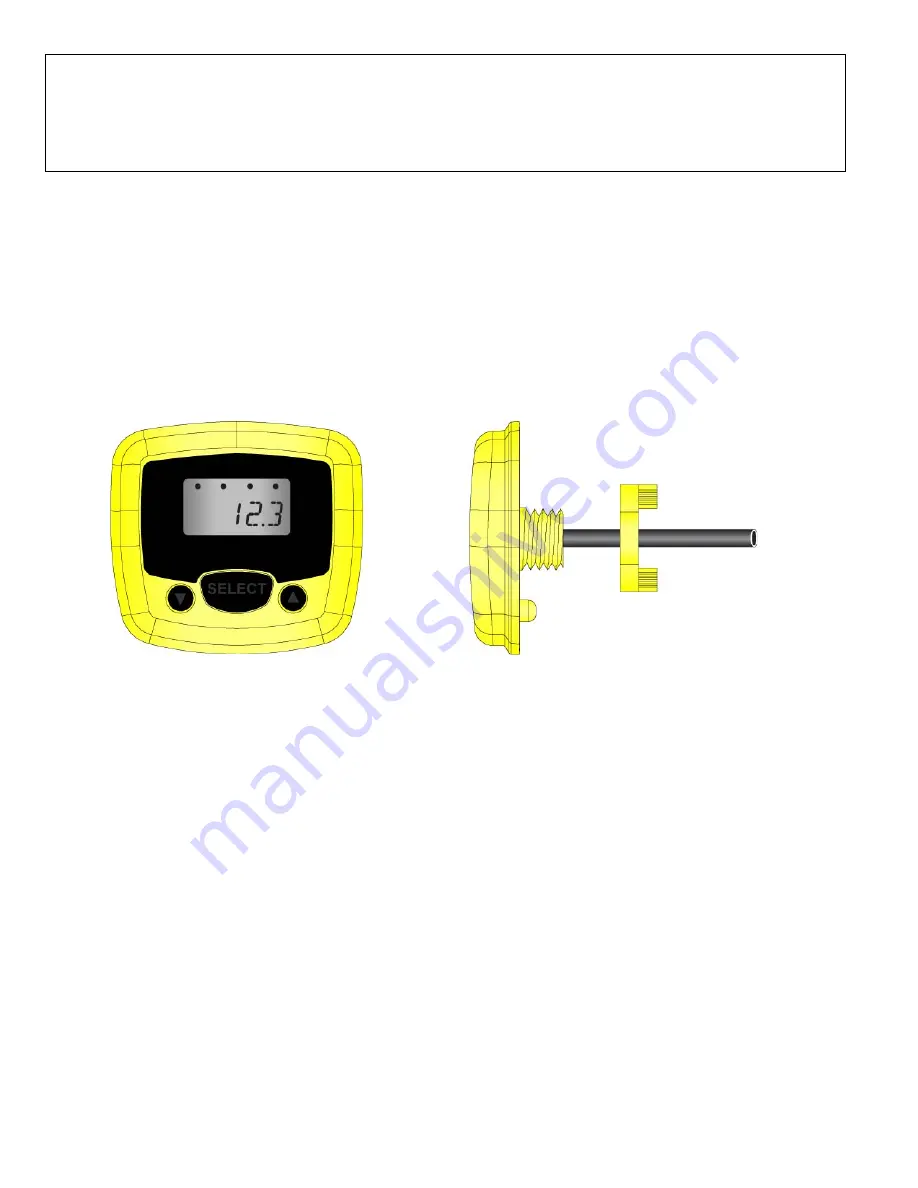
 

COMPONENTS 

 
PodView

®

 comes with a 4’ (1.2m) cable, flat gasket, locking nut and the Quick Start. 


           PodView

®

 Front View 

                  PodView

®

 Side View 


Enclosure 

 
While the enclosure is liquid-resistant, PodView

®

 is not designed to be submersed, and should be mounted in 

such a way that the indicator does not come into contact with the application media under normal operational 
conditions.   


Summary of Contents for PodView LI40 Series

Page 1: ...e Inc 10500 Humbolt Street Los Alamitos CA 90720 p 562 598 3015 f 562 431 8507 w flowline com QS204260 Rev B 2016 Flowline Inc All Rights Reserved Made in USA LI40 Series Quick Start PodView Level Ind...

Page 2: ...you for purchasing PodView The indicator provides a LCD display and push button interface with an EchoPod sensor This Quick Start includes everything you ll need to get the indicator up and running CO...

Page 3: ...e in the panel for the cable and threaded nipple 2 Drill 1 small 0 25 6 4mm diameter hole 0 83 21 1mm below the large hole that will prevent the installed indicator from rotating off center 3 From the...

Page 4: ...dView to the corresponding Green and White wires of EchoPod Note Isolate the Green and White wires from active power to prevent a short of the configuration circuit Electrical Connections Usage and Sa...

Page 5: ...Up Down Buttons Used to increase or decrease a set point value Note To increase the scrolling speed hold down the SELECT button while holding down the UP or DOWN button Select Button Used to enter the...

Page 6: ...G 1 ON and 1 OFF set point Use the following steps to change your simplex or duplex pump control settings Automatic Empty Operation Automatic Fill Operation 1 Hold SELECT for 5 seconds to enter the ME...

Page 7: ...ation with 4 set points Use the following steps to change your alarm settings 1 Hold SELECT for 5 seconds to enter the MENU 2 Press SELECT when ALARMS appears 3 Press SELECT when the set point HIGH2 H...

Page 8: ...lined above 2 have been subjected to electrical mechanical or chemical damage due to improper accidental or negligent use 3 have been modified or altered 4 anyone other than service personnel authoriz...

Reviews: