


Configuration Steps
CP-6408-21-I QIG
6
© 2019 FLIR, Inc
Page
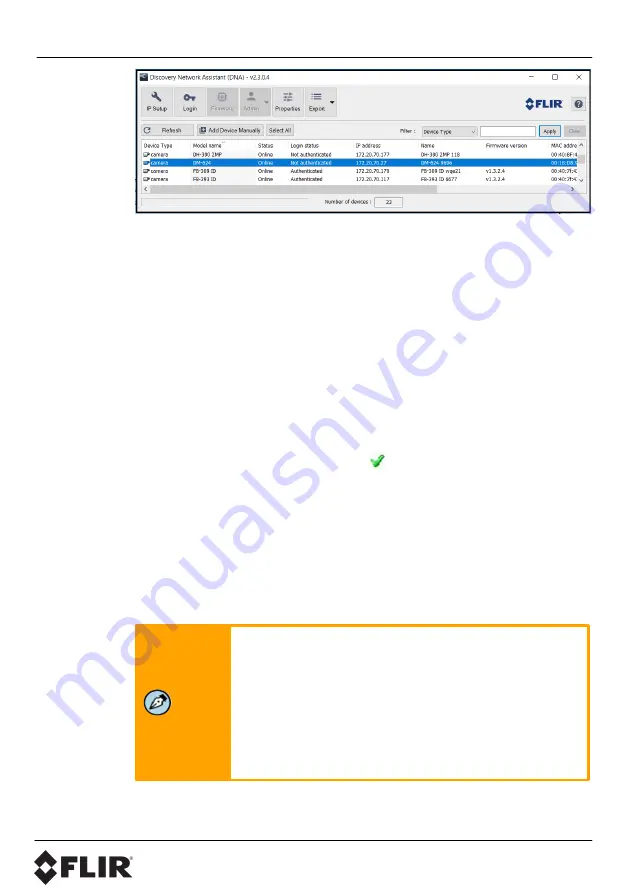
b. To Authenticate the camera:
i.
Right-click the camera and select
Login
, or click the
Login
icon
in the navigation bar.
ii. In the
DNA - Login
window, type the password for the admin user
(default:
admin
). Then, click
Login
.
iii. In the DNA Discover List, verify that the camera's status is
Online
and
Authenticated
.
iv. Configure the camera’s networking settings.
v. Right-click the camera and select
IP Setup
, or click the
IP Setup
icon in the navigation bar.
vi. In the
DNA - IP Setup
window, you can clear
Use DHCP
and
specify an
IP Address
,
Mask
, and
Gateway.
Then, click
Update
and wait for
Ok status to appear.
c.
To configure the camera for networking using the camera’s
web page:
d. Open the camera’s web page either by double-clicking the camera in
the DNA Discover List or by typing the camera’s IP address in a web
browser’s address bar.
e. On the login screen, type
admin
for the user name and the password
for the admin user (default:
admin
).
Note
When logging in to the camera for the first time or for
the first time after performing a factory default, specify
a new password for the admin user.
Use a strong password consisting of at least 12
characters and at least one uppercase letter, one
lowercase letter, and one number. Passwords can
include the following special characters: |
@#~!$&<>+_-.,*?= .
Log back in with the new password.
The camera's View Settings Home Page opens.


