24
Playback and Backup
3
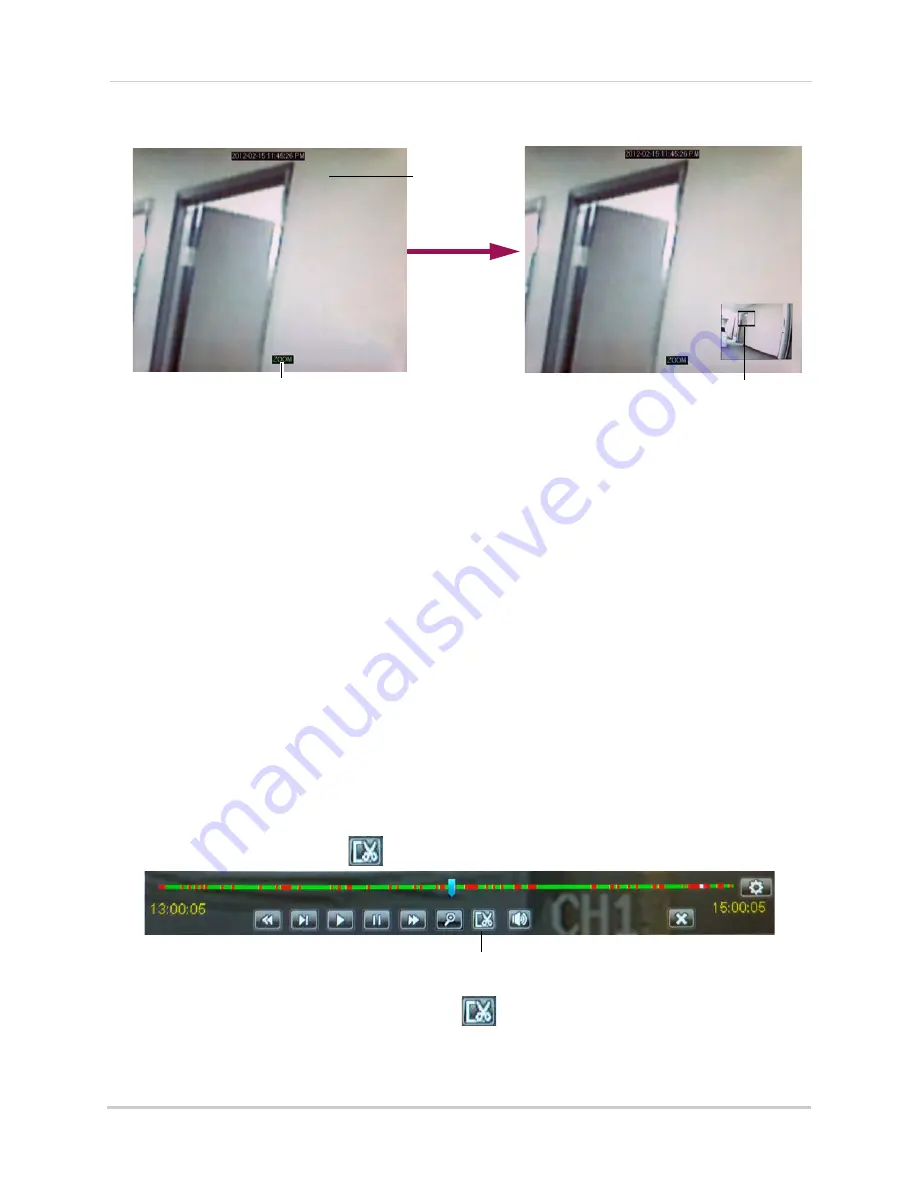
Click and drag on the area of the screen you would like to enlarge. The image zooms in on the
selected area.
Zoom icon
Click and drag to
zoom in on an
area
Click and drag inside the box to move the zoom area
Right-click to exit and select a different zoom area
• The box in the lower right-hand corner shows the entire camera picture with a black box
around the zoomed-in area.
• Click inside the box and drag to move the zoom area.
4
Right-click to exit and select a different zoom area. Right-click again to exit Zoom Mode and
return to Playback Mode.
Using Video Clip Backup
Video clip backup allows you to select a duration of video during playback mode and save
it to a USB flash drive (not included) or eSATA external hard drive (not included).
NOTE:
You must format an eSATA hard drive before you can use it to backup data. For information
on formatting backup drives, see “Device” on page 45.
NOTE:
Video clip backup is only available when a single channel is selected for Playback.
To create a backup video clip:
1
Connect a USB flash drive (not included) or eSATA external hard drive to the DVR.
2
Open Playback mode with only one channel selected. For details, see “Playing Back Recorded
Video” on page 20.
3
Click the clip backup button (
) to start your backup at the current playback time.
Click to select the start and stop times
4
When you want the backup clip to stop, click
again.
TIP:
You can use fast forward or click-and-drag the video cursor to select the stop time for
the clip. This is useful because it allows you to backup longer segments of video without
Summary of Contents for D3200 Series
Page 12: ...x ...


