


53 |
P a g e
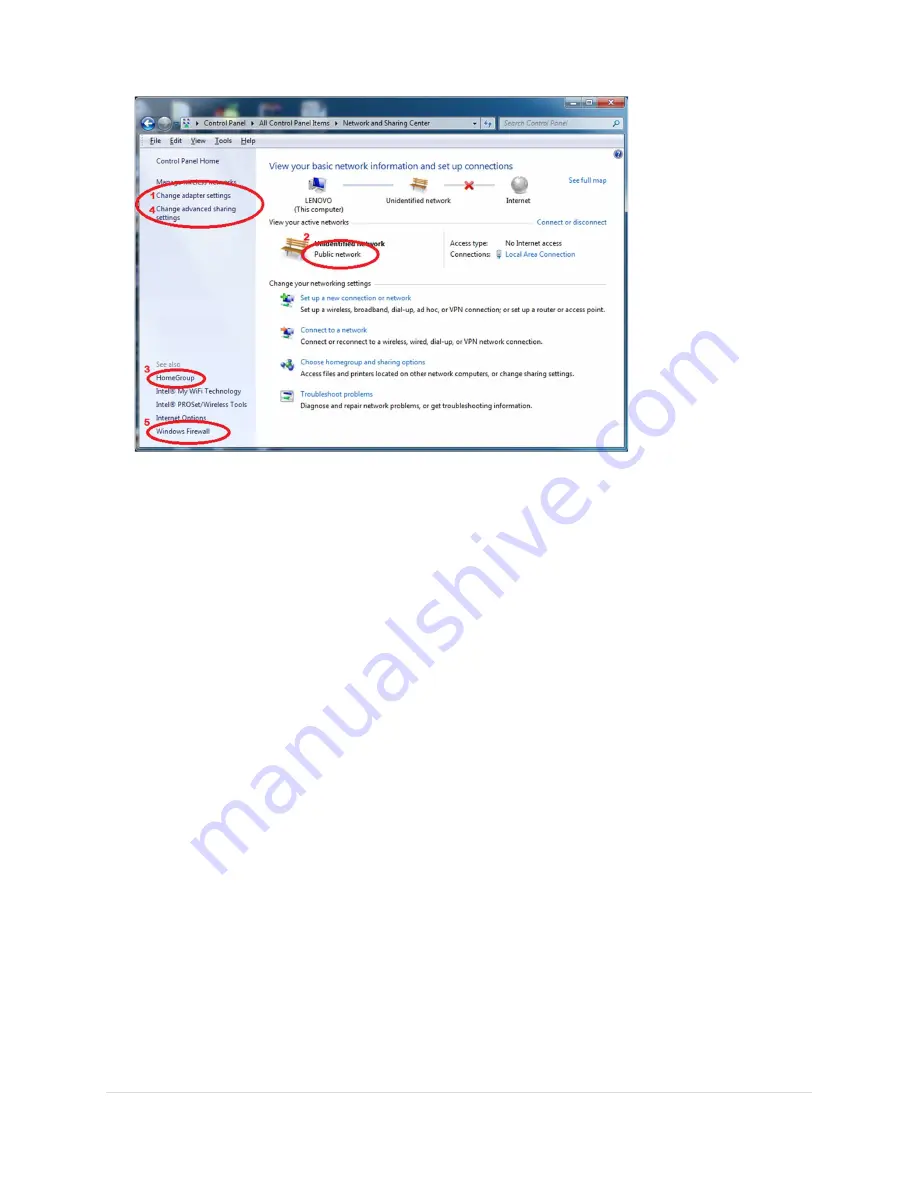
3.
If the text,
Public Network,
is not selectable, click on
HomeGroup
(3) in the lower left panel of the
Network and Center.
a.
Click on
Start the HomeGroup troubleshooter
at the bottom of the window titled “Change
homegroup settings”.
b.
Click on
Next
in the window titled “Troubleshoot and help prevent computer problems”.
c.
A window displays “Detecting Problems…” followed by the “Troubleshoot network problems”
window. Click Skip this step.
d.
A diagnostic window appears, followed by a window titled “Change the network location to
Home”. Click
Apply this fix
.
e.
Click
Cancel
in the next window.
You are now on a private network.
12.5
Set the Private Sharing Options
Go to the Control Panel and click on Network and Sharing Center.
Click on
Change advance sharing settings
(4) in the upper left panel.
Set the following options:
Windows 7:
Expand the options for Home or Work and set the following:
1.
Turn on network discovery
2.
Turn on file and printer sharing
3.
Turn on sharing so anyone with network access can read and write files in the Public folders
4.
Use 128-bit encryption to help protect file sharing connections
5.
Turn
off
password protected sharing
6.
Use user accounts and passwords to connect to other computers.
Windows 8 and 10:
Expand the options for Private and set the following:
1.
Turn on network discovery and check turn on automatic setup of connected devices.


