background image

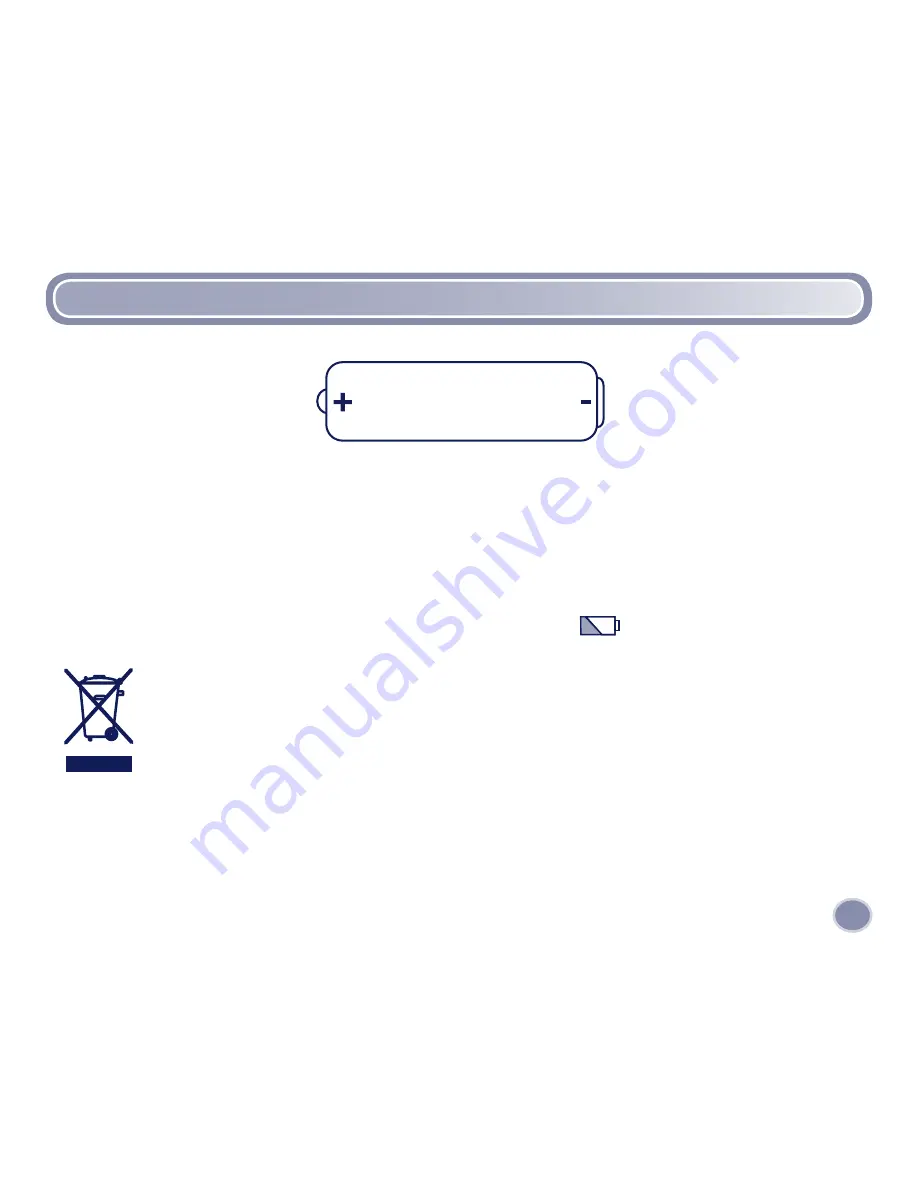
“AA“ (LR) Battery Installation

11

• Locate the battery compartment door on the bottom of the camera.
• Loosen the screws in the battery compartment door. Remove the battery compartment door.
• Insert four “AA” (LR6) 

alkaline

 batteries.

Hint:

 We recommend using 

alkaline

 batteries for longer battery life.

• Replace the battery compartment door and tighten the screws.  
• When the low battery indicator appears on the LCD screen 

 , it’s time for an adult  

to change the batteries.

1.V x 

“AA” (LR)

• Protect the environment by not disposing of this product with household waste 

(2002/96/EC). Check your local authority for recycling advice and facilities 

(Europe only).

Summary of Contents for Kid-Touch J8209

Page 1: ...www fisher price com J8209 J8210 J8211...

Page 2: ...ion 14 15 Using Your Camera Turning the Camera On and Off 16 Taking a Picture 17 Using the Flash 18 Reviewing or Deleting Pictures 19 Transferring Pictures to Your Computer System Requirements 21 Abou...

Page 3: ...screwdriver Do not over tighten the screws Your Kid Tough Digital Camera includes PhotoShow Deluxe Software to view manage or edit your digital pictures If you already have image viewing editing manag...

Page 4: ...hould be above or facing your picture subject Do not place your picture subject in front of the light source since the picture subject will look dark in your photo 2 Hold Still Make sure the picture t...

Page 5: ...Camera USB Cable This is not a toy CD ROM with PhotoShowTM Deluxe Software This is not a toy CR2032 Lithium Button Cell Battery For adult assembly only Package Contents...

Page 6: ...r your little one It s a real digital camera with a durable drop resistant design It s a perfect way for kids to get creative by taking viewing and even printing their own digital pictures Lens Shutte...

Page 7: ...Back View Your Camera Viewfinder LCD Screen Image Forward Button Image Back Button Power Button Delete Button USB Port open door to access Speaker...

Page 8: ...Battery Compartment Door Bottom View SD Card Slot SD Card not included and sold separately Your Camera AA LR6 Battery Compartment CR2032 Battery Compartment AA LR6 Battery Compartment Battery Tray...

Page 9: ...uded Lens 4 8 mm f 2 6 Focus Range 4 ft 1 22 m infinity LCD Screen 1 3 color LCD preview Connectivity USB version 1 1 or higher Batteries 4 AA LR6 alkaline batteries 1 CR2032 lithium button cell batte...

Page 10: ...Battery Compartment Door AA LR6 Battery Installation 10...

Page 11: ...ries Hint We recommend using alkaline batteries for longer battery life Replace the battery compartment door and tighten the screws When the low battery indicator appears on the LCD screen it s time f...

Page 12: ...CR2032 Battery Installation Battery Compartment Door Battery Tray 3 V CR2032 12...

Page 13: ...batteries it s time to change the CR2032 lithium button cell battery Loosen the screws in the battery compartment door Remove the battery compartment door Locate the battery tray inside the bottom of...

Page 14: ...atteries during long periods of non use Always remove exhausted batteries from the toy Dispose of batteries safely Do not dispose of this product in a fire The batteries inside may explode or leak Nev...

Page 15: ...able please recycle your product Visit your nearest recycling center For the location of the nearest recycling center visit us online at www service mattel com If a recycling center is not available i...

Page 16: ...ton on the back of the camera to turn power on You will hear a tone To turn power off press and hold the power button until you hear a tone Hint If you have not used the camera for a while it shuts of...

Page 17: ...ra steady press the shutter button on the front of the camera Listen for a shutter sound and look for the camera icon on the LCD screen The picture you just took will stay on the LCD screen for a few...

Page 18: ...ing the camera steady press the shutter button to take a picture Hint The flash works best when your picture subject is about 4 ft 7 5 ft 1 22 m 2 23 m from the camera When the batteries are getting w...

Page 19: ...image back buttons to review the pictures you have taken When you are finished reviewing the camera switches back to normal picture taking mode in a few seconds Image Forward Button Image Back Button...

Page 20: ...back buttons Then press the image delete button X A trash can with a question mark appears on the LCD screen If you want to delete the picture press the image delete button again If you decide you do...

Page 21: ...ded CD ROM CD R Burner for any CD burning 2x or faster Input Port USB version 1 1 or higher Note While PhotoShow Deluxe is not Macintosh compatible the camera can be connected as a mountable USB devic...

Page 22: ...to launch the software On the opening screen you can click the manage button to jump right in or click on a topic to learn more about how the software works To exit PhotoShow Deluxe click close window...

Page 23: ...door open and insert the USB cord smaller end into the USB port Insert the larger end of the USB cord into a USB port on your computer generally marked with this symbol The camera turns on automatica...

Page 24: ...oor on the camera The camera shuts off automatically 24 To disconnect your camera click eject disk on your computer s task bar Select the USB Mass Storage Device your camera and click stop Click OK to...

Page 25: ...tment door Gently insert an SD card into the slot in the camera bottom as shown Gently press the SD card You will feel a click when the SD card is in place Note The card will fit in the slot only one...

Page 26: ...s we recommend purchasing and using an SD card sold separately and not included Here is the approximate picture storage capacity with typical SD cards Notes If you use your Kid Tough Digital Camera wi...

Page 27: ...te button on the camera to remove some of them Photos too dark Flash does not work because batteries are weak or exhausted Replace the batteries in the camera with four new AA LR6 alkaline batteries Y...

Page 28: ...nity Can not transfer pictures to the computer PhotoShowTM Deluxe software is not installed Insert PhotoShowTM Deluxe CD into the CD ROM drive of your computer and install the software USB cord may no...

Page 29: ...ff of the camera Keep the camera away from direct sunlight and excessive heat Wipe the camera with a soft clean cloth Do not immerse the camera This camera has no consumer serviceable parts Please do...

Page 30: ...ee that interference will not occur in a particular installation If this equipment does cause harmful inter ference to radio or television reception which can be determined by turning the equipment of...

Page 31: ...ort simplestar com For countries outside the United States CANADA Questions 1 800 432 5437 Mattel Canada Inc 6155 Freemont Blvd Mississauga Ontario L5R 3W2 www service mattel com GREAT BRITAIN Mattel...

Page 32: ...NY 14052 U S A 2006 Mattel Inc All Rights Reserved and TM designate U S trademarks of Mattel Inc PRINTED IN CHINA J8209a 0920 2002 2006 Simple Star TM Inc Simple Star TM Inc and PhotoShow TM logos ar...

Reviews: