-9-
Figure 7: Using SeriTek/1SM2 with a drive enclosure that has I-shaped eSATA connectors; both cable
connectors will be identical.
Making the Serial ATA Connection
Caution
: Be sure to connect the cable using the proper orientation to your SeriTek host
adapter and external enclosure. It should easily snap into place. Please do not force the
cable connector onto the host adapter and hard drive or peripheral interface.
Remember that connectors and receptacles must be of the same type for them to fit:
L-shaped connector to L-shaped receptacle
or
eSATA connector to eSATA receptacle.
First check that you are connecting the correct type of connectors and receptacles to
each other.
If your connectors still do not fit, rotate the cable and try again
4.
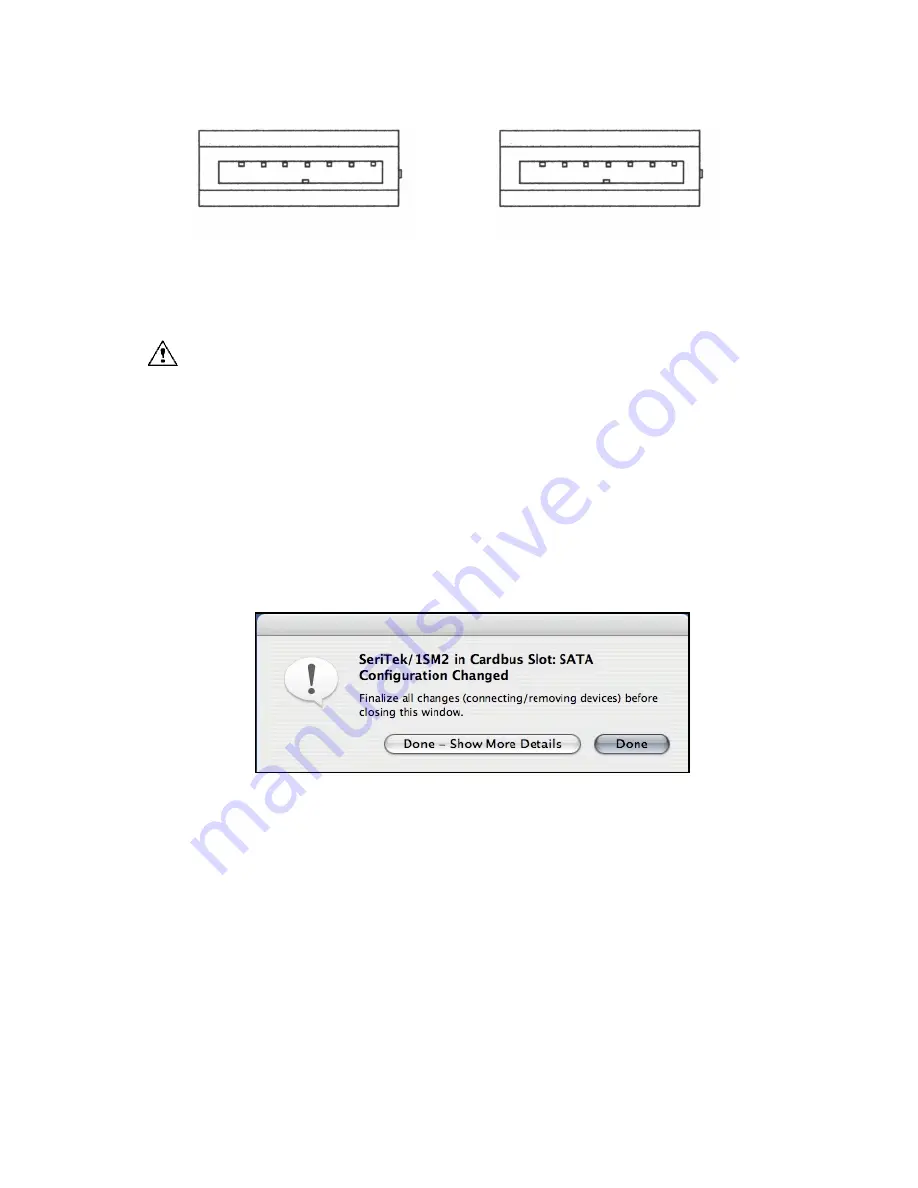
Connect your drive cables, or insert them in an enclosure. If your enclosure is powered
on, a configuration screen will appear. If your enclosure is powered off, power it on, and
you should see the following configuration screen appear.
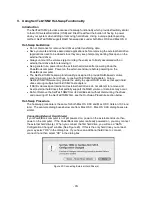
Figure 8: Mac OS X Configuration Changed Screen
Make sure that you make all changes to your storage configuration (inserting/removing
drives) before closing this window!
5.
After finalizing your new storage configuration click on Done, or Done
–
Show More
Details:
If you click
“
Done
”
, a
“
Disk Insertion
”
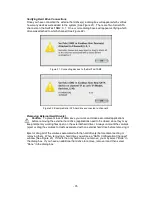
window will appear on your desktop, see installation
step 6 below.
If you click
“
Done
–
Show More Details
”
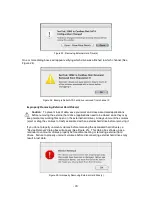
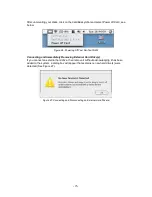
one of more message windows will be displayed
sequentially detailing the new storage configuration details.


