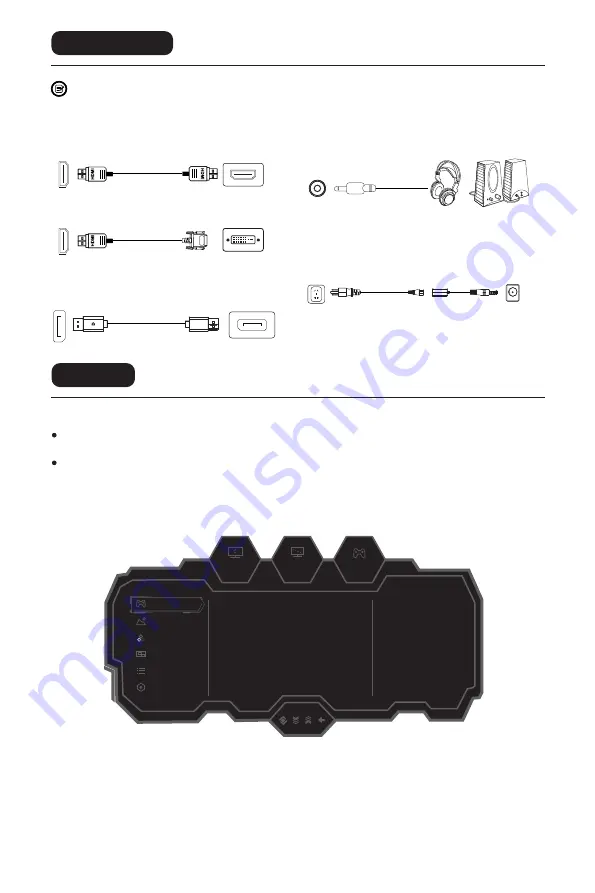
Please connect the power adapter to the power cable,
connect the power adapter plug to the corresponding
power port of the monitor, and then connect the power
cable to a properly grounded power outlet.
7
Menu description
OSD menu
The color and shape of the OSD menu of the actual computer may be slightly different from them
shown in the figure.
Specifications of the OSD menu may change with improvements of functions without prior notice.
60hz
2560
x
1080
OFF
Other Settings
Game Setting
s
OSD Settings
Color Settings
PIP/PBP
Picture Settings
Standard Mode
On
Off
Off
Off
Off
50
RTS/RPG Mode
FPS Arena Mode
MOBA Arena Mode
Adptive-Sync
Shadow Balance
Press the menu button on the control panel to access the monitor menu. The detailed information
of each menu can be found in the following sections.
1. Rocker key (Right) to enter the OSD main menu or enter sub-menus.
2. Rocker key (Up) to pattern of situations or move up in the menu.
3. Rocker key (Down) to enter the GamePlus or move down in the menu.
4. Rocker key (Left) to enter the Input Signal or exit the current screen.
Cable connection
* Note: If the power cable or signal cable is damaged, you must replace it with special soft cables or special
components purchased from the manufacture or maintenance department.
* The bottom interface configuration at the back of the monitor varie with products.
DC interface
AUDIO OUT
Connect audio outputting devices such as earphones to
the AUDIO OUT interface.
HDMI interface
Use the HDMl cable to connect the HDMI IN interface
of the product to the HDMI OUT interface of a PC.
Use the HDMI-DVl cable to connect the HDMI IN interface
of the product to the DVI OUT interface of a PC.
DP interface
Use the DP cable to connect the DP IN interface of the product to
the DP OUT interfac of a PC.


