


English
- 18 -
Format Disk
IMPORTANT
: Note that ALL the data stored on the USB disk
will be lost and then the disk format will be converted to FAT32
if you activate this feature.
•If you want to delete all
fi
les on the connected USB
hard disk drive or memory stick, you can use
Format
Disk
option.
• Also, if your USB disk malfunctions, you can try
formatting the USB disk. In most cases formatting
the USB disk will restore normal operation; however,
ALL the data stored on the USB disk will be lost in
such a case.
• Press
OK
button while the Format Disk option
is highlighted. A menu will appear on the screen,
requiring you to enter a pin number. If you have not
changed the pin number, the factory default is 0000.
After you enter the pin, a pop-up menu appears on
the screen to ensure that the hard disk should be
formatted, select “YES” and press
OK
to format the
hard disk. Select “NO” and press
OK
to cancel. Ensure
you back up important recordings before you format
the USB disk unit.
Hard Disk Info
To view the details about the USB disk, highlight Hard
Disk Info by using “ ” or “ ” key and press
OK
. USB
disk information will be displayed:
Con
fi
guration
You can con
fi
gure the settings of your TV. Select
Con
fi
guration from Setup menu and press “
OK
” to
view this menu. Press the “
EXIT
” button on the remote
control to exit.
Hard of Hearing (* for EU countries only)
Use “ ” or “ ” button to select Hard of Hearing and
then press “ ” or “ ” button to set this setting as
On or Off.
If the broadcaster enables any special signal
concerning the audio, you can set this setting as On
to receive such signals.
Favourite Mode
Use this function to enable or disable favourite
mode. Press “ ” / “ ” button to set this function as
on or off.
Channel List
Use “ ” or “ ” buttons to go to Channel List option.
Use “ ” or “ ” buttons to toggle Channel List Mode.
If you select “TV Only”, with the “ ” or “ ” buttons,
you navigate through only TV channels. If you select
“Radio Only”, with the “ ” or “ ” buttons, you navigate
through only radio channels. If you select “Text Only”,
with the “ ” or “ ” buttons, you navigate through only
text channels.
Scan Encrypted
Scan Encrypted Channel feature will always be ON
after performing
fi
rst time installation. When this
setting is on, search process will locate the encrypted
channels as well. If it is set as OFF manually, encrypted
channels will not be located while in automatic search
or manual search.
Use “ ” or “ ” button to select Scan Encrypted and
then press “ ” or “ ” button to set this setting as
On or Off.
Receiver Upgrade
Over Air Download (OAD)
This feature helps to keep your TV updated. It works
This feature helps to keep your TV updated. It works
automatically and searches for new information
automatically and searches for new information
when available. Note that this setting is inactive to be
when available. Note that this setting is inactive to be
modi
fi
ed
modi
fi
ed.. Please ensure that the TV is set to standby
mode. The TV automatically powers up at 3.00 A.M.
each day and searches for any new information which
may be broadcasted and will download this to your
receiver automatically. This operation will normally
take approximately 30 minutes.
Note
: Your TV may start in First Time Installation mode after
OAD update.
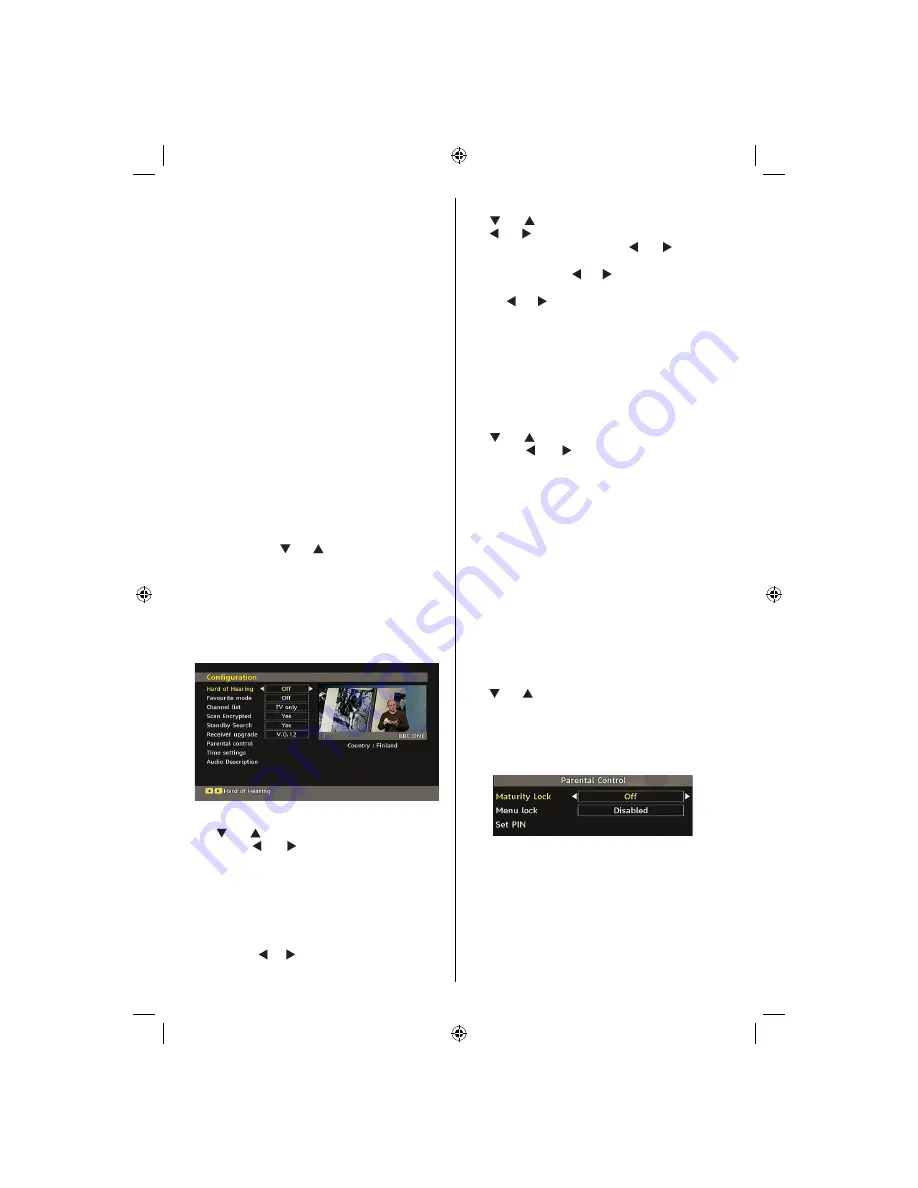
Parental Control
Use “ ” or “ ” buttons to go to Parental Lock option.
Press OK button to enter the menu. A dialog box
asking for the lock key will be displayed. The key is set
to “0000” initially. Enter PIN. If it is incorrect, “Wrong
Pin” OSD will be displayed. If it is correct, the Parental
Control menu will be displayed:
Maturity Lock (*)
(*) If you set Country option as UK in the
fi
rst time
installation, Maturity Lock option will not be visible.
This setting is available only for EU countries.
When set, this option gets the maturity information
from the broadcast and if this maturity level is disabled,
does not show video-audio.
MB45_[GB]_(01-TV)_1900UK_PVR_IDTV_NICKEL9_22850W_10065795_50157824.indd 18
MB45_[GB]_(01-TV)_1900UK_PVR_IDTV_NICKEL9_22850W_10065795_50157824.indd 18
23.10.2009 10:20:31
23.10.2009 10:20:31
Summary of Contents for 22FLD850VRU
Page 1: ...colour television owner s manual 22FLD850VRU...
Page 46: ...50157824...


