15
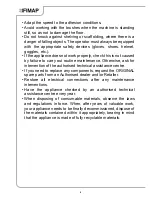
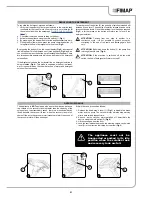
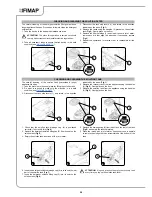
7. Connect the battery charger power supply cable plug to the mains
socket.
WARNING:
Before connecting to the plug to the socket,
check that the characteristics of the mains power supply
corresponds to that of the battery charger.
8. Position the main switch (7), on the base of the battery charger,
to position “I” (
Fig.7
).
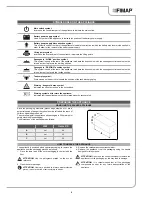
WARNING:
Check that, when giving continuity to the circuit of
the battery charger, the green LED (8) present on the battery
charger
(
Fig.8
)
turns on. This LED indicates that the battery
charger circuit is correctly powered.
ATTENTION:
Before inserting the battery into the charging
holder, check that there is no condensation or other liquid in
the dock that will hold the battery.
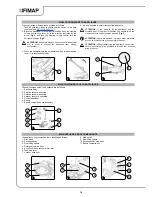
9. Insert the battery (4) in the seat (9) in the battery charger, taking
care to position the poles (10) in the battery correctly (
Fig. 9
).
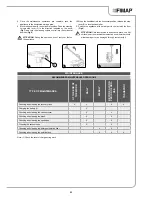
ATTENTION:
The battery can only be inserted into the
charger one way . Do not use force when inserting the battery.
ATTENTION:
Carefully read the battery charger use and
maintenance manual delivered with the appliance, before
charging the battery.
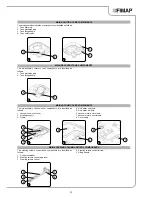
ATTENTION:
Check that, when inserting the battery into the
base of the battery charger, the red LED (11) present on the
battery charger
(
Fig.10
)
turns on. This LED indicates that the
battery is recharging.
10. Perform a complete battery charging cycle.
WARNING:
The red LED (11) remains on until the battery is
fully charged.
WARNING:
The charger and the battery can be left connected
to the power outlet. The red LED (11) lights when the charger
occasionally recharges the battery.
WARNING:
The red charge status LED (11) does not provide
any indication of the battery charge level.
WARNING:
The battery may overheat during the charging
phase, nevertheless, this is normal and does not imply that
there is a problem with the battery.
WARNING:
If the battery used in this device is over-charged,
this may present a risk of fire, explosion or chemical burns.
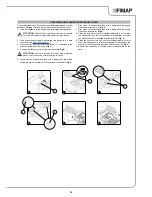
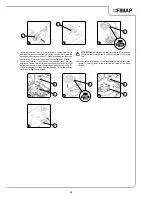
11. With charging complete, position the main switch (7), on the base
of the battery charger, to position “0” (
Fig.11
).
12. Disconnect the battery charger power supply cable plug from the
mains socket.
ATTENTION:
To prevent damaging the power cable,
disconnect the plug from the mains socket by directly pulling
the plug and not the cable.
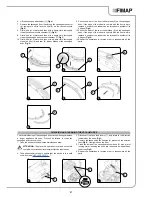
13. Remove the battery (4) from the base of the charger, remove the
battery from the body of device upwards (
Fig.12
).
7
7
8
11
4
4
9
7
11
8
10
9
12
ON
OFF
10

