


1
1-52
Installing User Software on a Windows Computer
Configuring the connection for Fiery utilities
The first time you launch one of the Fiery utilities, you must configure the connection
to the Fiery. Similar configurations are used for all Fiery utilities (including Fiery
Remote Scan), so any change in one configuration affects all the other connections.
B
EFORE
YOU
BEGIN
•
Print the Configuration page from the Fiery Control Panel.
This page contains information you need when configuring the connection, such as
the IP address. For TCP/IP installations, you can use the DNS name of the Fiery
instead of the IP address. Make sure the Fiery is already registered in a Domain Name
Server (DNS) on your network. For more information, see your Windows system
documentation.
T
O
CONFIGURE
THE
CONNECTION
FOR
F
IERY
UTILITIES
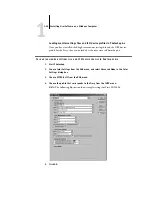
1.
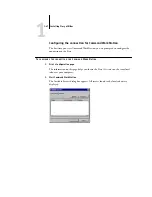
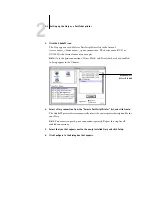
Start the utility for which you want to configure a connection.
For Fiery Remote Scan, start Photoshop.
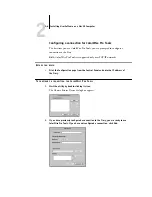
2.
If the No Servers Configured dialog box appears, click OK.
If the Choose Printer Device dialog box appears, click Add.
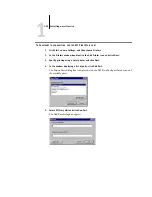
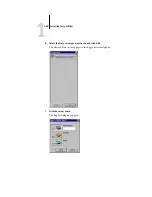
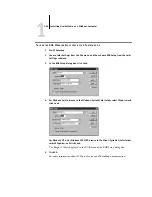
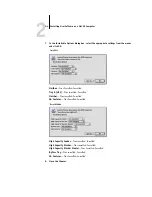
3.
Enter the appropriate information for the Fiery.
Nickname
—Enter a name for the Fiery. This name does not have to match the actual
Server Name of the Fiery.
N
OTE
:
The nickname cannot contain any of the following seven characters:
[ ] _ " ' <space> <tab>
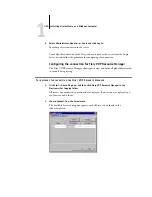
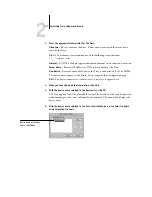
Protocol
—Choose the type of network protocol you are using from the menu.
N
OTE
:
Fiery utilities are not supported over IPX/SPX. Command WorkStation is
supported on Windows computers over TCP/IP.
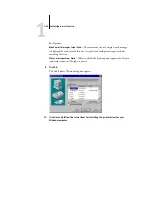
Server Name
—Enter the IP address (or DNS name) of the Fiery.
New Device
—Enter the name of the device the Fiery is connected to:
DC12
or
DC2000
.


