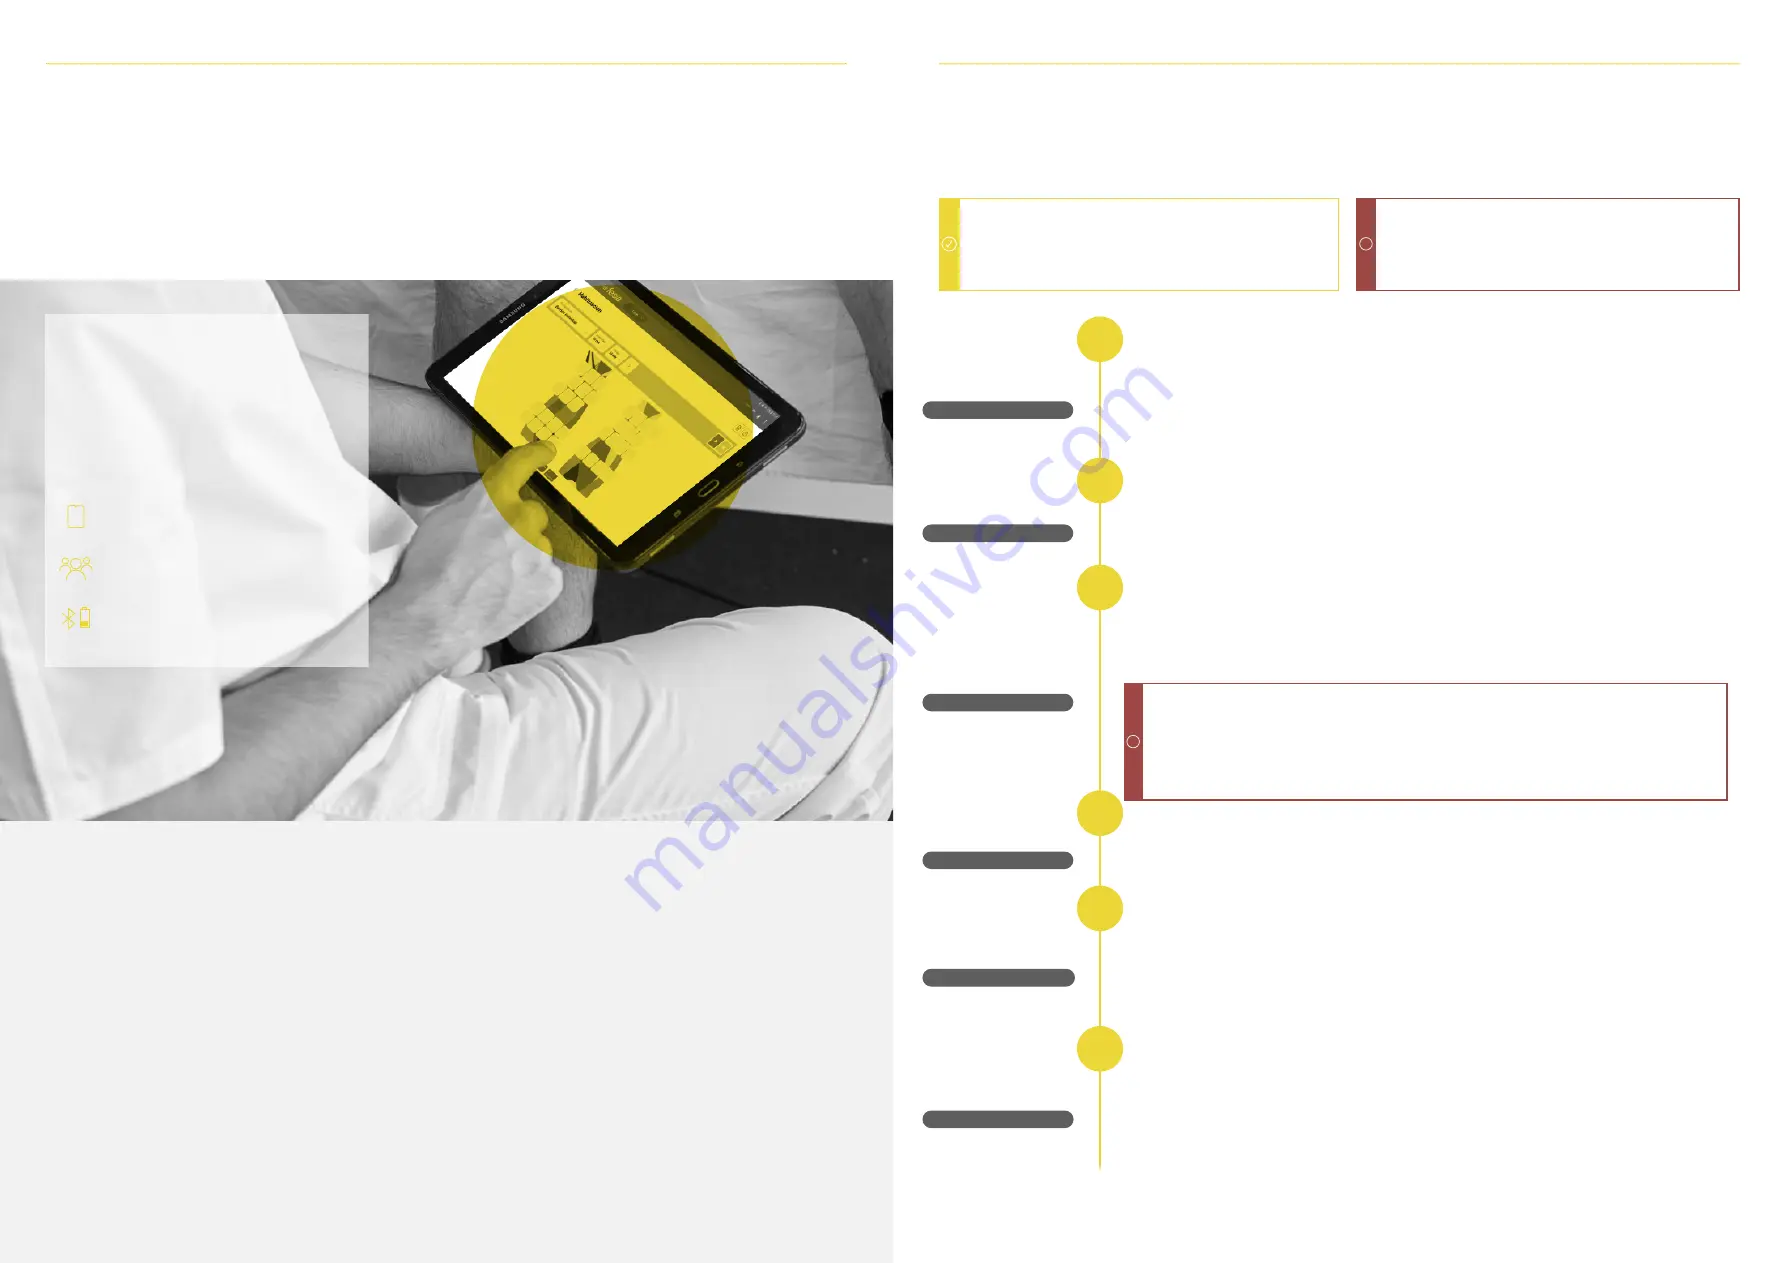
Fesia Grasp Instructions For Use Manual Download Page 14

The 

Fesia

 Pro Software Application connects wire

-

lessly via Bluetooth to the device. It is an Android 

app  that  can  be  run  in  any  tablet  that  complies 

with the minimum requirements specified in the 

next section.

Main functions:

INSTALLATION AND REGISTRATION

Google Play Store

Install

Register

Permissions

Connect device

New patient

It is important to ensure not to use the application more 

than 50 meters away from the device (in open free 

space) to avoid losing the connection.

!

Fesia

 Grasp configuration

Patients' management

Device  status  monitoring  (battery  level, 

connectivity, operating mode, etc.).

To connect to a device, press the Bluetooth symbol. Make sure the device is switched on.  The serial 

number of the device can be found on the back side of the stimulator and has the following format: 

"ST32-XXXXXX". Select the device you want to pair and press “Connect”. When the connection is es

-

tablished, the indicator of battery of the stimulator will appear at the header. 

To access the main menu, it is required to select an existing patient or to create a new patient. A patient 

profile can be added by pressing the “+” button and by filling in the required fields. Check that the later

-

ality has been selected correctly. After filling in the required data, click on the "Save" button.

Search for the application in the Google Play Store by typing “

Fesia

 Pro” in the search field. 

Click on the “Install” button. The installation process will start automatically once the consent to give 

permissions to the application is accepted. 

In order to be able to record videos of the sessions, the corresponding permissions must be granted to 

the application (camera, microphone, storage and location).

The first time you access the application, it is important to register with a valid email and fill in the 

fields of the registration form. In the case of not remembering the password, it will be possible recover 

it with the option "Password recovery".

Important to: 


-

Have Wi-Fi connection when doing the registration. 


-

Register with a valid email. 


-

Do not log out if you do not remember the user.  


-

Do not log out if you do not have wifi. 

!

FESIA PRO APP 

03

03 

FESIA PRO APP

INSTRUCTIONS FOR USE | Fesia Grasp   27

26  INSTRUCTIONS FOR USE | Fesia Grasp

GENERAL DESCRIPTION

The device on which the application is installed must meet 

the following requirements:


- Operating system Android 5.1 or superior 


- v.3.0 Bluetooth connection or superior 


- Minimum screen size 10 " 

1

2

3

4

5

6

It is not required to read this section if you have received a pre-configured tablet by 

Fesia

.

Summary of Contents for Grasp

Page 1: ...INSTRUCTIONS FOR USE FESIA GRASP FESIA FG01 IFU VER5 1 EN 2022 04...

Page 2: ...ANUFACTURER Fesia Technology S L P Mikeletegi 58 20009 Donostia San Sebasti n Spain COMERCIALIZED BY Fesia Technology S L P Mikeletegi 58 20009 Donostia San Sebasti n Spain E MAIL support fesia net WE...

Page 3: ...RMATION 8 11 Indications of use Legend Symbols FESIA GRASP DEVICE 14 23 General description Indicators Initial checks Device placement Device removal FESIA PRO APPLICATION 26 45 General description In...

Page 4: ...GENERAL INFORMATION 01...

Page 5: ...Must not be used near flammable products Store the device under protection from humidity dust and direct sunlight Use only the electrodes supplied by Fesia Use only the charger and charging cable sup...

Page 6: ...This product should not be disposed with other household products Low battery red light Stimulation is active yellow light Intensity increase button Intensity reduction button On off button LEGEND Thi...

Page 7: ...FESIA GRASP DEVICE 02...

Page 8: ...ted to the skin through the multi field electrode 4 Fesia Pro app already installed in pre configured tablets provided by Fesia The device has a software application that allows on the one hand to con...

Page 9: ...ator Ba ery indicator On o bu on Bluetooth indicator Reduce intensity bu on Increase intensity bu on S mula on on S mula on o S mulator on S mulator o Adequate ba ery level Low ba ery level S mula on...

Page 10: ...SIA GRASP DEVICE 02 02 FESIA GRASP DEVICE INSTRUCTIONS FOR USE Fesia Grasp 19 18 INSTRUCTIONS FOR USE Fesia Grasp INITIAL CHECKS FULLY CHARGED Before the first use the device must be fully charged Thi...

Page 11: ...until it clicks and make sure it is properly inserted Make sure the hand remains completely free 5 6 R R Place the electrode and garment on the forearm The ulnar diaphysis should be aligned with the...

Page 12: ...provided respecting environmental conditions described in chapter 5 6 At the end of life of this device follow local regulations and never dis pose the product or batteries with normal household waste...

Page 13: ...FESIA PRO APP 03...

Page 14: ...that the later ality has been selected correctly After filling in the required data click on the Save button Search for the application in the Google Play Store by typing Fesia Pro in the search field...

Page 15: ...ails The mandatory fields are indicated with an asterisk Make sure the chosen laterality is co rrect The affected limb must be cho sen that is the side where the device is going to be placed See patie...

Page 16: ...nd the evolution chart Session data can be exported to an excel document by clicking on the Export button Grasp To access the protocols select the Grasp icon in the navigation menu There the user can...

Page 17: ...n asterisk are the optimal candi dates to achieve a motor response in the movement that is being configured Non activated cathode Activated cathode Blocked cathode CLICK CLICK LONG TOUCH By doing a lo...

Page 18: ...bjectives It can be used to increase maintain range of motion prevent muscle atrophy etc 3 In patients whose motor threshold is above the pain threshold This protocol can be used to lower the motor th...

Page 19: ...ation parameters CONFIGURATION BAR Intensity edition Select the desired configuration and stimulation time Select configuration Select the desired movement Flexion Exten sion Select movement Start Sto...

Page 20: ...R Stimulation parameters Select the configuration to load By default ex cept for the first time the last configuration made for that patient will be loaded Press Play to start the stimulation The conf...

Page 21: ...on the options Complex 1 Complex 2 and Complex 3 To change the title and image of this movement make a long touch on the title In case of choosing predefined complex movements Open hand Grip Palm gri...

Page 22: ...ull screen in the selected order There are 3 phases 1 Preparation A 3 second countdown and a dynam ic image of the movement to be performed are shown 2 Realization A descriptive static image of the mo...

Page 23: ...king on the same image Select the next move clicking on the image of this TOGGLE KEYPAD The Toogle keypad acts as a button and trigger for stimulation By clicking directly on the image of the desired...

Page 24: ...TECHNICAL SUPPORT 04...

Page 25: ...the tablet screen Please try again if the error persists after restarting the device and tablet contact Fesia Support with the exact error message Make sure you have checked the following steps before...

Page 26: ...f the arm is cone shaped Cmin Cmax 0 7 CHOOSE THE M L SIZE INSTRUCTIONS FOR USE Fesia Grasp 51 50 INSTRUCTIONS FOR USE Fesia Grasp SIZE SELECTION GUIDE If after choosing the S M size the textile does...

Page 27: ...MAINTENANCE 05...

Page 28: ...h Do not pour too much water on the electrode In case of excessive sweating do not moisturize the electrode Do not use the electrode for more than 15 sessions Do not to extend the life of the elec tro...

Page 29: ...er is broken This can be due to Scratching the skin too hard Placing the electrode over a cut rash spot or insect bite Shaving the skin using a razor Using old dried out damaged or dirty electrodes Ve...

Page 30: ...TECHNICAL INFORMATION 06...

Page 31: ...intensity 0 60mA 1mA resolution for loads 5000 Pulse width 150us 300 us resolution of 5us Pulse frequency 1 40Hz resolution of 1 Hz Maximum output voltage 180V Maximum output frequency 1KHz PARAMETER...

Page 32: ...nic emissions IEC 61000 3 2 Voltage fluctuations Flickers emis sions IEC 61000 3 3 Class B Class A Fulfill The device is suitable for use in establishments other than domestic and those directly conne...

Page 33: ...te 1 Ut is the AC mains voltage prior to application of the test level Note 2 At 80 MHz and 800 MHz the higher frequency range applies Note 3 These guidelines may not apply in all situations Electroma...

Reviews: