Ferguson F1915LVD Instruction Manual Download Page 2

2

Safety INfORMatION

•  When connecting or disconnecting the cord, grip the plug and not the AC cord itself. Pulling the cord 

may damage it and create a hazard.

•  When you are not going to use the unit for a long period of time, disconnect the AC cord.
•  The mains plug is used as the disconnecting device. It shall remain readily operable and should not be 

obstructed during intended use. To be completely disconnected from the supply mains, the mains plug 
of the apparatus should be disconnected from the mains socket outlet completely.

•  The apparatus should not be exposed to dripping or splashing and that no objects filled with liquids, 

such as vases, should be placed on apparatus.

•  To be completely disconnect the power input, the mains plug of apparatus shall be disconnected from the mains.
•  The mains plug of apparatus should not be obstructed OR should be easily accessed during intended use.
•  Leave  a  minimum  of  200mm  around  the  apparatus  for  ventilation,  and  200mm  beside  the  DVD 

mechanism;

•  Attention should be drawn to the environmental aspects of battery disposal;
•  The use of apparatus in moderate climates.
•  Under  the  influence  of  electrostatic  phenomenon,  the  product  may  malfunction  and  require  user  to 

power reset.

CONdeNSatION INfORMatION

•  When left in a heated room where it is warm and damp, water droplets or condensation may form inside the 

unit. When there is condensation inside the unit, the unit may not function normally. Let the unit stand for 1-2 
hours before turning the power on, or gradually heat the room and let the unit dry before use.

RatING PLate LOCatION

•  The rating plate is on the rear of product.

WaRNING:

 Should any problems occur, disconnect the AC cord and refer servicing to a qualified 

technician.

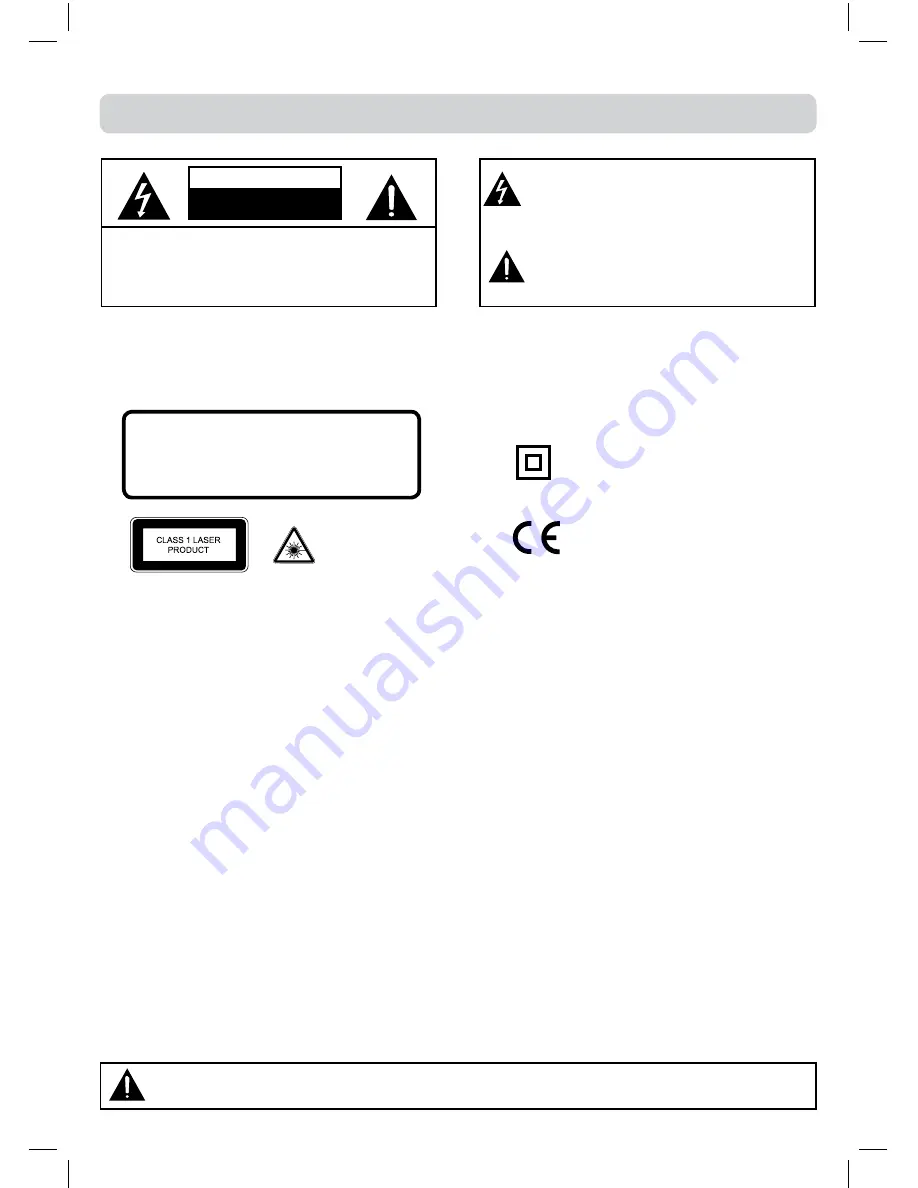
The  symbol  for  Class 

II  (Double lnsulation)

CaUtION 

INVISIBLE LASER RADIATION WHEN OPEN 

AND INTERLOCKS DEFEATED.

AVOID EXPOSURE TO BEAM

This product contains 

a  low  power  laser 

device.

CaUtION: 

DANGER OF EXPLOSION IF BATTERY IS INCORRECTLY REPLACED. REPLACE ONLY WITH THE 

SAME OR EQUIVALENT TYPE. DO NOT MIX OLD AND NEW OR DIFFERENT TYPES OF BATTERY. 

IF THE  PRODUCT  IS  NOT TO  BE  USED  FOR A  PROLONGED TIME;  REMOVE THE  BATTERIES 

AS  ELECTROLYTE  LEAKAGE  WILL  DAMAGE THE  PRODUCT  AND  WILL  INVALIDATE THE 

WARRANTY.

The exclamation point within a triangle alerts 

you to the presence of important operating, 

maintenance  and servicing instructions in 

this user’s manual.

The lightning flash with an arrowhead within 

a triangle alerts you to uninsulated dangerous 

voltage within the product’s enclosure that 

could cause an electric shock.

SAFETY PRECAUTIONS

CAUTION

RISK OF ELECTRIC SHOCK

DO NOT OPEN

WaRNING: tO RedUCe tHe RISK Of eLeCtRIC 
SHOCK, dO NOt ReMOVe COVeR (OR BaCK). 
NO  USeR-SeRVICeaBLe  PaRtS  INSIde.  RefeR 
SeRVICING tO QUaLIfIed PeRSONNeL.

This  symbol  means  that  the  unit 

complies with European safely and 

electrical interference directives.

Summary of Contents for F1915LVD

Page 1: ...1 Instruction Manual 19 HD READY DIGITAL LCD TV F1915LVD...

Page 2: ...ay form inside the unit When there is condensation inside the unit the unit may not function normally Let the unit stand for 1 2 hours before turning the power on or gradually heat the room and let th...

Page 3: ...it at the wall outlet SAFE USE OF YOUR EQUIPMENT This equipment has been designed and manufactured to meet UK safety standards but like any electrical equipment care must be taken to obtain the best r...

Page 4: ...ource YUV 21 Using Headphones 21 Connecting HDMI 22 SOUND SYSTEM 22 CD DVD OPERATION 23 24 Playing a disc 23 Playing a picture file disc 23 Pausing playback still mode 23 Stopping playback 23 Skipping...

Page 5: ...discs on this unit if they were purchased from outside your geographic area or made for business purposes Disc Function or Operation that is Not Available When the symbol appears on the screen it indi...

Page 6: ...ds connected to the unit 2 Lay the unit down on a flat surface so the back is facing up making sure to place a soft cushioned material such as a pillow or thick piece of foam beneath the screen 3 Inst...

Page 7: ...to be used for a long time remove the batteries to avoid damage caused by battery leakage corrosion Do not mix old and new batteries Do not mix ALKALINE standard CARBON ZINC or rechargeable NICKEL CAD...

Page 8: ...s chapters or tracks on a disc 11 ANGLE button Press to switch the camera angle of the video presentation when scenes with multiple camera angles are recorded on a DVD SIZE button Press to set the let...

Page 9: ...tton Press to start and resume playback of a disc GUIDE button Press to display the PROGRAMME Guide in DTV mode PAUSE button Press to pause playback and single frame advance INFO button Press to displ...

Page 10: ...ay the on screen TV menu 5 PLAY button Press to start or resume playback of a disc 6 I button Turns the unit on and off 7 COMMON INTERFACE slot For optional Conditional Access Module 8 AUDIO IN jacks...

Page 11: ...ongly as a fixed antenna Connect the AC power cord into a wall outlet Press the I button on the unit or remote control to turn the TV on Note Be sure the AC power cord is disconnected and the TV is sw...

Page 12: ...outlet and remove the batteries from the remote control UNIT OPERATION TURNING THE UNIT ON FOR THE FIRST TIME The first time you turn the unit on it will go straight into Auto scan mode Simply follow...

Page 13: ...ode Every Day Mode and Weekly Mode After setting is complete press the ENTER OK button to confirm and a timer indicator will display on the right upper corner of the screen Press the BLUE button again...

Page 14: ...utton to select an audio language or audio format if available press the or button to select soud track between L R Stereo L L Mono Left and R R Mono Right Press the ENTER OK button to confrim Press t...

Page 15: ...the CH PAGE button to skip to previous next page 2 Press the RED GREEN YELLOW BLUE button or the FAV button to edit the channel DELETE Press the RED button to delete the selected channel press the EN...

Page 16: ...mode with NTSC signal Adjust the tint of the picture Colour Temperature Select the colour temperature of the picture Select Normal balanced Warm red white Cool blue white mode Note You can also select...

Page 17: ...the 3 Use the or button to select the options OSD Language Audio Language Subtitle Language Restore Setting OAD adjust them using the or button 4 Press the TV MENU button to return to previous menu 5...

Page 18: ...us menu 6 To exit the setup menu and return to the normal screen press the EXIT button Lock System Select to lock or unlock the programmes Change Password If you change the password remember your pass...

Page 19: ...The text will be superimposed over the TV programme Press the MIX button again to return to the text page Page search whilst watching TV In Text mode press the CANCEL button Enter the page number you...

Page 20: ...cting to Devices with a Composite yellow RCA type Video Output To connect to A V devices such as a VCR camcorder or video game system Connect to a VCR Video Game System Camcorder Connect the AUDIO VID...

Page 21: ...other equipment COMPONENT VIDEO OUT and AUDIO OUT to this unit SCART and AUDIO IN To operate the connected device and play the source first press the FUNCTION button to select the YUV SCART mode May r...

Page 22: ...ace DVI in one specification HDCP is used to protect digital content transmitted and received by DVI compliant or HDMI compliant displays HDMI has the capability to support standard enhanced or high d...

Page 23: ...upt playback and press the PLAY button to resume playback You also can use the numbered buttons to enter the image number to quickly select any image Press the ANGLE button on the remote control to ro...

Page 24: ...ct the desired subtitle language Note If only one language is recorded the language does not change About two seconds later playback continues with the new subtitle you selected The number of language...

Page 25: ...apter you want 3 Press the ENTER OK button to confirm The unit will start playback about 3 second later DISPLAY While the disc is playing press the DISPLAY button repeatedly to display information on...

Page 26: ...he current track is played repeatedly Repeating an entire disc 2 While the disc is playing press the REPEAT DISC button until the indicator displays on the screen The entire disc is played repeatedly...

Page 27: ...u If this is the case press the DVD MENU button and choose the appropriate subtitle from the selection on the disc menu Some DVDs may not included your pre selected language In this case the DVD playe...

Page 28: ...r Box When wide screen video is played in this mode on a conventional screen black bands appear at the top and bottom of the screen Wide screen This is the correct mode for playing wide screen videos...

Page 29: ...remove dust IMPORTANT NOTE Before shipping the unit remove any disc from the disc compartment Password Use or button to shift and select PASSWORD use button to Change Enter your 4 digit security code...

Page 30: ...ly with the playback side facing frontwards Clean the disc A non valid disc has been inserted The unit and disc region number are incompatible Condensation may have formed inside the unit due to a sud...

Page 31: ...o picture or sound Make sure there are no unshielded electrical devices nearby that are causing interference Turn the unit off for 30 minutes then try it again Coloured patches of picture F u n c t i...

Page 32: ...trical and electronic products must not be disposed of with household waste Please refer to the retailer from whom you purchased this item for disposal instructions WARNING Never dispose of batteries...

Reviews: