
Quick Installation Guide
3
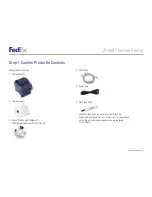
ZP 500 Thermal Printer
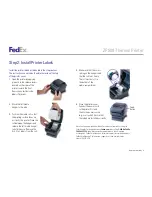
Install the printer labels as indicated in the steps below.
The instructions can also be found in the inside of the top
of the printer cover.
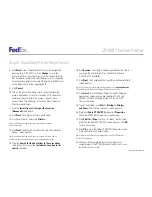
1.
Open the printer by applying
pressure to the release levers
located on the sides of the
printer, toward the front.
Remove any test bar code
labels if present.
2.
Move the left media
hanger to the side.
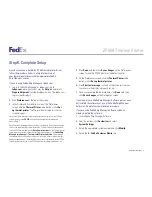
3.
Position the media roll so that
the printing surface faces up
as it exits the printer. Place the
roll between the hangers and
release the left media hanger
to hold the core. Remove the
first 2 to 3 labels from the roll.
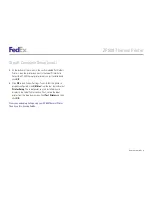
4.
Make sure that the core is
resting on the hangers and
that the roll turns freely.
The roll must not sit in
the bottom of the
media compartment.
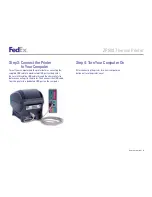
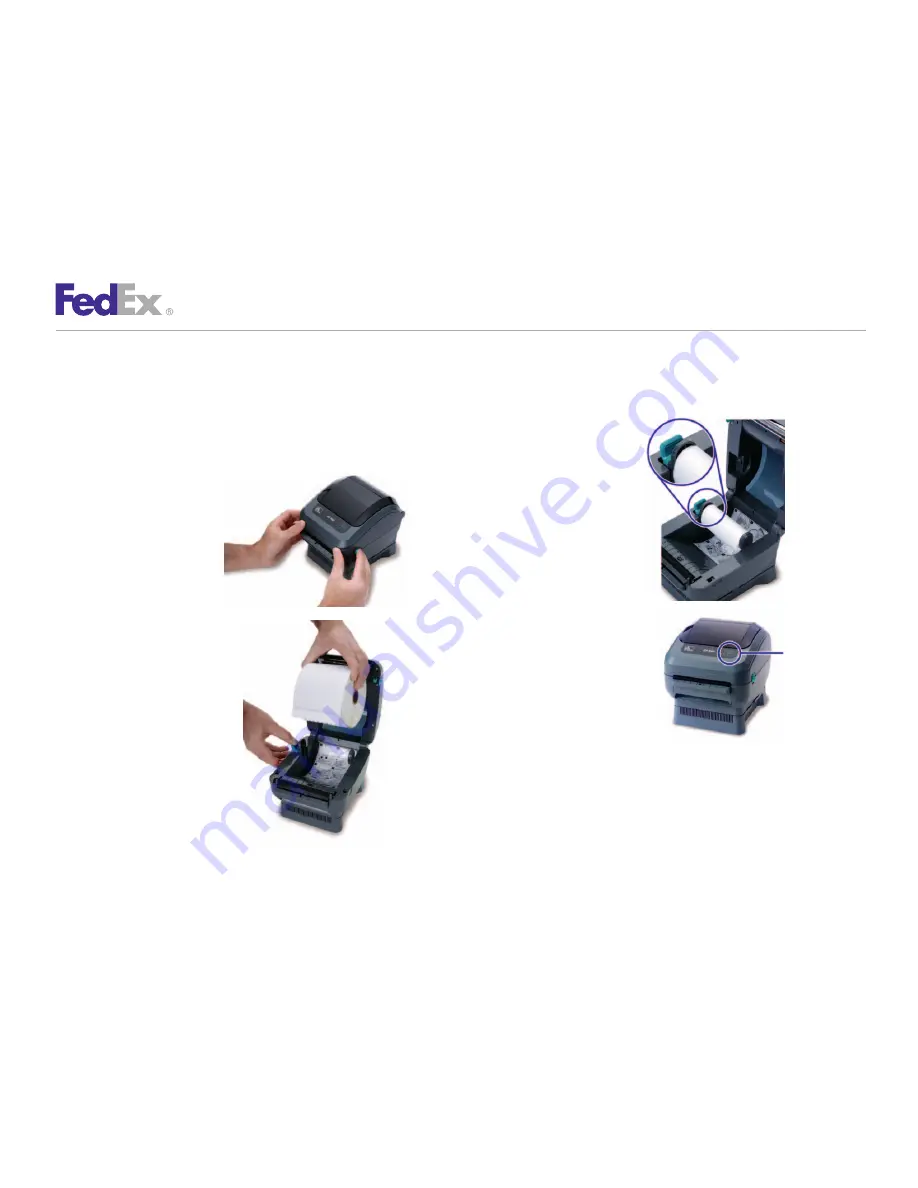
5.
Close the printer cover.
Connect the power cord
to the printer first and
then to the power source
(e.g., wall outlet). Ensure that
the labels are installed correctly.
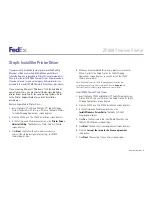
Note: You can obtain additional labels for the thermal printer by utilizing the
Order Supplies Online application on
fedex.com
or by calling
1.800.GoFedEx
1.800.463.3339
. Label part numbers are preprinted on labels in purple
or orange ink. FedEx Ship Manager
®
Software supports several part numbers.
FedEx Ship Manager
®
at fedex.com supports only non-doc-tab labels
(item # 156297-435).
Step 2: Install Printer Labels
Feed
Button