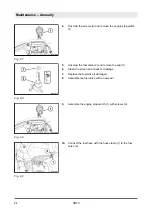
8.
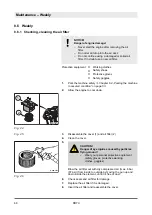
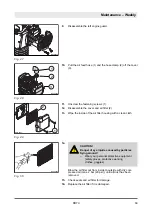
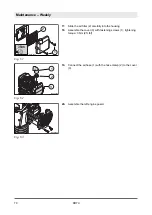
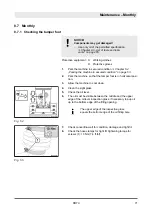
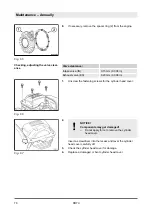
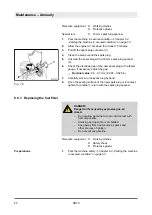
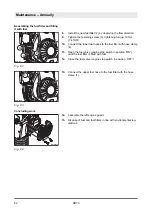
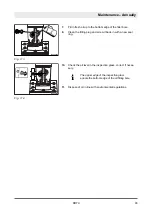
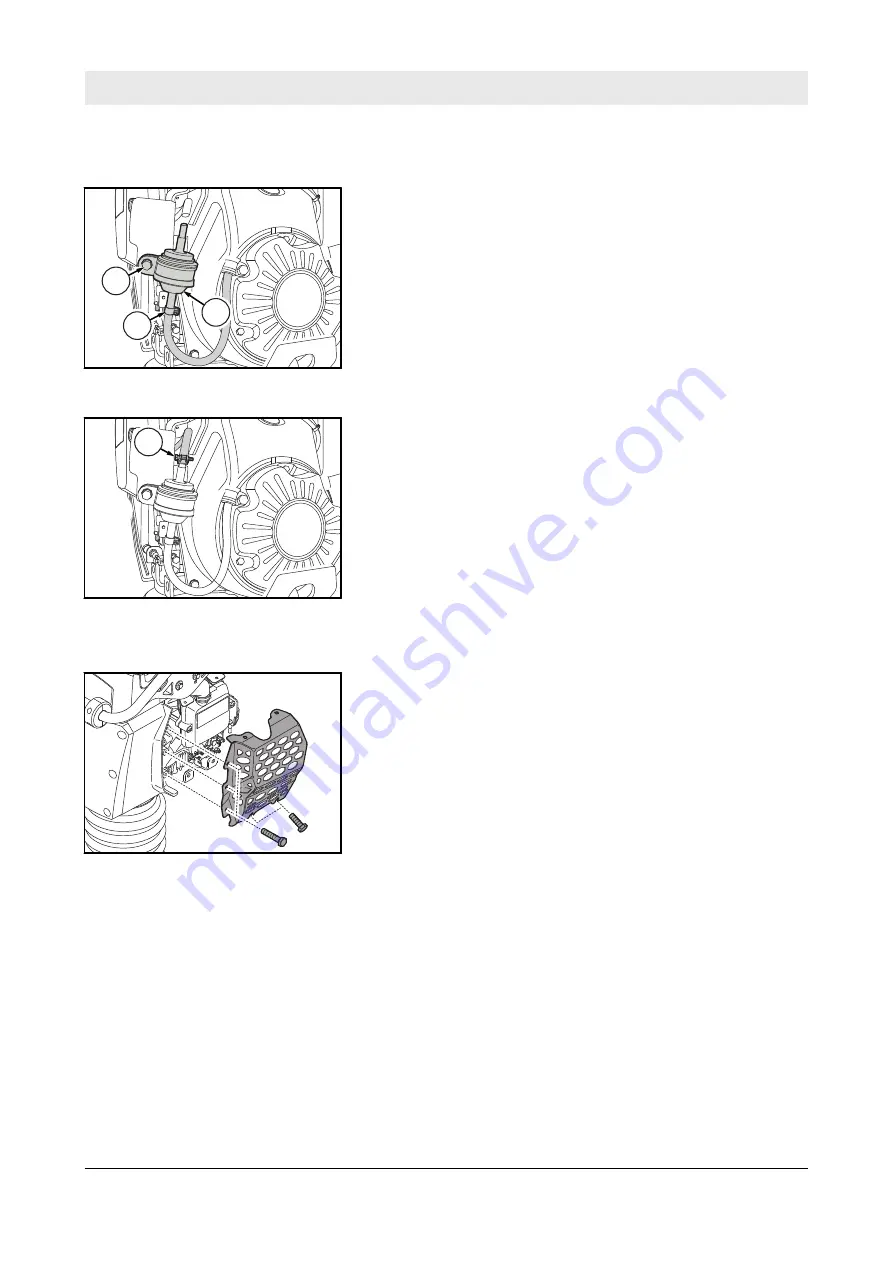
Install the new fuel filter (2) by observing the flow direction.
9.
Tighten the fastening screw (3), tightening torque: 10 Nm
(7.4 ft
·
lbf).
10.
Connect the lower fuel hoses to the fuel filter with hose clamp
(4).
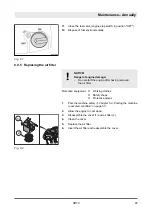
11.
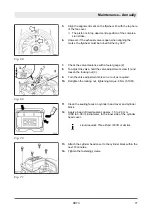
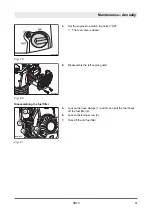
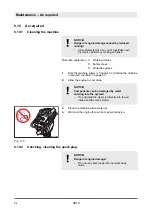
Open the fuel valve (engine stop switch in position “ON”),
until the fuel filter is filled with fuel.
12.
Close the fuel valve (engine stop switch in position “OFF”).
13.
Connect the upper fuel hose to the fuel filter with the hose
clamp (1).
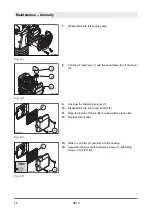
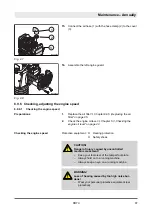
14.
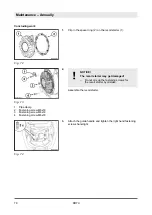
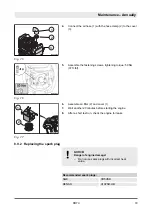
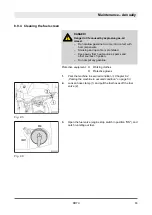
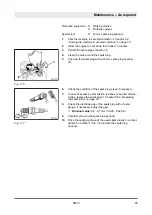
Assemble the left engine guard.
15.
Dispose of fuel and fuel filters in line with environmental reg-
ulations.
Assembling the fuel filter and filling
it with fuel
4
3
2
B-541-0101
Fig. 82
1
B-541-0102
Fig. 83
Concluding work
B-924-0008
Fig. 84
Maintenance – Annually
DR7X
82
Summary of Contents for Dynapac DR7X
Page 2: ...2 ...
Page 6: ...Table of contents DR7X 6 ...
Page 7: ...1 Introduction Introduction DR7X 7 ...
Page 11: ...2 Technical data Technical data DR7X 11 ...
Page 15: ...3 Concerning your safety Concerning your safety DR7X 15 ...
Page 37: ...4 Indicators and control elements Indicators and control elements DR7X 37 ...
Page 39: ...5 Checks prior to start up Checks prior to start up DR7X 39 ...
Page 45: ...6 Operation Operation DR7X 45 ...
Page 56: ...Operation Operating hour meter engine rpm meter DR7X 56 ...
Page 57: ...7 Loading transporting the machine Loading transporting the machine DR7X 57 ...
Page 61: ...8 Maintenance Maintenance DR7X 61 ...
Page 96: ...Maintenance As required DR7X 96 ...
Page 97: ...9 Setting up refitting Setting up refitting DR7X 97 ...
Page 99: ...10 Troubleshooting Troubleshooting DR7X 99 ...
Page 106: ...Troubleshooting What to do if the engine has flooded DR7X 106 ...
Page 107: ...11 Disposal Disposal DR7X 107 ...
Page 109: ......
Page 110: ......

