9.
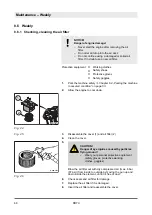
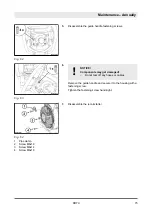
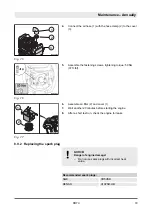
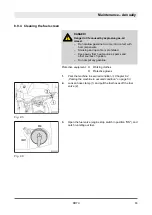
Disassemble the left engine guard.
10.
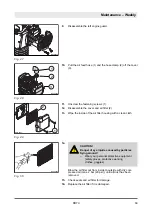
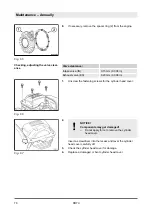
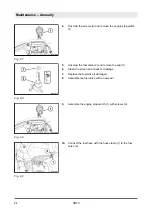
Pull the air feed hose (1) and the hose clamp (2) off the cover
(3).
11.
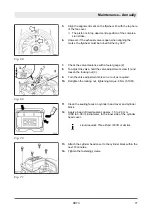
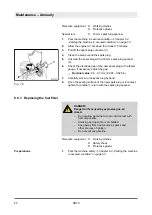
Unscrew the fastening screws (1).
12.
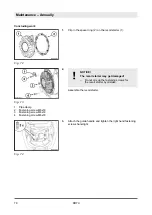
Disassemble the cover and air filter (2).
13.
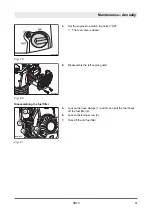
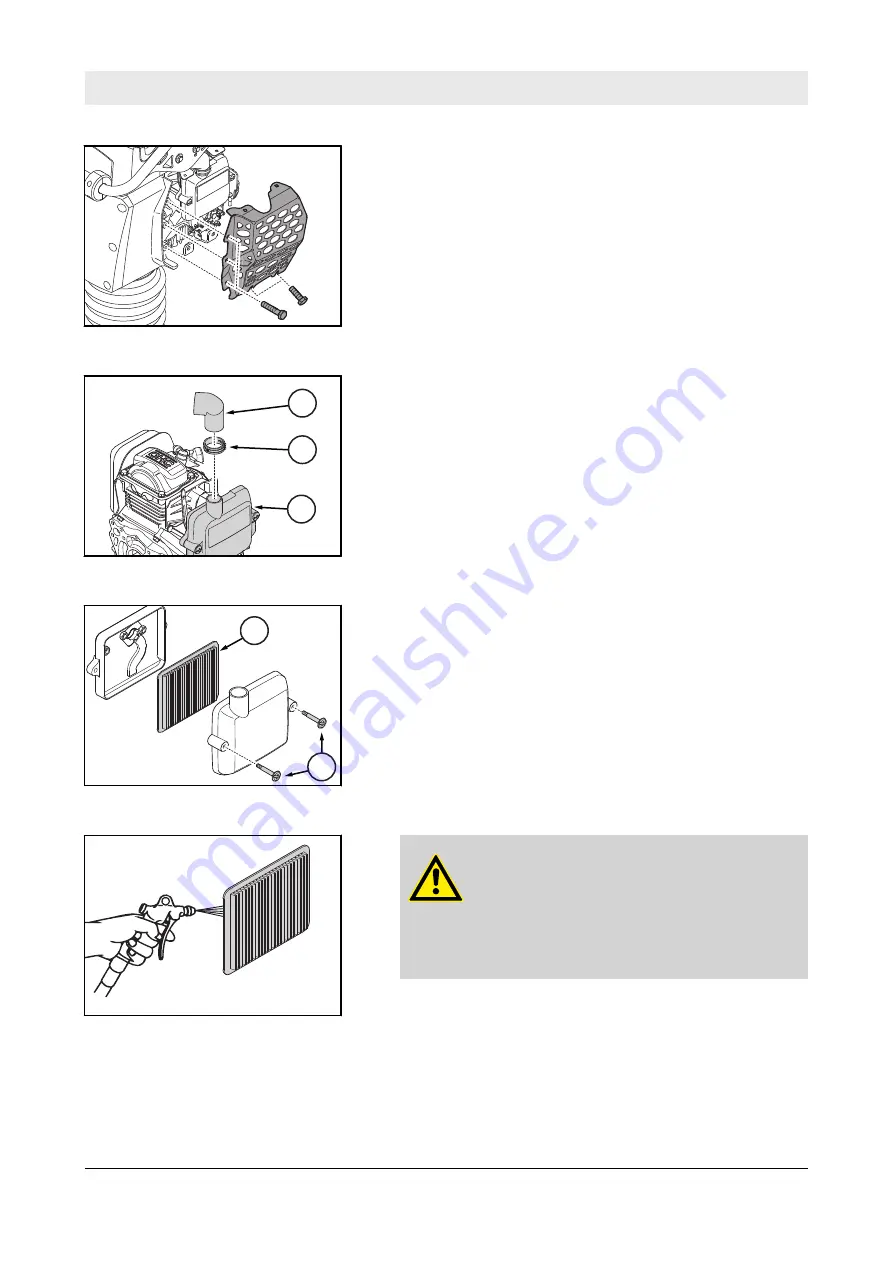
Wipe the inside of the air filter housing with a clean cloth.
14.
CAUTION!
Danger of eye injuries caused by particles
flying around!
–
Wear your personal protective equipment
(safety gloves, protective working
clothes, goggles).
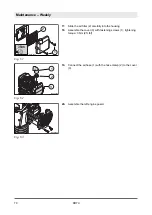
Blow the air filter out from inside to outside with dry com-
pressed air (max. 2 bar (29 psi)), until all dust has been
removed.
15.
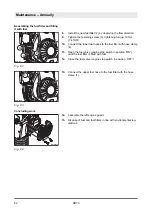
Check seals and air filter for damage.
16.
Replace the air filter if it is damaged.
B-924-0008
Fig. 47
1
3
2
B-541-0072
Fig. 48
1
2
B-541-0081
Fig. 49
B-541-0082
Fig. 50
Maintenance – Weekly
DR7X
69
Summary of Contents for Dynapac DR7X
Page 2: ...2 ...
Page 6: ...Table of contents DR7X 6 ...
Page 7: ...1 Introduction Introduction DR7X 7 ...
Page 11: ...2 Technical data Technical data DR7X 11 ...
Page 15: ...3 Concerning your safety Concerning your safety DR7X 15 ...
Page 37: ...4 Indicators and control elements Indicators and control elements DR7X 37 ...
Page 39: ...5 Checks prior to start up Checks prior to start up DR7X 39 ...
Page 45: ...6 Operation Operation DR7X 45 ...
Page 56: ...Operation Operating hour meter engine rpm meter DR7X 56 ...
Page 57: ...7 Loading transporting the machine Loading transporting the machine DR7X 57 ...
Page 61: ...8 Maintenance Maintenance DR7X 61 ...
Page 96: ...Maintenance As required DR7X 96 ...
Page 97: ...9 Setting up refitting Setting up refitting DR7X 97 ...
Page 99: ...10 Troubleshooting Troubleshooting DR7X 99 ...
Page 106: ...Troubleshooting What to do if the engine has flooded DR7X 106 ...
Page 107: ...11 Disposal Disposal DR7X 107 ...
Page 109: ......
Page 110: ......

