


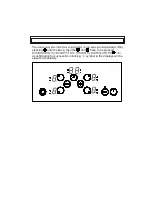
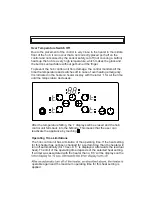


23
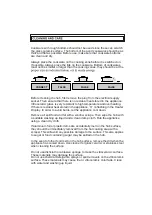
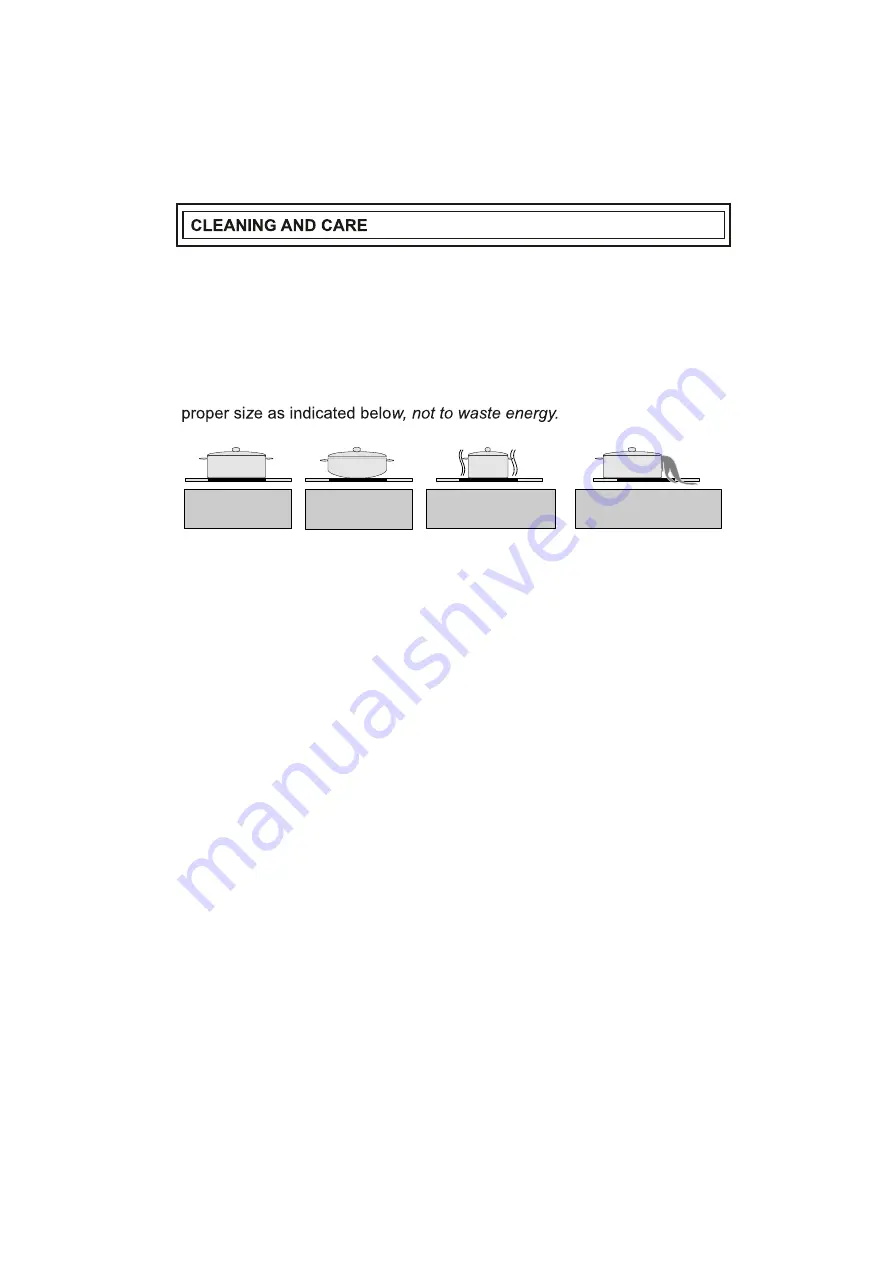
Cookware with rough bottoms should not be used since these can scratch
the glass ceramic surface. The bottom of the good cookwares should be as
thick and flat as possible. Before use, make sure that cookware bottoms
are clean and dry.
Always place the cookware on the cooking zone before it is switched on.
If possible, always place the lids on the cookware. Bottom of cookwares
must not be smaller or larger than the cooking zones, they should be at the
Before cleaning the hob, first remove the plug from the electrical supply
socket. Then ensure that there is no residual heat stored in the appliance.
Vitroceramic glass is very resistant to high temperature and overheating.
If there is residual heat stored in the appliance, ´H` is flashing in the
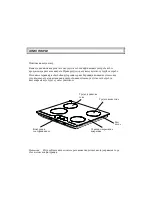
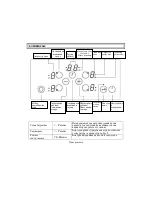
Heater
Display
. In order to avoid burns, let the appliance cool down.
Remove all split food and fat with a window scrape. Then wipe the hob with
a suitable washing up liquid and a clean damp cloth. Rub the appliance
using a clean dry cloth.
If aluminium foil or plastic items are accidentally melt on the hob surface,
they should be immediately removed from the hot cooking area with a
scraper. This will avoid any possible damage to the surface. This also applies
to sugar or food containing sugar may be spilled on the hob.
In the event of other food melt on the hob surface, remove the dirt when the
appliance has cooled down. Use cleaner for glass ceramic or stainless steel
when cleaning the surface.
Do not use dishcloth or abrasive sponge to clean the vitroceramic surface.
These materials may damage the surface.
Do not use chemical detergents, sprays or spot removers on the vitroceramic
surface. These materials may cause fire or vitroceramic color fade. Clean
with water and washing up liquid.
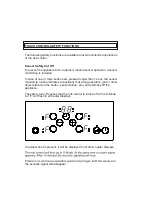
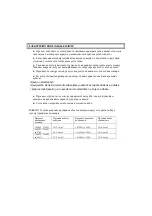
CORRECT
FALSE
FALSE
FALSE
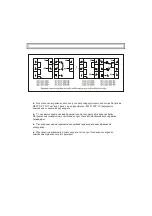
Summary of Contents for 4-J INOX
Page 1: ...MK 4 J INOX ...
Page 2: ......
Page 3: ......
Page 7: ......
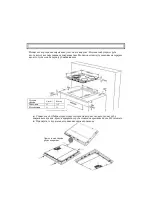
Page 8: ...520mm 590mm 41mm 560mm 490mm Min 60mm Min 150mm Min 130mm Min 25mm ...
Page 10: ......
Page 11: ......
Page 12: ......
Page 13: ......
Page 14: ......
Page 15: ......
Page 16: ......
Page 17: ......
Page 18: ......
Page 19: ......
Page 20: ......
Page 21: ...69 ...
Page 22: ......
Page 23: ......
Page 24: ......
Page 25: ...OPERATING AND INSTALLATION INSTRUCTIONS BUILT IN VITROCERAMIC HOB 4 J INOX EN ...
Page 49: ......
Page 50: ...UPUTSTVO ZA UPOTREBU I INSTALACIJU UGRADNE STAKLENO KERAMI KE PLO E BO 4 J INOX ...
Page 75: ...52208777 ...
Page 76: ...4 J INOX EN ...
Page 77: ......
Page 78: ......
Page 79: ......
Page 84: ......
Page 85: ...Figure 2 ...
Page 86: ...Figure 3 3 ...
Page 87: ...50 200 Max 250 100 150 50 200 Max 250 100 150 Figure 4 Figure 5 Figure 6 Figure 5 Figure 6 ...
Page 90: ......
Page 91: ......
Page 92: ......
Page 93: ......
Page 94: ......
Page 95: ......
Page 96: ......
Page 97: ...MK 4 J INOX ...
Page 98: ......
Page 99: ......
Page 100: ......
Page 101: ......
Page 102: ......
Page 103: ......
Page 104: ......
Page 105: ......
Page 107: ...3 3 ...
Page 108: ...50 200 Max 250 100 150 50 200 Max 250 100 150 4 5 6 5 6 ...
Page 109: ......
Page 111: ......
Page 112: ......
Page 113: ......
Page 114: ......
Page 115: ......
Page 117: ...SR 4 J INOX ...
Page 118: ......
Page 119: ......
Page 120: ......
Page 124: ...1 ...
Page 126: ...Slika 3 3 ...
Page 127: ...50 200 Max 250 100 150 50 200 Max 250 100 150 Slika 4 Slika 5 Slika 6 Slika 4 Slika 5 ...
Page 128: ...12 4 KORIŠÆENJE PROIZVODA Funkcije rerne ...
Page 130: ......
Page 131: ......
Page 132: ...Slika 7 ...
Page 133: ......
Page 134: ......
Page 135: ...52265653 ...