FT20CC: Manual ENG1.6
Each button can have two functions:
Button 2: menu or other selection
Button 1: reset or change function
2.1 Colour, contrast and brightness setting
As a rule, you need not change any settings since the default settings generally work for most
situations.
You will first have to set up a connection with your door panel, before you can use the above settings.
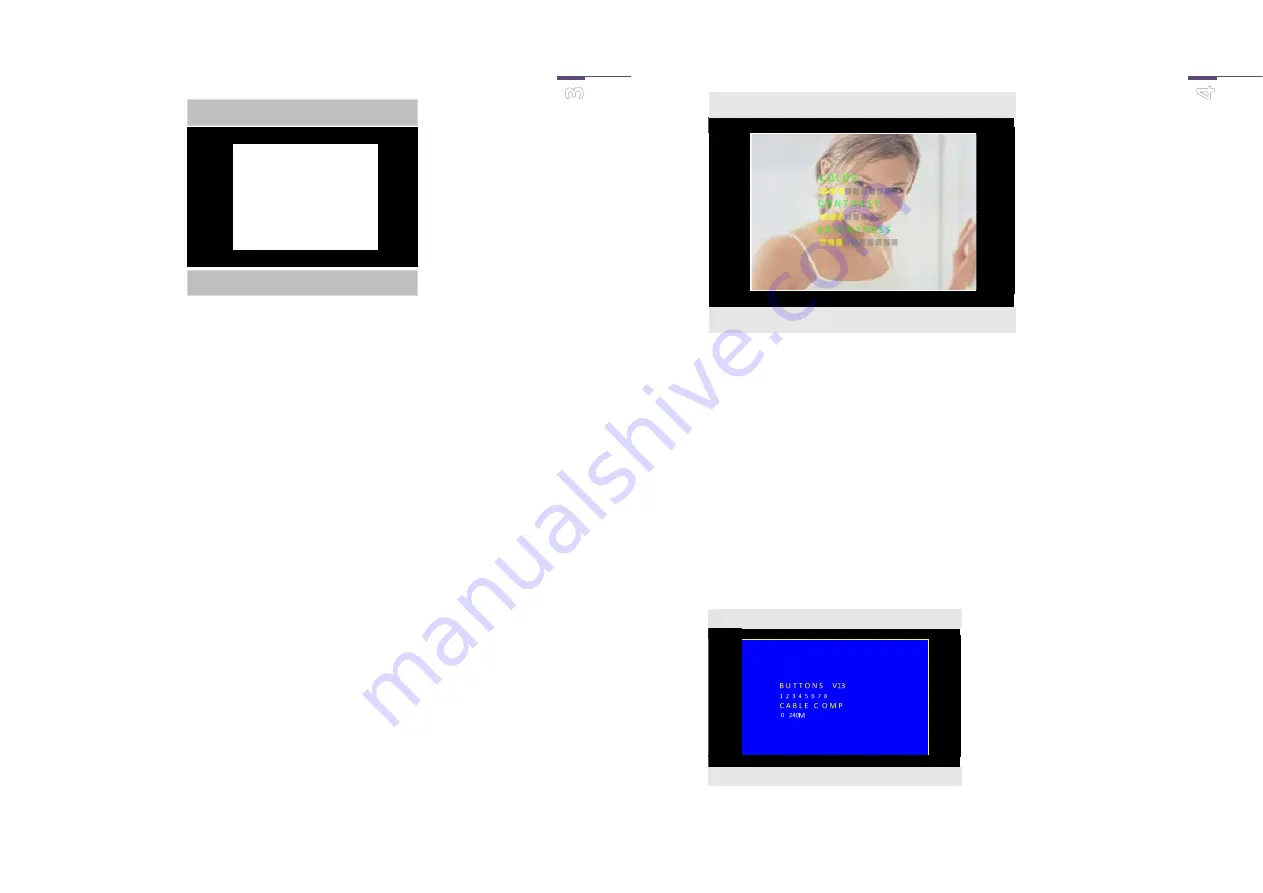
Briefly press button 2 to make the following appear in overlay mode.
BUTTON 2 (menu)
BUTTON 1 (reset or change)
FT20CC: Manual ENG1.6
You can set 9 levels for colour, 8 for contrast and 10 for brightness.
The text “COLOUR” will now flash (not the others).
Pushing BUTTON 1 (change) will increase and automatically adjust the colour temperature. The minimum
level can be set by pressing button 1 seven times.
By now pressing BUTTON 2 (Next Select), the text “CONTRAST” will now flash (not the others).
The level will change on pressing BUTTON 1.
You can adjust the BRIGHTNESS by next pressing BUTTON 2.
The menu will disappear after you press BUTTON 2 again.
If the settings are correct, you may terminate the connection with the door panel.
2.2 Selectivity and cable compensation setting
If the screens are used with one or more Wizard door panels with multiple pushbuttons, the activation
of each screen can be linked to a particular pushbutton.
Note: The default setting is such that there will be a response to all buttons of the door panel.
Make sure that the screen is blank, and press BUTTON 2.
The following screen will appear
The ‘V13’ next to the text BUTTONS indicates the current software version.
BUTTON 2 (other selection)
BUTTON 1 (change)
BUTTON 2 (other selection)
BUTTON 1 (change)


