


29
5.5.4 HC Boom Electrical Connections
There are two wires that are to be connected to the tractor.
1. Connect the RED wire to the positive (+) 12 volt power
source of the tractor. The RED wire can be connected
directly to the battery or to an auxiliary connection such
as the fuse block.
2. Connect the WHITE wire to the negative (-) ground
source of the tractor. The WHITE wire can be connected
directly to the negative battery or to an auxiliary
connection as long as a good ground is maintained.
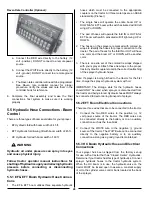
If your tractor has “Closed Center” Hydraulics, turn the flow
rate on your tractor hydraulic system down to 5 to 6 GPM
and try the sprayer boom functions. If the sprayer functions
are not satisfactory, the valve block located at the rear of
the boom can be altered to operate with “Open Center”
Hydraulic systems.
To change from “Closed Center” Hydraulic system set-up to
“Open Center” Hydraulics:
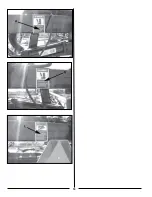
1.
Locate the valve block at the rear of your sprayer on the
rear tower.
2.
Locate the plug on the left hand end of block, remove
and insert cartridge p/n 630036 (FV273017) into block
(torque to 25 ft/#), install coil and torque to 5 ft/#.
Connect loose lead to coil.
3. Your sprayer is now set-up to be used with “Open
Center” Hydraulics.
Note: If sprayer is being hitched to the tractor for the first
time, charge the sprayer hydraulic system with oil.
IMPORTANT: The storage slots for the hydraulic hoses
should ONLY be used when sprayer is disconnected from
the tractor and being stored. Hydraulic hoses MUST always
be connected to tractor during transport of sprayer.
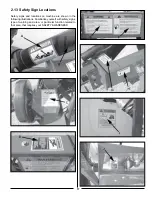
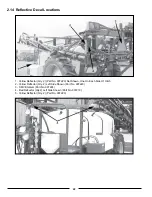
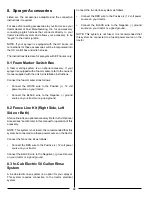
Valve Block
1 - Replace This Wire Coil and Open Center Bypass Valve
With Plug For Closed Center Hydraulics
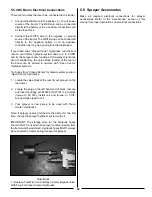
5.6 Sprayer Accessories
Make all required electrical connections for sprayer
accessories. Refer to the “Accessories” section of this
manual for proper instructions on electrical connections.
Summary of Contents for BW750
Page 18: ...18...
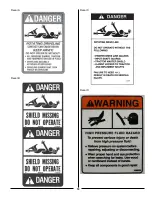
Page 19: ...19 Decal A Decal B Decal C Decal D...
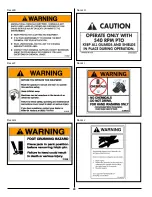
Page 20: ...20 Decal E Decal F Decal G Decal H Decal I Decal J...
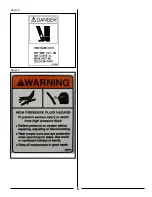
Page 21: ...21 Decal K Decal L...
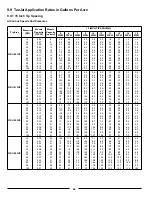
Page 36: ...36 9 6 Spray Tip Wear...
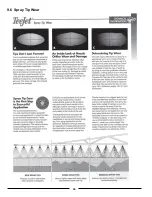
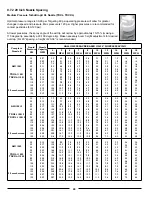
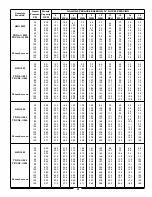
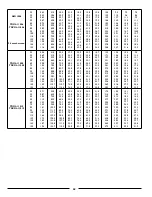
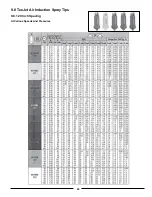
Page 43: ...43 9 8 TeeJet Air Induction Spray Tips 9 8 1 20 Inch Spacing At Various Speeds And Pressures...
Page 81: ...81 12 3 Raven Console Calibration Information...
Page 83: ...83 Notes...