USE
The tire changer use is composed by 4 main operations:
1.
Bead Breaking
2.
Smontage
3.
Montage
4.
Tire inflating
Bead breaking
Fully close the turntable clamps acting on pedal 5 fig. 7
Remove the weights on the rim.
Fully deflate the tire, removing the valve.
Place the wheel as shown in fig. 11 and take the blade near the bead, keeping the necessary sa-
fety distance between the rim and the bead breaker blade, so that the latter works on the tire and
not on the rim.
Pressing the pedal 3 fig 7 to activate the bead breaker and free the bead from the rim, then relea-
se the pedal. Pressing the bead breaker pedal, the arm moves see fig 7. and it may be dangerous
(crushing danger); pay utmost attention during bead breaking.
It may be necessary to break the bead at several points to free it completely.
Repeat this ope
ration on the other side of the wheel.
Wheel clamping
Check if there any weights left on the rim; if so, remove them.
Thoroughly lubricate the sides of the tire around the entire circumference of the lower and upper
bead to facilitate the demounting and avoid damaging the beads fig. 12
Twist the tower.
Depending on the rim diameter, close the four clamps if the rim has to be clamped from inside or
open them if the rim has to be clamped from outside.
Place the wheel on the turntable, push it lightly down and act on the control pedal to lock the wheel
in its proper position .
Acting on the turntable pedal
5 fig. 7 closes the clamps and may be dangerous, (danger of
hands crushing).
While rim clamping, do not keep the hands under the tire.
11
12
15
Summary of Contents for RASE.2234
Page 13: ...DECALCOMANIE 1 2 3 4 10 11 12 13 15 16 17 14 9 8 7 6 5 9 10 13...
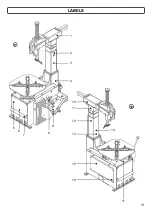
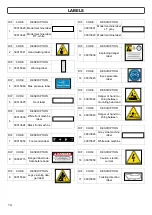
Page 36: ...LABELS 1 2 3 4 10 11 12 13 15 16 17 14 9 8 7 6 5 9 10 13...
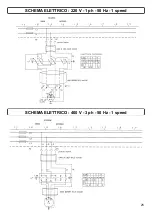
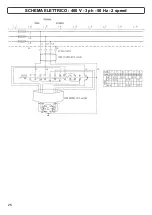
Page 48: ...SCHEMA ELETTRICO 220 V 1 ph 50 Hz 1 speed 25 SCHEMA ELETTRICO 400 V 3 ph 50 Hz 1 speed...


