13
Revision date: 03.08.17
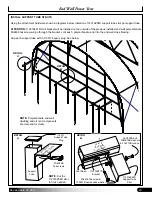
ADD FRAME SECTIONS TO BUILDING
1"
1"
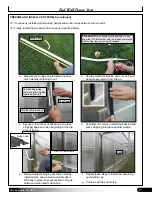
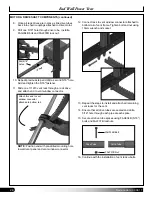
1. With assistance, lift the assembled frame section and
move to the vent sash attached to your building.
2. Tilt the bottom rail up and insert the top rail into the
vent sash. Have an assistant guide the top rail into
position if needed.
NOTE:
Lift bottom rail until the top rail clears the
opening of the vent sash.
3. With the frame section seated in the vent sash, allow
the frame to hang in place.
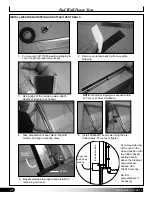
4. Repeat the frame assembly as needed to construct
the remaining sections (if present) and
add the
sections to the building.
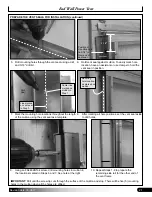
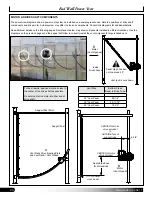
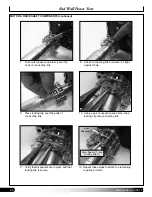
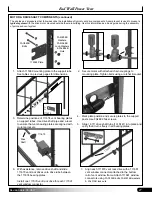
5. Consult diagrams
on the next two (2) pages
for top
and bottom rail splice part identification and install
these splices.
6. Test the vent operation. Vent should open and close
without resistance or interference.
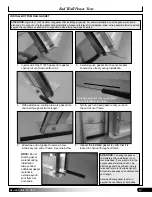
7. Next, adjust the position of the installed frame so
each end is approximately 1" in from each end of the
vent sash. Frame should slide easily in the vent sash.
8. Once the frame is in position,
install a 111602PLG hinge
stopper at each end to lock
the top rail in place.
FA4474B
Tek Screw
111602PLG
Vent Sash
ATTENTION:
Use a square to check corners during
assembly. Frame must be square for panels to fit.
Top Rail
111611Z14400S4
Bottom Rail
111610Z144S4
End Wall Power Vent


