background image

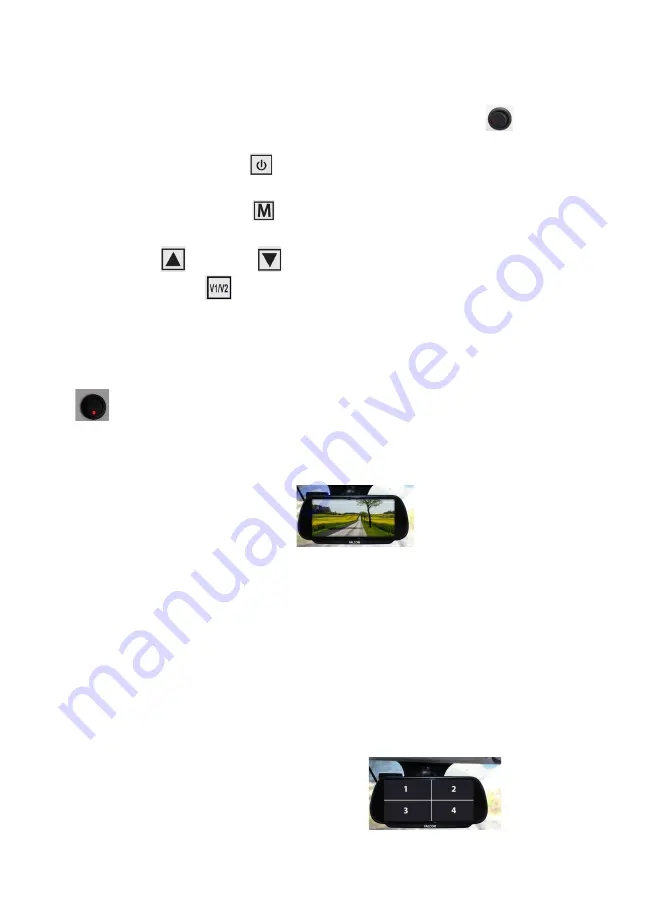
PAIRING CAMERAS


First, make sure the camera’s power switch is turned on


Press the power button

 to turn on the monitor.

Press the MENU button 

 on the monitor.

Use the Up 

 or Down 

 button to navigate to the Pair button 

then press V1/V2 

 To select this feature, and start the pairing 

process now.

The green light on the monitor flashes in PAIRING MODE

Pairing will begin and you will see the 50 second countdown down

When the 50 second PAIRING time expires, the camera image will 

appear on the screen.  


PAIRING AN ADDITIONAL CAMERA

If you are adding an additional camera to the system, follow the 

above procedure, when the monitor is in pairing mode, turn on 

all the cameras, the monitor will then PAIR with both cameras. The 

cameras are then visible in either V1, V2, V3 or V4.

Pressing the V1/V2 button 5 times will take you to split screen, then 

you can see all cameras in split screen at the same time.

Summary of Contents for FN-WCCS-W

Page 1: ...7 inch Digital Mirror Monitor Wireless Camera Wireless Camera User Guide Benutzerhandbuch...

Page 2: ...important that you retain your receipt as proof of purchase for assistance and support For further information about our product range please Visit www falcontechnology co uk For product support pleas...

Page 3: ...ms 25 Load dump DC 12 87V 400ms Operating temperature 20oC 60oC Storage temperature 30oC 80oC Dimensions L x W x D 249 5 x 108 x 39mm CAMERA Camera 1080P HD Digital Wireless Camera Image Sensor 1 2 9...

Page 4: ...s Caps x 4 Allen Key Adhesive User Guide 1 Mirror monitor with 2 meter power cable to USB port 2 12 volt to USB adapter 3 Camera digital wireless transmission camera and 5m power cable 4 Camera antenn...

Page 5: ...nna onto the back of the camera Now the camera is set up and ready for installation INSTALLING THE CAMERA Find a location where the camera base can rest flat on the back of your vehicle and clean the...

Page 6: ...OR DRILLING THE CABLE ENTRY HOLE Tape off the sheet metal area around the hole location to protect the paint Drill a 3mm pilot hole and then a 12mm hole in its place Remove any chips and clean the hol...

Page 7: ...ched to your roof remove the trunking lid and run your cable through the trunking then seal the lid of the trunking back on leaving a nice water tight and tidy finish to the roof of your van We also r...

Page 8: ...connects to the power supply and slide it onto the centre pin marked 12 volts PROTECTING YOUR CAMERA To protect your camera from over voltage use the in line fuse holder between the positive of the b...

Page 9: ...to USB adapter TURNING ON THE SYSTEM Turn on the camera by pressing the power button so the red LED light on the switch lights up Power up the mirror monitor and the camera and monitor will pair Now...

Page 10: ...a with 5 meter power cable 2 Falcon mirror monitor on off switch 3 V1 V2 button to switch channel is also used as selection button in menu 4 Scroll down the menu 5 Menu button 6 Scroll up in the menu...

Page 11: ...airing will begin and you will see the 50 second countdown down When the 50 second PAIRING time expires the camera image will appear on the screen PAIRING AN ADDITIONAL CAMERA If you are adding an add...

Page 12: ...ctive If you want to convert the mirror image into a real image or turn the image upside down you can do it as follows Press the power button to turn on the monitor Press the MENU button on the monito...

Page 13: ...button on the monitor Use the Up or Down button to navigate to the Image Setup button then press V1 V2 To select this feature Use the up or Down button to select Brightness Contrast or Colour and then...

Page 14: ...conds delay Press the power button to turn on the monitor Press the MENU button on the monitor Use the Up or Down button to navigate to the Auto Scan Setting button then press V1 V2 To select this fea...

Page 15: ...following options 1 AUTO SCAN will automatically switch between cameras at the programmed switching time 2 Camera 1 3 Camera 2 4 Camera 3 5 Camera 4 6 Camera 1 2 3 4 Split Screen OTHER FEATURES PARKIN...

Page 16: ...he ambient light changes Press the power button to turn on the monitor Press the MENU button on the monitor Use the Up or Down button to navigate to the settings button then press V1 V2 To select this...

Page 17: ...it the position of you van this can be changed by going to the menu section and switching between a true and mirrored image Moisture in the camera body If for any reason moisture should enter the came...

Page 18: ...bile Internet Solution Additional Cameras to add to your System Falcon 19 WebOS Smart Camping TV with Bluetooth 5 0 and built in DVD Player For our full range visit the Falcon Technical website Protec...

Page 19: ...f r Unterst tzung und Hilfe aufzubewahren F r weitere Informationen zu unserer Produktpalette besuchen Sie bitte www falcontechnology eu F r Produktsupport senden Sie bitte eine E Mail an info easyfi...

Page 20: ...tsto DC 12 87V 400ms Betriebstemperatur 20oC 60oC Lagertemperatur 30oC 80oC Abmessungen L x B x T 249 5 x 108 x 39mm KAMERA Kamera 1080P HD Digitale Drahtlose Kamera Bildsensor 1 2 9 Farb DSP Aufl sun...

Page 21: ...n 4 St ck Inbusschl ssel Klebstoff Benutzerhandbuch 1 Spiegelmonitor mit 2 Meter Stromkabel zum USB Anschluss 2 12 Volt zu USB Adapter 3 Kamera digitale kabellose bertragungskamera und 5 m Stromkabel...

Page 22: ...auf der R ckseite der Kamera fest Jetzt ist die Kamera eingerichtet und f r die Installation bereit KAMERA INSTALLIEREN Suchen Sie einen Ort an dem die Kamerabasis flach auf der R ckseite Ihres Fahrz...

Page 23: ...g anschlie en Wenn Sie ein Solarpanel haben k nnen Sie eine Verbindung vom Solarregler herstellen wenn Sie keine Verbindung zur Verbraucherbatterie planen VORBEREITUNG F R DAS BOHREN DES KABELDURCHF H...

Page 24: ...r von Ihrer Kamera entfernt liegt Tragen Sie Klebstoff auf die Basis des Kabelkanals auf und platzieren Sie ihn auf dem direktesten Weg von der Kamera zur Kabeldurchf hrung ben Sie sanften Druck auf d...

Page 25: ...d pressen Sie eine weibliche Flachsteckh lse darauf dann schieben Sie sie auf den Messingstift in der folgenden Abbildung den linken Stift mit der Markierung 20A F gen Sie eine weibliche Flachsteckh l...

Page 26: ...el setzen und die Clips unten am Spiegel gegen die Unterseite des Spiegels l sen Schlie en Sie den Stromstecker des Monitors an einen USB Anschluss an oder verwenden Sie den 12 Volt USB Adapter SYSTEM...

Page 27: ...Meter Stromkabel 2 Falcon Spiegelmonitor Ein Aus Schalter 3 V1 V2 Taste zum Umschalten des Kanals dient auch als Auswahltaste im Men 4 Nach unten im Men scrollen 5 Men taste 6 Nach oben im Men scrolle...

Page 28: ...wird beginnen und Sie sehen den 50 Sekunden Countdown Wenn die 50 Sekunden PAARUNGSZEIT abgelaufen sind wird das Kamerabild auf dem Bildschirm erscheinen EINE ZUS TZLICHE KAMERA PAAREN Wenn Sie dem Sy...

Page 29: ...umwandeln oder das Bild umkehren m chten k nnen Sie dies wie folgt tun Dr cken Sie die Ein Ausschalttaste um den Monitor einzuschalten Dr cken Sie die MEN Taste auf dem Monitor Verwenden Sie die Auf o...

Page 30: ...b Taste um zur Schaltfl che Bildeinrichtung zu navigieren und dr cken Sie dann V1 V2 um diese Funktion auszuw hlen Verwenden Sie die Auf oder Ab Taste um Helligkeit Kontrast oder Farbe auszuw hlen und...

Page 31: ...alttaste um den Monitor einzuschalten Dr cken Sie die MEN Taste auf dem Monitor Verwenden Sie die Auf oder Ab Taste um zur Schaltfl che Auto Scan Einstellung zu navigieren und dr cken Sie dann V1 V2 u...

Page 32: ...lgenden Optionen 1 AUTO SCAN Schaltet automatisch zwischen den Kameras gem der programmierten Umschaltzeit um 2 Kamera 1 3 Kamera 2 4 Kamera 3 5 Kamera 4 6 Geteilter Bildschirm f r Kamera 1 2 3 4 ANDE...

Page 33: ...ndert Dr cken Sie die Ein Ausschalttaste um den Monitor einzuschalten Dr cken Sie die MEN Taste auf dem Monitor Verwenden Sie die Auf oder Ab Taste um zur Einstellungsschaltfl che zu navigieren und dr...

Page 34: ...ird Feuchtigkeit im Kamerageh use Wenn aus irgendeinem Grund Feuchtigkeit in das Kamerageh use gelangen sollte befindet sich auf der R ckseite der Kamera ein Feuchtigkeitsablaufstopfen Nur bei trocken...

Page 35: ...tl sung Zus tzliche Kameras um Ihr System zu erweitern Falcon 19 WebOS Smart Camping TV mit Bluetooth 5 0 und integriertem DVD Player F r unsere gesamte Produktpalette besuchen Sie bitte die Website v...

Page 36: ...falcontechnology co uk falcontechnology eu...

Reviews: