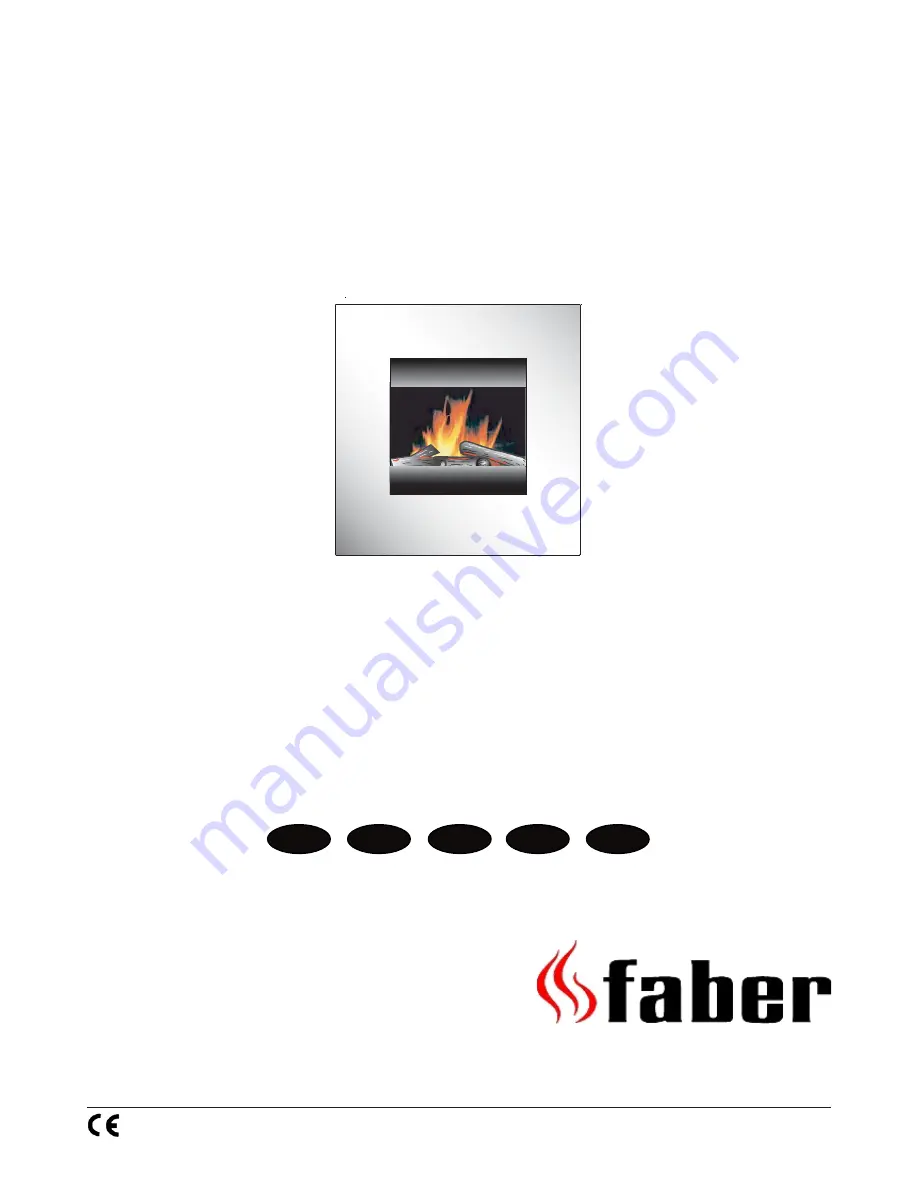
background image

08/50155/0 - Issue 0


The product complies with the European Safety Standards EN60335-2-30 and the European Standard Electromagnetic Compatibility (EMC)
EN55014, EN60555-2 and EN60555-3 which cover the essential requirements of EEC Directives 73/23 and 89/336

UK

DE

FR

RU

NL

Presada PRS20

Summary of Contents for Presada PRS20

Page 1: ...with the European Safety Standards EN60335 2 30 and the European Standard Electromagnetic Compatibility EMC EN55014 EN60555 2 and EN60555 3 which cover the essential requirements of EEC Directives 73 23 and 89 336 UK DE FR RU NL Presada PRS20 ...

Page 2: ...1 2 3 4 5 540 600 240 120 120 X X a d c b 738 720 145 300 Min 600 Recommended 585 ...

Page 3: ...6 7 8 9 11 10 12 a c b a b x 4 2 ...

Page 4: ... Operation General features of remote control are Heat output can be increased or decreased according to your particular requirements The illumination of fuel effect can be increased or decreased Please note Used in an environment where background noise is very low it may be possible to hear a sound which is related to the operation of the flame effect This is normal and should not be a cause for ...

Page 5: ...ogs as they are fragile Remove the 2 screws securing the hinged cover see Fig 10 Tilt the hinged cover see b in Fig 11 Remove the defective lamp by unscrewing it as shown in Fig 12 Replace with a 60W E14 SES Clear Candle bulb Take care not to over tighten the lamp Steps for reassembling the heater Refit the fuel effect ensuring that the bracket to the rear on the fuel effect slots in between the f...

Page 6: ...rtons Heizgerät Wandhalterung Montageschrauben und Dübel Fernbedienung und Batterien 2 Stück Typ AAA Ersatzbirne Heizgerät erst dann an die Netzversorgung anschließen nachdem es korrekt an der Wand installiert wurde siehe Installation Der versteckt an der Geräteunterseite befindliche Heizlüfter bietet die Wahl einer Heizleistung von 1kW oder 2kW Das Heizgerät kann per Fernbedienung oder von Hand b...

Page 7: ...ung Vorsichtig mit der Frontblende umgehen da sie leicht beschädigt werden kann a Die beiden Schrauben lösen mit denen die Frontblende befestigt ist vgl Abb 9 b Das Vorderteil seitlich gut festhalten und nach vorne kippen siehe Abb 9 c Anschließend nach oben und nach vorne herausheben siehe Abb 9 Die Frontblende auf einer geschützten Unterlage wie z B eine Matte flach auflegen Dabei muss die Glass...

Page 8: ...e Doos Kachel Beugel voor wandbevestiging Bevestigingsschroeven en wandpluggen Afstandsbediening en batterijen 2 x type AAA Reservepeertje Sluit de kachel niet op de elektriciteit aan tot deze correct aan de wand is geïnstalleerd zie Installatie U hebt de keuze tussen een warmteafgifte van 1kW of 2kW door de ventilatorkachel die onder het apparaat verborgen zit De kachel kan op afstand of met de h...

Page 9: ... met beide handen vasthoudt zie afb 9 c Til het frontpaneel hierna omhoog en eruit zie afb 9 Plaats het frontpaneel plat op een beschermend oppervlak zoals een mat met de ruit naar boven georiënteerd Verwijder de 4 schroeven waarmee het houteffect is bevestigd zie afb 10 Til het houteffect omhoog en eruit en pas op dat u de houtblokken niet beschadigt Deze zijn breekbaar Verwijder de 2 schroeven w...

Page 10: ...emple Contenu de l emballage Radiateur Support de fixation mural Vis de fixation et chevilles murales Télécommande et piles de type 2 AAA Ampoule de rechange Ne pas brancher le radiateur avant de l avoir correctement fixé à un mur Consulter le paragraphe Installation Le radiateur soufflant dissimulé sous l unité permet de sélectionner une puissance calorifique de 1 kW ou 2 kW Le radiateur peut êtr...

Page 11: ...rer les deux vis de fixation du panneau avant voir la Fig 9 b Tout en tenant des deux mains le panneau avant par ses côtés l incliner délicatement vers l avant voir la Fig 9 c Ensuite le soulever pour le dégager voir la Fig 9 Placer le panneau avant à plat sur une surface protectrice comme un tapis en veillant à ne pas tourner la vitre vers le sol Retirer les 4 vis de fixation de l effet bûches vo...

Page 12: ...сплуатации Общие положения Аккуратно распакуйте обогреватель и сохраните упаковку для возможного использования в будущем на случай транспортировки или возврата камина изготовителю Содержание картонной упаковки Обогреватель Кронштейн для крепления на стене Шурупы и дюбели Пульт дистанционного управления и батарейки Тип 2 ААА Запасная лампочка До установки на стене не подключайте обогреватель к исто...

Page 13: ...но поскольку ее очень легко повредить a Снимите два винта которыми крепится на место передняя панель См Рис 9 b Удерживая переднюю панель за боковины обеими руками аккуратно наклоните ее вперед см Рис 9 c Затем поднимите и вытащите ее см Рис 9 Поместите переднюю панель на ровную защитную поверхность например защитный ковер стеклом вверх Выкрутите винты 4 крепящие панель эффекта поленьев см Рис 10 ...

Page 14: ... ...

Page 15: ...detaljer kan fås hos den forhandler hvor du har købt apparatet Der kan kun støttes ret på garantien ved forelæggelse af købskvittering og kun inden for garantiperioden Garantien bortfalder hvis apparatet er blevet beskadiget anvendt forkert eller i tilfælde af uautoriseret indgreb i apparatet SE Garanti För denna apparat gäller de för inköpslandet utgivna garantibestämmelserna På förfrågan kan det...

Page 16: ...ts 6 Bojajums defekts 7 Kontakttalrunis un adrese SI 1 Garancijski list 2 Obdobje veljavnosti garancije v letih 3 Model i 4 Datum nakupa 5 Žig in podpis prodajalca 6 Pomanjkljivost okvara 7 Kontaktna številka in naslov PT 1 Cartão de Garantia 2 Período de Garantia em anos 3 Modelo s 4 Data de Compra 5 Carimbo e Assinatura do retalhista 6 Falha Defeito 7 Número de Contacto e Morada NL 1 Garantiebew...

Reviews: