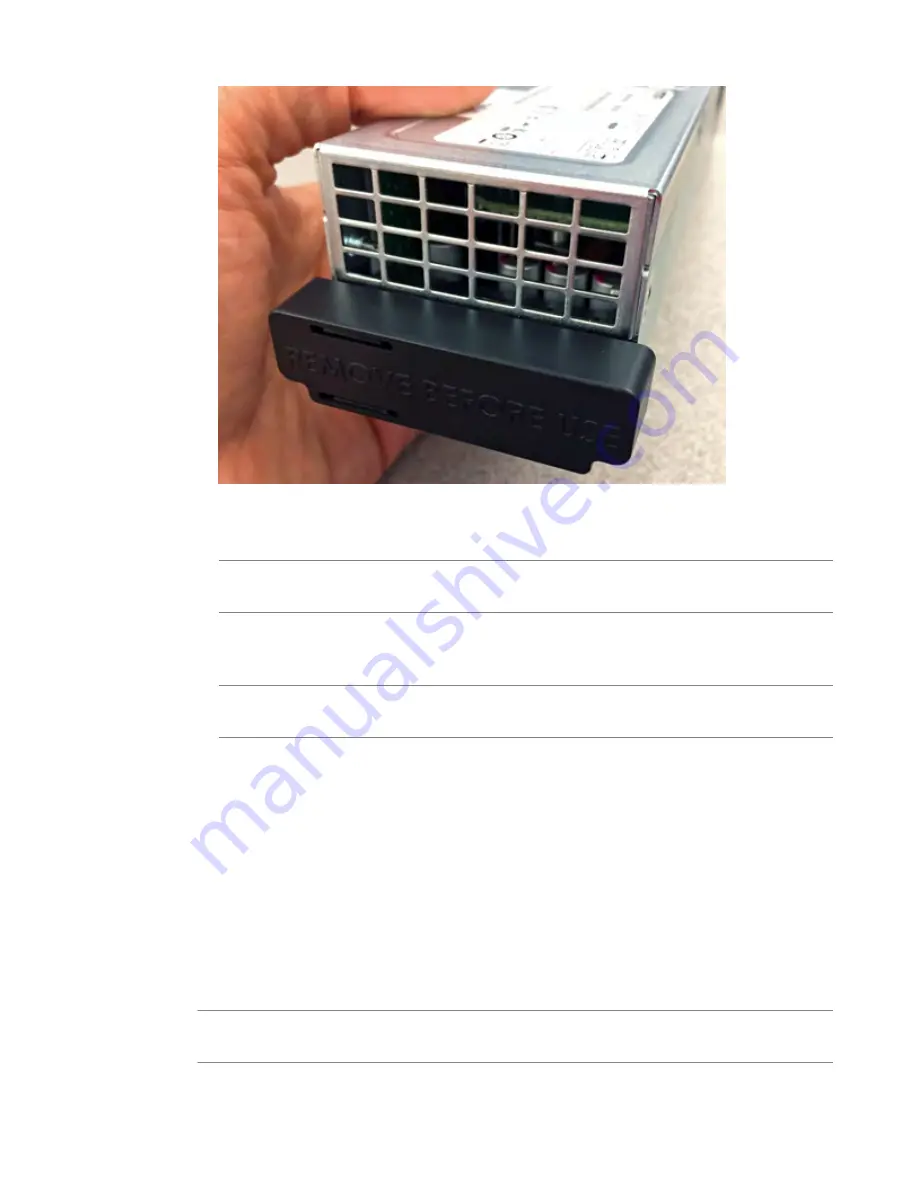
5.
Inspect the new PSU, especially the connector area, for any damage that might have occurred during
shipment.
6.
Slide the new PSU into the empty slot, and push it in until the ejector latch engages and clicks.
Note: While installing the supply, use care to ensure that the supply's connector does not come into
contact with the rear of the chassis.
7.
Ensure that the PSU is fully seated in the chassis by making sure it does not come out when gently
pulled.
8.
Connect an auto locking AC power cord to the power input panel on the new PSU.
Note: Be sure to route the power cords away from the fan tray so that the cords do not impede access
to it.
9.
Connect the power cord to the power source.
If the system does not boot after you apply power to the PSU, use the touchscreen LCD to power on
the system.
10.
(Optional) Use the LCD touchscreen to clear any alert messages that might have resulted from
performing the PSU replacement.
About DC power supplies
This platform can support up to two DC power supplies. You can hot swap power supplies without
powering down the system if there are two installed and one remains installed and operational during the
replacement process.
The platform supports power redundancy, which ensures that the system is unaffected if a single power
supply fails in a system containing more than one power supply.
Important: Your platform must be running BIG-IP
®
software versions 12.1.1HF2, 12.1.2, or later to
support DC power.
Platform Maintenance
38
Summary of Contents for i10000 Series
Page 1: ...Platform Guide i5000 i7000 i10000 i11000 Series MAN 0633 05 ...
Page 2: ......
Page 51: ...Figure 17 Airflow in iSeries platforms Platform Guide i5000 i7000 i10000 i11000 Series 51 ...
Page 52: ...Environmental Guidelines 52 ...
Page 61: ...Platform Guide i5000 i7000 i10000 i11000 Series 61 ...
Page 62: ...Platform Specifications 62 ...
Page 64: ...Repackaging Guidelines 64 ...


