


3
Step 3
Mounting (Optional)
The camera can be mounted on the wall or ceiling. Here we take wall mounting as an example.
Make sure the wall/ceiling is strong enough to withstand three times the weight of the camera
and the mounting.
1
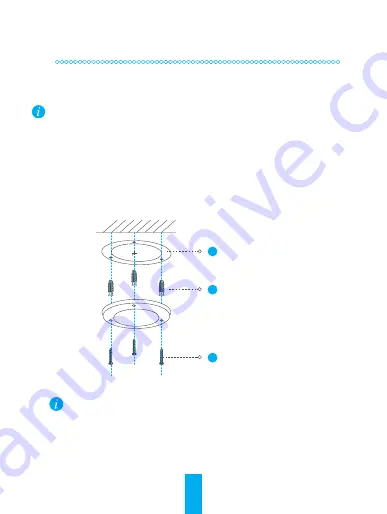
Install the mounting template
-
Place drill template onto the surface you have chosen to mount the camera.
-
(For the cement wall/ceiling only)
Drill screw holes according to the template, and insert
three expansion screws.
-
Use three metal screws to fix the camera base according to the template.
1
2
3
Mounting Template
Expansion Screws
Metal Screws
Please tear up the drill template after the mounting plate is installed if needed.
Summary of Contents for CS-CV220
Page 1: ...www ezvizlife com...
Page 2: ......


