3-11
TPX 88 Matrix Switchers • Operation
3
.
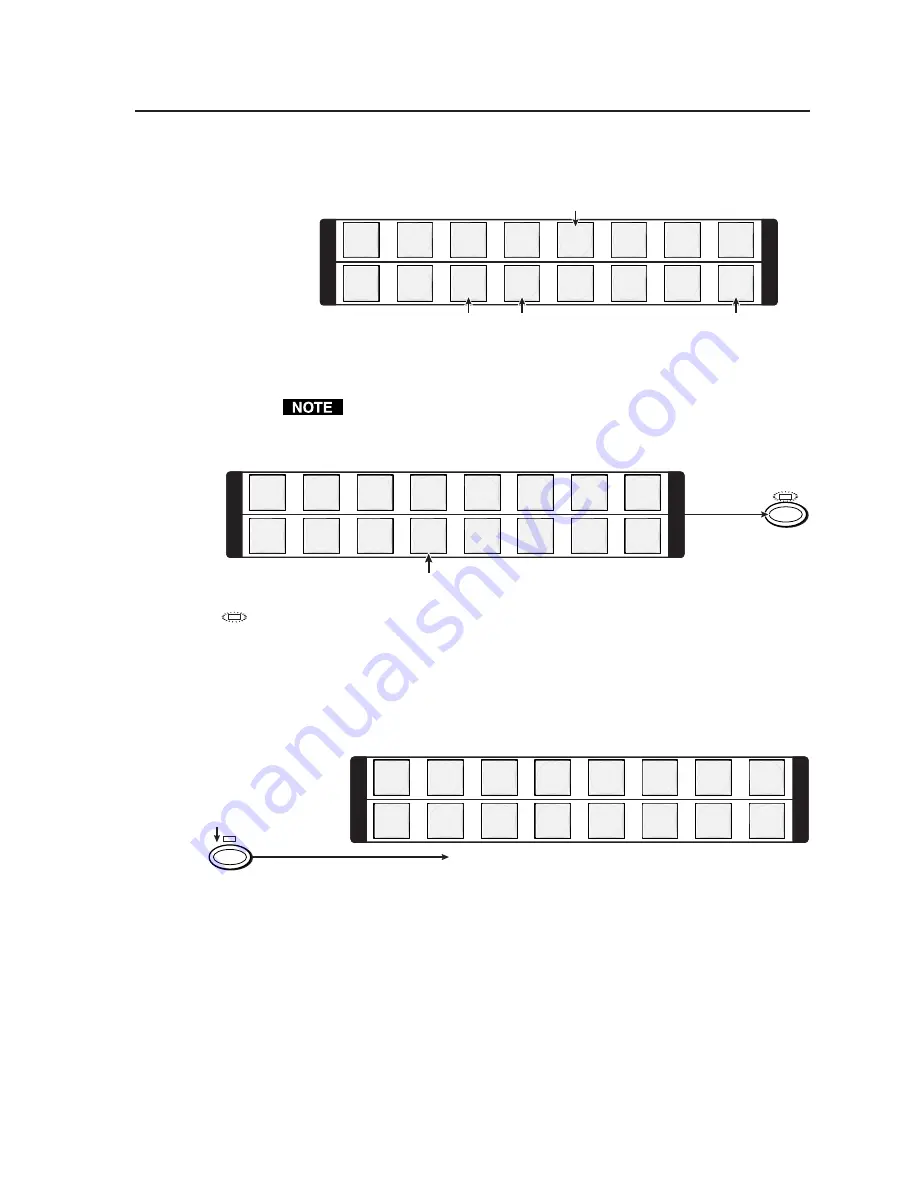
Press and release the input 5 button (figure 3-14).
1
2
3
4
5
6
7
8
1
2
3
4
5
6
7
8
I
N
P
U
T
O
U
T
P
U
T
I
N
P
U
T
O
U
T
P
U
T
Press and release the input 5 button.
The button lights red to indicate that only the audio inputs are selected (audio breakaway).
The output 3, output 4, and output 8 buttons light red to indicate the audio ties created in example 1.
The output 1 button remains unlit because the output 1 tie is video only and audio is selected.
Figure 3-14 — Select an input
The output 1 button does not light, even if the steps in example 2 have been
completed, because example 2 added a video tie only.
4
.
Press and release the output 4 button (figure 3-15).
1
2
3
4
5
6
7
8
1
2
3
4
5
6
7
8
I
N
P
U
T
O
U
T
P
U
T
I
N
P
U
T
O
U
T
P
U
T
ENTER
Press and release the output 4 button.
The button returns to unlit to indicate that the audio input will be untied.
The Enter LED blinks to
indicated the need to
push the Enter button to
create the potential tie.
= Blinking LED
Figure 3-15 — Deselect the output
5
.
Press and release the Enter button (figure 3-16).
The current configuration is now video input 5 tied to video output 1, output 3,
output 4, and output 8; and audio input 5 tied to audio output 3 and output 8.
ENTER
1
2
3
4
5
6
7
8
1
2
3
4
5
6
7
8
I
N
P
U
T
O
U
T
P
U
T
I
N
P
U
T
O
U
T
P
U
T
All input and output buttons return to unlit or background illumination.
Press the Enter button to
confirm the configuration
change.
The Enter LED goes out.
Figure 3-16 — Press the Enter button
Summary of Contents for TPX 88
Page 8: ...iv TPX 88 Matrix Switchers Table of Contents Table of Contents cont d ...
Page 56: ...Operation cont d TPX 88 Matrix Switchers Operation 3 30 ...
Page 58: ...Operation cont d TPX 88 Matrix Switchers Operation 3 32 ...
Page 81: ...A 7 TPX 88 Matrix Switchers Reference Information Figure A 1 Button label blanks ...
Page 82: ...Reference Information cont d TPX 88 Matrix Switchers Reference Information A 8 ...


