


5
3
3
3
3
3
3
3
3
3
3
3
3
3
3
3
3
3
3
2
2
2
2
2
2
2
2
2
2
2
2
2
2
2
2
2
2
1
1
1
1
1
1
1
1
1
1
1
1
1
1
1
1
1
1
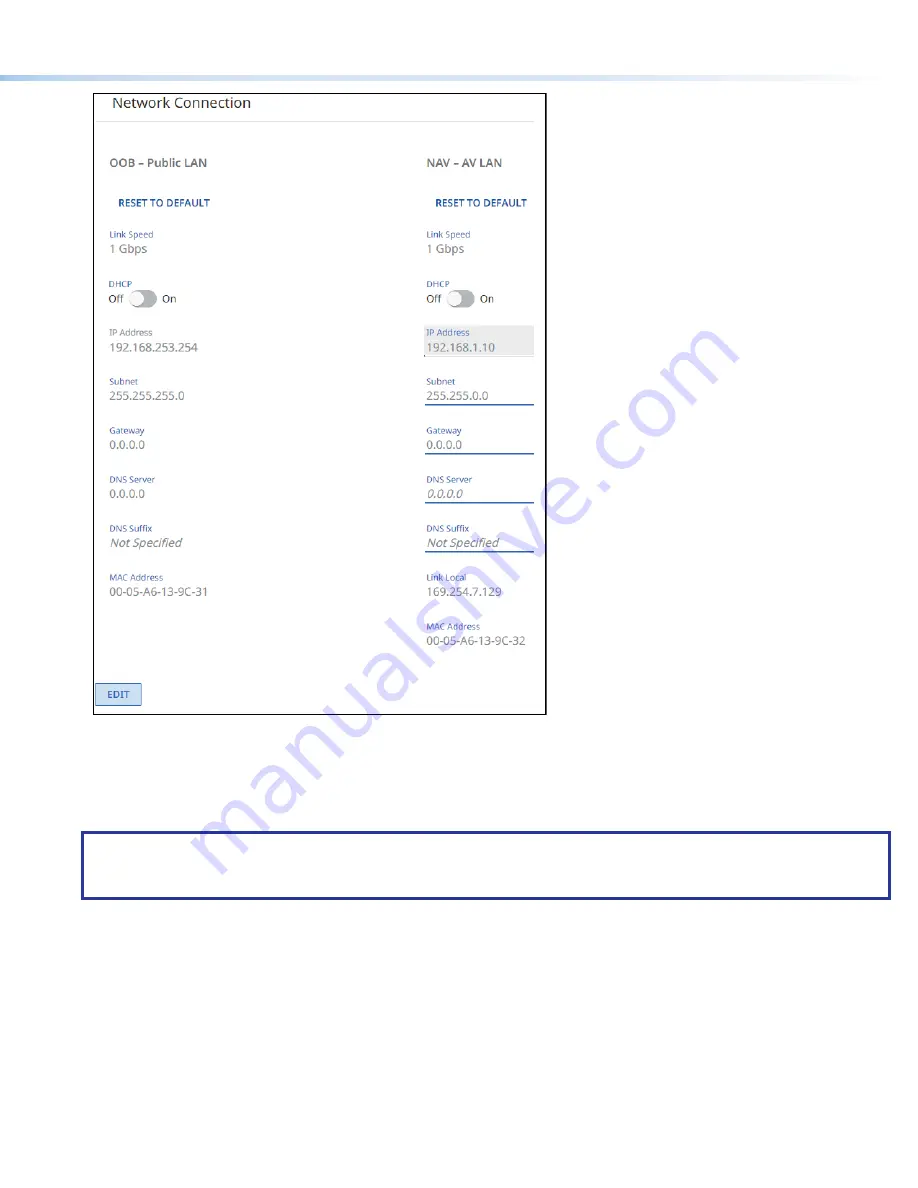
Figure 7.
Network Connection Pane
3.
To change the settings
, click
Edit
(see
figure 7,
1
). The
Edit
button changes to
Save
.
4.
If desired
, click on the DHCP switch (
2
) to toggle Dynamic Host Configuration Protocol on and off.
5.
If desired
, click in the desired editable field (
3
) and edit it as desired.
NOTES:
•
Fields that are available for editing are underlined.
•
DHCP must be off to edit these fields.
6.
Repeat step 4 as necessary for other values.
7.
Click
Save
(
1
).


