Page 12
3
3
.
.
2
2
.
.
2
2
S
S
e
e
t
t
t
t
i
i
n
n
g
g
D
D
i
i
p
p
S
S
w
w
i
i
t
t
c
c
h
h
e
e
s
s
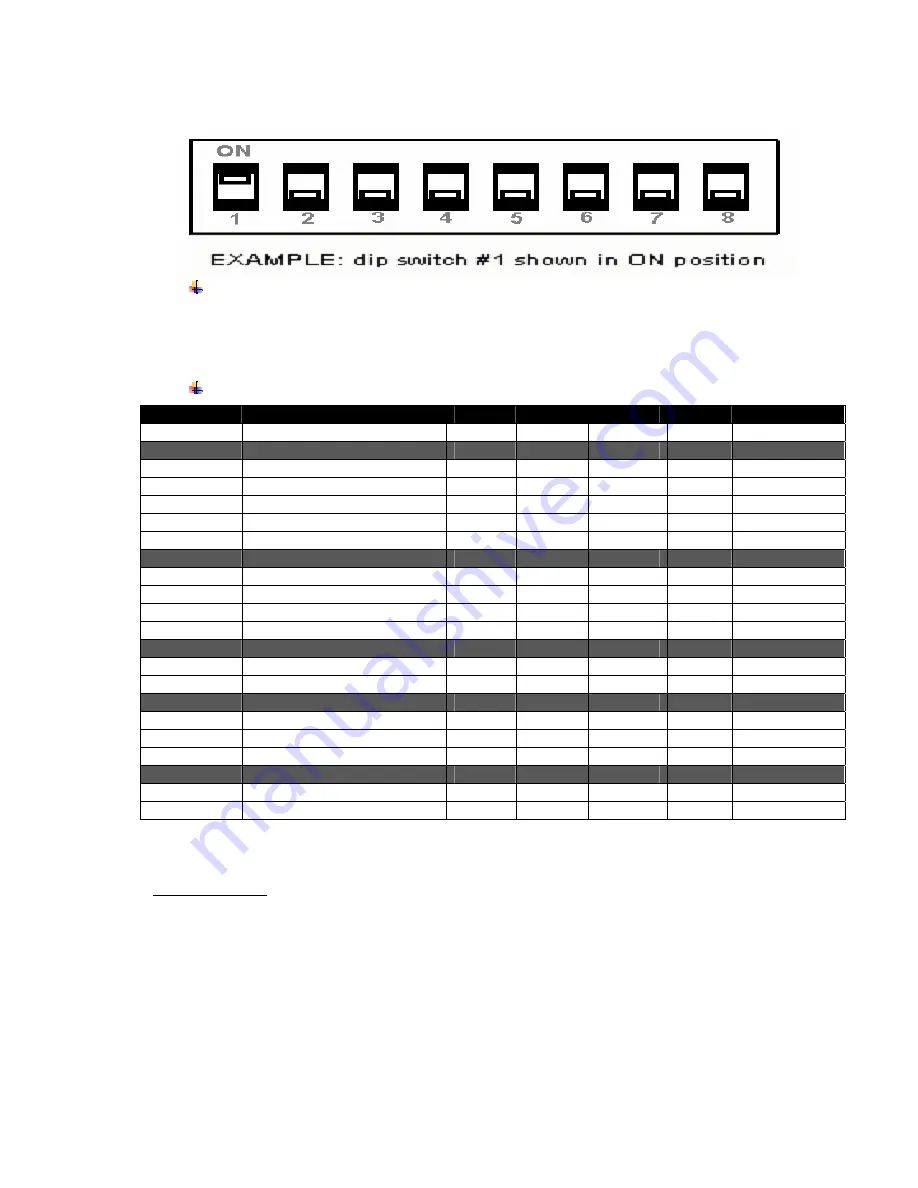
Note: Be careful when changing dip switch settings. Carefully use a
pointer on the dip switch you are going to change. DO NOT use a screw
driver or apply excessive force.
3
3
.
.
2
2
.
.
3
3
D
D
i
i
p
p
S
S
w
w
i
i
t
t
c
c
h
h
F
F
u
u
n
n
c
c
t
t
i
i
o
o
n
n
s
s
Note:(Developer’s refer to Programming Manual for more information)
Table 2 – DIP Switch Setting
Please note: In order for changes to the dip switch configuration to take
effect, the printer power must be reset.
Dip Switch
Function
Switch Switch
Switch
Switch
Notes
1,2,3,6
Communication Interface
SW1
SW2
SW3
SW6
RS 232
Off
Off
Off
Also set 4&5
IrDA
On
On
Off
Also set 4&5
802.11b
Off
On
On
38,400
baud
BT
Off
On
On
38,400
baud
IR Direct Mode
On
On
Off
On
9600 Baud
4 & 5
COM 1 & 2 - Baud Rate
SW4
SW5
RS232 rate
38,400
Off
Off
BT & 802
19,200
Off
On
9,600
On
Off
2,400
On
On
4 & 5
COM 2 – IrDA Baud Rate
SW4
SW5
IrDA BAUD rate
9600
Off
Off
Fixed
9600 – 38.4 BAUD
On
Off
Variable
6 & 7
COM 1 & 2 -
Parity Bits
SW6
SW7
No Parity
Off
Off
Odd Parity
On
Off
Even
Parity
On
On
8
Auto Power Save
SW8
Power save disabled
OFF
Manual On/Off
Power save enabled
ON
Auto Power down


