background image

Model


407780

EN


v2.3


1/14


5

Operation 

This meter can be used in two different manners. As an Integrating Sound Level Meter or as a 
Sound Pressure Meter (SPL). 

Integrating Sound Level Meter 

LEQ Mode 

In the

 LEQ

 mode the display indicates the integrated (average) level for the run period. If no run time 

has been accumulated the display shows dashes. 

Taking Measurements 

 
1. 

Turn the meter on by pressing the 

green on/off

 button. 

2. 

Select the LEQ mode by pressing the 

Leq SEL SPL

 button until LEQ appears on the LCD. 

3. 

Select the desired Frequency Weighting as needed (A or C). 
Change the Frequency Weighting by pressing the '

A/C

' button. The 

'

A' or 

'

C' icon will display on 

the right-hand area of the LCD. 

4. 

Select the desired Response Time as needed (Fast or Slow) 
Change the Response Time by pressing the '

FAST/SLOW/IMPULSE

' button. The 'FAST'  

'SLOW' icon will display on the upper area of the LCD. 

5. 

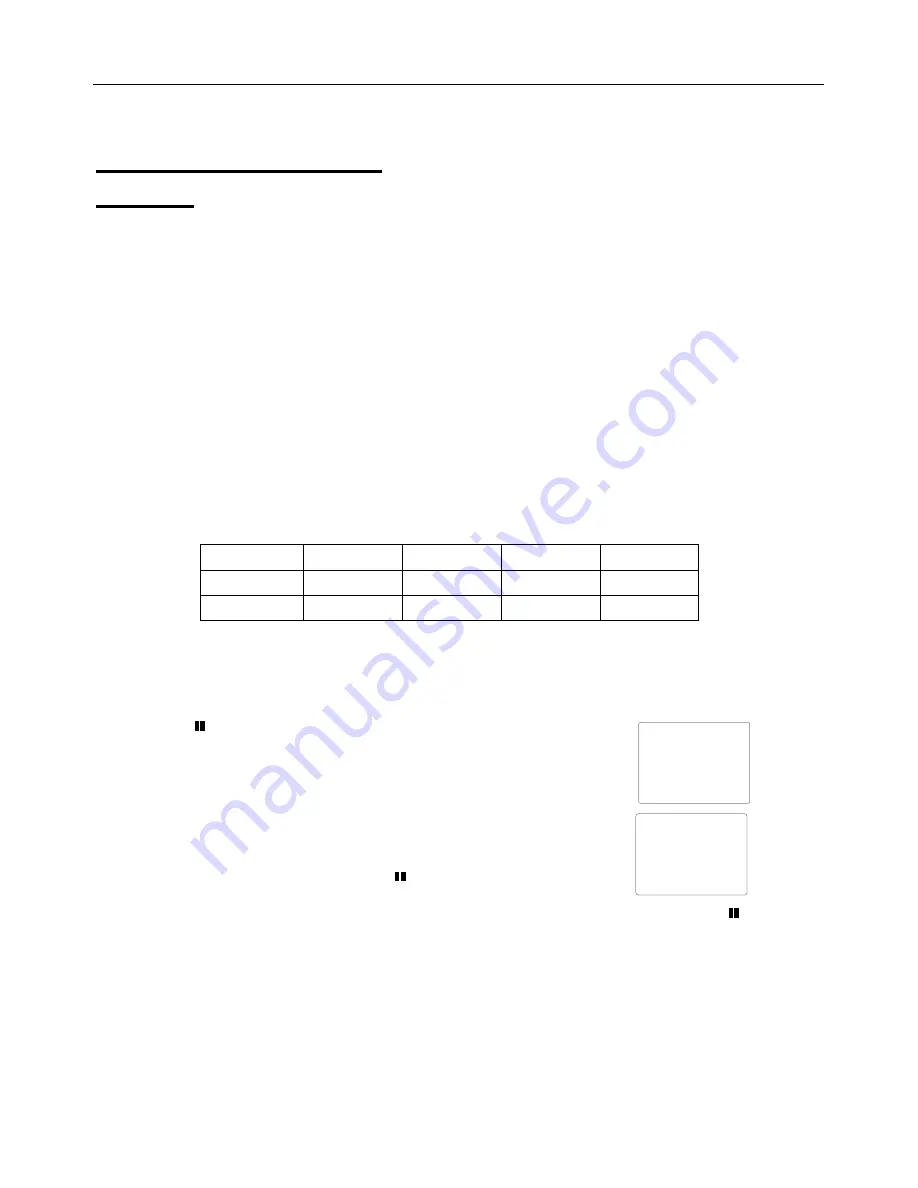
Select the desired Run Time. There are 13 preset time settings available (To perform a manual 
recording select the 24 hour interval.)  


Change the run time by pressing the 

INTEG TIME

 button. The run time will appear in the middle 

of the LCD. Press the 

or

 button to select the preset time setting. 

6. 

Hold the instrument comfortably in hand and away from your body or position it on a tripod. Point 
the microphone toward the noise source 

7. Press 

  button to begin measuring. The run time counter will zero 

and begin counting. While running the meter will display 

 at the top 

of the display.  


The meter will stop automatically after the preset time interval has 
expired and will display 

 and the LEQ for the recording interval. 

 
To take another LEQ simply press 

 again. 

 
It is also possible to record each session. Simply press 

RECORD 

before


pressing 

. The 

RECORD icon will appear on the bottom right of the display and flash while the session is in 
progress. For instructions on retrieving the recorded data please refer to the software manual on 
the CD included with your meter.


1 second 

3 seconds 

10 seconds 30 

seconds 1 

minute 

5 minutes 

8 minutes 

10 minutes 30 

minutes 15 

minutes 

30 minutes 

1 hour 

8 hours 

24 hours 


Leq

00:00:30

68.7

dB

Leq

00:00:00

68.7

dB

Summary of Contents for 407780

Page 1: ...User s Guide Integrating Sound Level Datalogger Model 407780...

Page 2: ...MAX L and MIN L measurements Response time FAST SLOW and IMPULSE and frequency weighting A and C are programmable The analog output AC and DC can be used with headphones chart recorders or other devic...

Page 3: ...bol flashes once per second while recording Erase data Press hold the RECORD ERASE key for 3 seconds to erase data the entire LCD will flash three times 11 Real time clock with calendar 12 Measuring t...

Page 4: ...of sound pressure level 10 Data recording 11 Measuring value 12 Memory full 13 Unit 14 Frequency weighting A C 15 IMPULSE time weighting 16 When the TIME display icon switches on the real time clock...

Page 5: ...orm a manual recording select the 24 hour interval Change the run time by pressing the INTEG TIME button The run time will appear in the middle of the LCD Press the or button to select the preset time...

Page 6: ...e To perform a manual recording select the 24 hour interval Change the run time by pressing the INTEG TIME button The run time will appear in the middle of the LCD Press the or button to select the pr...

Page 7: ...to capture noises that occur very quickly In FAST mode the meter responds in 125ms Select the SLOW Mode meter responds in 1s to monitor a sound source that has a reasonably consistent noise level or t...

Page 8: ...the arrow keys to set the correct month 4 Repeat step 3 to set the day hour minute and second 5 To confirm the new date and time press the DATE TIME button Note that the 407780 has a back up battery N...

Page 9: ...th a dry cloth Do not use abrasives or solvents Analog output The 407780 has two analog output jacks located on its right side one for AC and one for DC For DC the meter transmits 10mv dB For AC the f...

Page 10: ...and the measurement time in the supplied software The meter can now record remotely disconnected from the PC at the rate selected 4 Press the RECORD ERASE key to put the meter in Record Standby The RE...

Page 11: ...ay 4dB per step over 100dB range with 50 segments Bargraph update rate 16 times per second Display warnings OVER and UNDER range status indicators Analog outputs DC 10mV per dB AC 2Vrms full scale Pow...

Page 12: ...al or consequential damages FLIR s total liability is limited to repair or replacement of the product The warranty set forth above is inclusive and no other warranty whether written or oral is express...

Reviews: