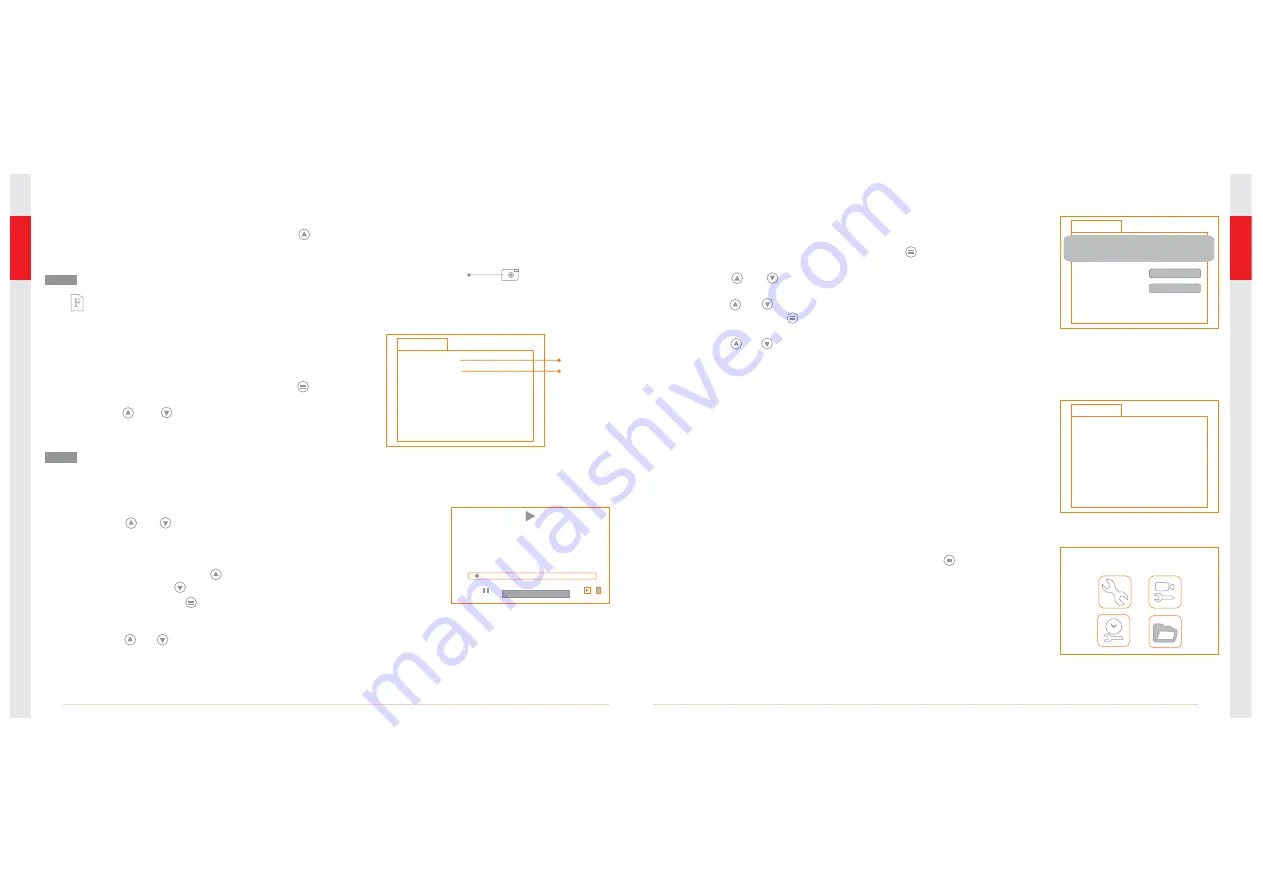
Playback Video/Picture
1. In real-time monitoring mode, press the button
to toggle to the video/picture folder.
2. Press the and buttons to select your desired
folder, and then the press ‘OK’ to toggle to the right
interface:
A double quotation marks ( ” ) next to a file
name indicates that the file is a picture. No double quotation marks next to a file indicates
that the file is a video.
Notice!
05:53:00 CH4
05:53:03 CH4
05:56:40 VID
05:59:03 CH4
"
06:05:17 VID
"
05:53:00 CH4
"
2009-01-10
0002/0005
Indicates
video file
Indicates
picture file
OK
:
2009/01/10 05:53:00
:
3. for playback video:
Press the or button to select your desired video, and
then press ‘OK’ to playback.
Pause: press the ‘OK’ button once to pause, press again to
resume play;
Fast Forward: press the button;
Rewind: press the button;
Stop/Exit: press the button.
for view pictures:
Press the or button to select your desired video, press
‘OK’ button to view and press again to exit.
2009-01-10
0002/0005
05:53:00 CH5
05:53:03 CH5
05:56:40 CH5
05:59:03 CH5
06:05:17 CH5
05:53:00 CH5
DELETE CURRENT FILE?
NO
YES
Deleting Video/Picture
1. In real-time monitoring mode, press the button to toggle to
the video/picture folder.
2. Press the or button to select your desired folder, and
then press ‘OK’ button.
3. Press the or button to select your desired file, and then
press and hold the button for 2 seconds, or until the right
interface appears:
4. Press the or button to toggle between YES and NO, that
is, to delete or cancel. Once you have highlighted your desired
selection, press the ‘OK’ button.
PLAYBACK
0001/0007
2009-01-10
2009-01-12
2009-02-05
2009-02-09
2009-02-11
2009-01-11
FOLDER NOT EMPTY
Deleting Folder
Deleting a folder is done in the same way as deleting a single file,
however, make sure that the folder is empty first, otherwise the
following error message will appear:
Photo
Icon
Taking photos
The icon indicates that the SD card memory is full.
1. In real-time monitoring mode, press the button
to toggle to photo capturing mode.
2. Press the ‘OK’ button to take a photo.
Notice!
10
09
SYSTEM SETTING
How to enter the Setting Mode
In real-time monitoring mode, press and hold the button
for 1~2 seconds, or until the right interface appears:


