10
iEXOS 100 MOUNT ASSEMBLY
Checking The Parts
Remove all the parts from their respective boxes and place them on a flat, clear work area. A large
floor space is ideal. When setting up your iEXOS 100 mount you must start with the tripod and work
from there. To insure proper assembly, each task must be performed in the specific order as defined
by these instructions.
Assembling The Tripod
The tripod comes fully assembled. Stand the tripod up and spread the legs until they are evenly
distributed. To raise or lower the tripod legs, unlock the large knobs at the bottom of each leg and lift
the interior leg to the desired height and re-lock the large knobs until snug. It is recommended that
you set the tripod height to the desired level you plan to use the mount and scope together. It is also
recommended to level the tripod before adding the mount. When the tripod is assembled, lock the tray
in place for added stability and easy accessory storage.
Attaching The Equatorial Mount
After the tripod is set up, you are ready to attach the equatorial mount. This is the platform to which
the telescope attaches and allows you to direct it anywhere in the sky. The mount is also adjustable so
you can orient the axis of rotation to make it parallel with the Earth’s axis of rotation (see the section
on Physical Polar Alignment). To attach the equatorial mount to the tripod:
1. Insert the base of the equatorial mount into the top of the central column.
2. Tighten the knob to hold the equatorial mount in place.
3. Level the tripod with the equatorial mount installed using the bubble levels on the base of the
equatorial head.
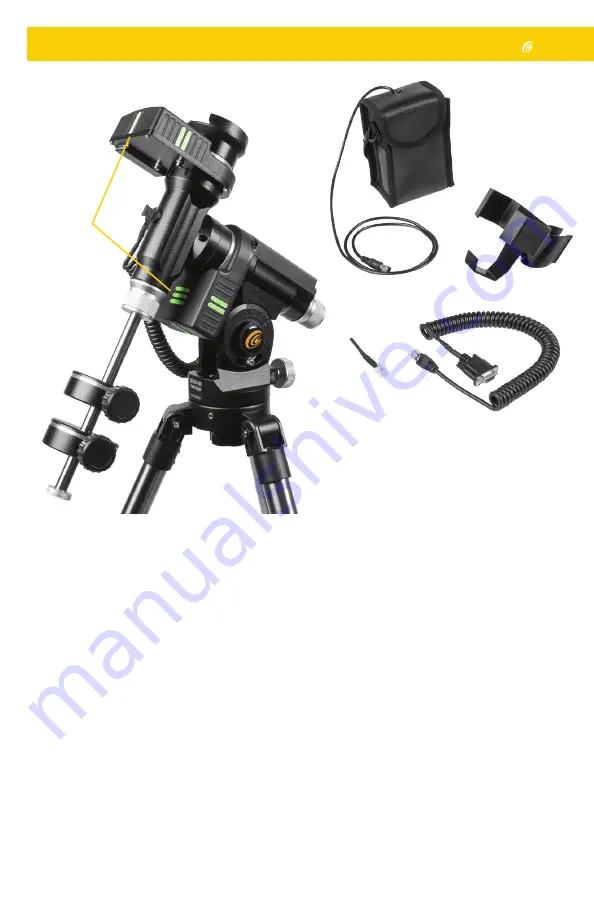
Parts List
1. iEXOS 100 Mount
(With built-in PMC-Eight system)
2. 8 C Battery DC power supply with cable
(batteries not included)
3. Battery pack mounting bracket
4. ST4 (RJ-12) WiFi Channel Switch Dongle
5. DB9 to RJ-25 DEC Cable
6. Two 2.2 pound counterweights
7. Glow in the dark indicators
6
7
1
5
4
3
2


