. ID and Number Key:
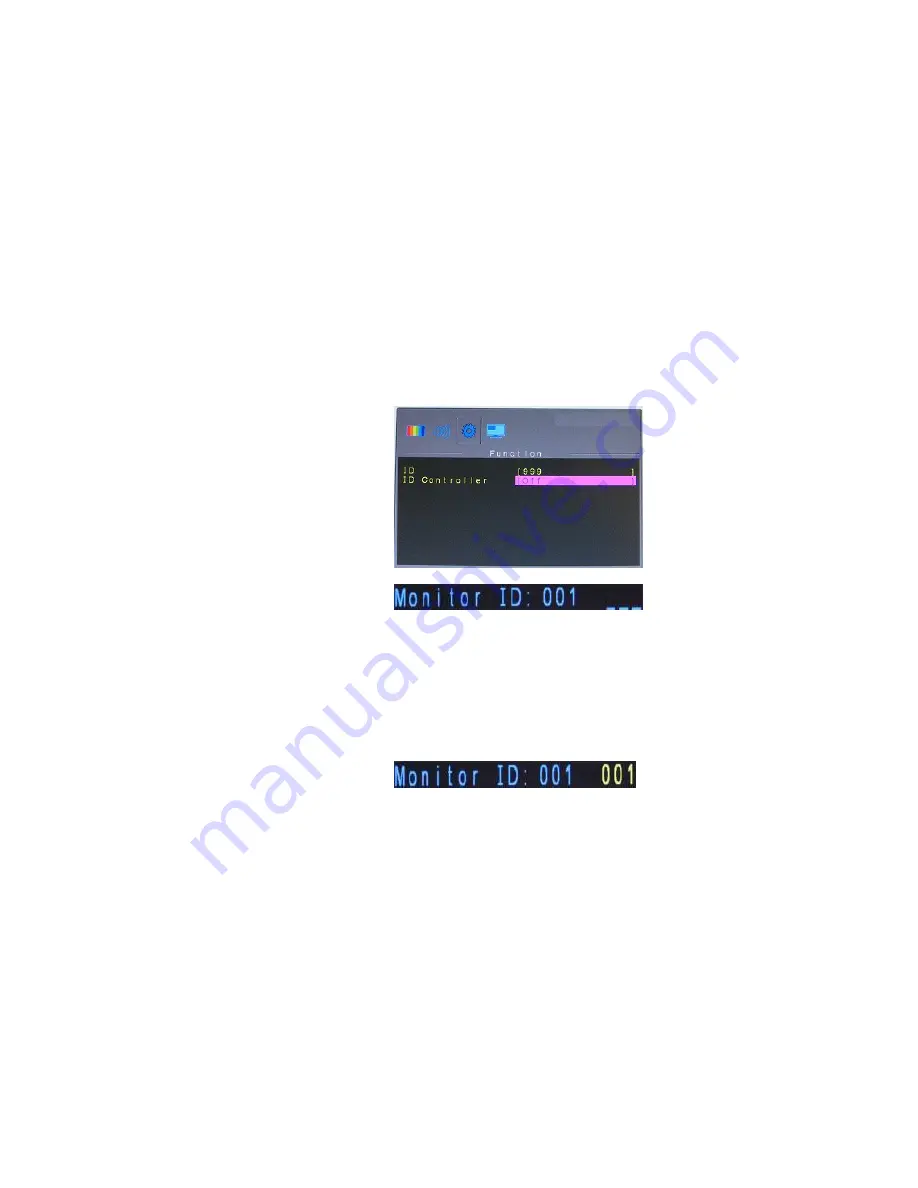
Step 1: Setup the Monitor ID No.
Press “MENU“ to enter the OSD menu and press “
/+
“ button to select the “Function“ menu and press ”ENTER” to
access into item option. Press “
▼
DOWN” to choose “ID
Controller “ setup and press “
+
” or “
- ”
again to
switch to “ON”
To access into “ID” item and press “ENTER” to setup the “ID”
No. Press 3 digit (001~999) as the monitor ID No. and press
“EXIT” to confirm the input. When you press the “ID” button,
the screen will show “ Monitor ID : 001 (when you input ” 001 )
.
Step 2: Control the monitor with ID No.
Press “ID“ button, the screen will show the“ Monitor ID “: 001
input 3 same digit on “ ID “ and press “ENTER“ to confirm the
input. Then you can control the monitor.
For example:
When you setup the Monitor “ID” No“ is “001“, press the
“ID“ button and input 001 and press “ENTER“ to confirm the
input. You can control the monitor with Monitor ID No.001 only.
You are not able to control other monitors unless you setup all
monitors ID No. is “001“ or the“ ID Controller „ setup function is
on “Off“ status.
Notice !!!
Please don’t setup the 3 digit No. as “000“ , If you setup the
Monitor ID No. as “000“ , the ID function will be on “Off“ status.
11


