background image

For your safety 

Part of the complete documentation 


099-002025-EW501 

29.11.2017


2.3 

Part of the complete documentation 


These operating instructions are part of the complete documentation and valid only in 
combination with all other parts of these instructions! Read and observe the operating 
instructions for all system components, especially the safety instructions! 


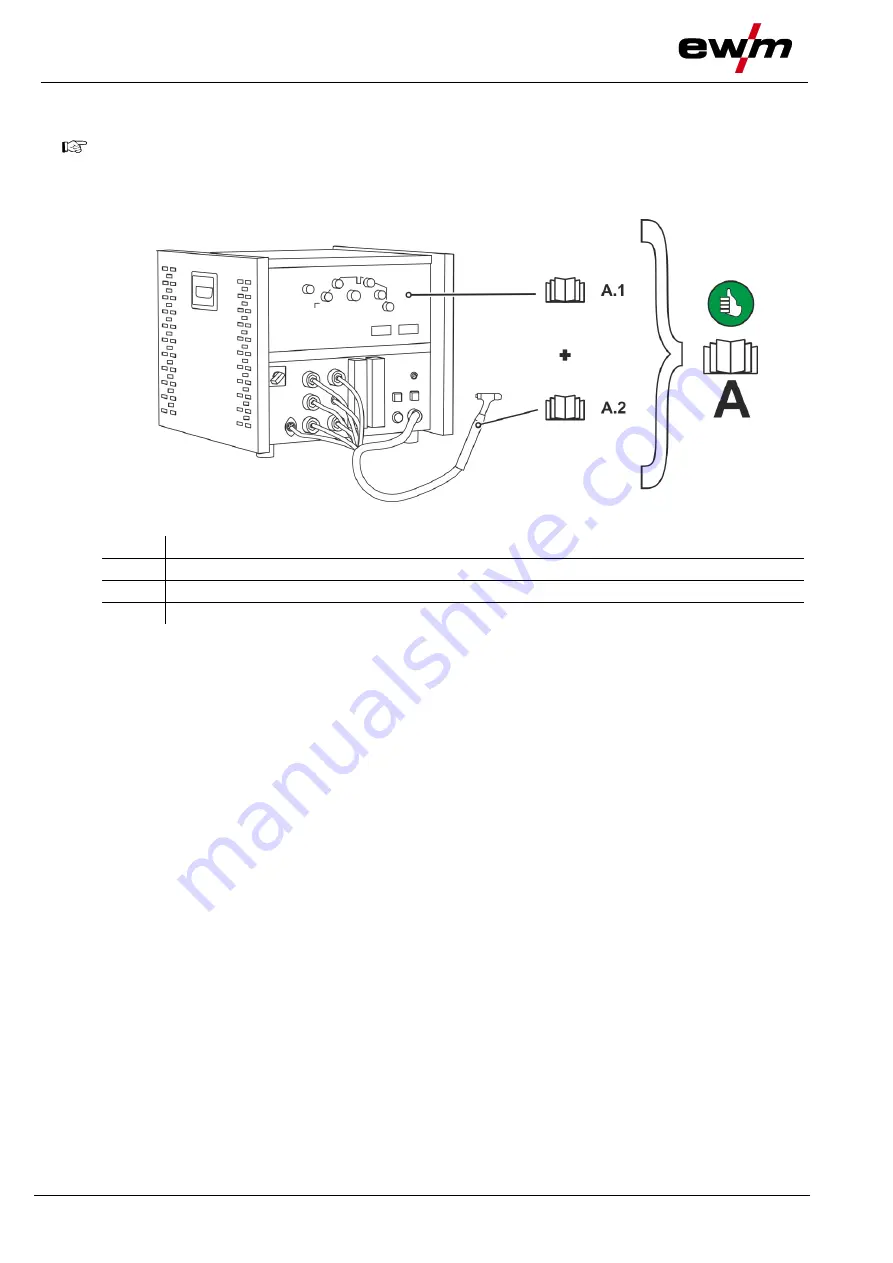
The illustration shows a general example of a welding system. 


Figure 2-1 


Item 

Documentation 

A.1 

Power source 

A.2 

Welding torch 

Complete documentation 


Summary of Contents for PHB 50 20 A

Page 1: ...s EN welding torch PHB 50 20 A PHB 50 50 A 099 002025 EW501 Observe additional system documents 29 11 2017 Register now and benefit Jetzt Registrieren und Profitieren www ewm group com For details vis...

Page 2: ...ervice department on 49 2680 181 0 A list of authorised sales partners can be found at www ewm group com Liability relating to the operation of this equipment is restricted solely to the function of t...

Page 3: ...2 3 Setting the electrode 12 5 2 4 Selecting the nozzle 12 5 2 5 Double arc 13 5 2 6 Grinding the electrode 13 5 3 Welding parameters 14 5 3 1 Main welding parameters 14 5 3 2 Plasma gas 14 5 3 3 Shie...

Page 4: ...erved to prevent serious and even fatal injuries Safety notes include the WARNING keyword in the heading with a general warning symbol The hazard is also highlighted using a symbol in the page margin...

Page 5: ...off machine Release Switch on machine Press and keep pressed Switch Wrong Turn Correct Numerical value adjustable Menu entry Signal light lights up in green Navigating the menu Signal light flashes gr...

Page 6: ...of the complete documentation and valid only in combination with all other parts of these instructions Read and observe the operating instructions for all system components especially the safety instr...

Page 7: ...ce and testing at www ewm group com 3 2 2 Declaration of Conformity The labelled machine complies with the following EC directives in terms of its design and construction Low Voltage Directive LVD Ele...

Page 8: ...description quick overview PHB 50 8 099 002025 EW501 29 11 2017 4 Machine description quick overview 4 1 PHB 50 Figure 4 1 Item Symbol Description 0 1 Tungsten electrode 2 Gas nozzle 3 Back cap 4 Gri...

Page 9: ...Description 0 1 M12x1 coolant water nipple Water flow 2 M12x1 coolant water nipple Water return 3 G 1 4 connecting nipple Shielding gas 4 G 1 4 connecting nipple Plasma gas 5 Connector plug welding cu...

Page 10: ...andling power sources Connect connection or power cables while the machine is switched off CAUTION Risk from electrical current If welding is carried out alternately using different methods and if a w...

Page 11: ...of coolants Do not mix different coolants When changing the coolant the entire volume of liquid must be changed Dispose of the coolant in accordance with local regulations and the material safety data...

Page 12: ...rode has to be re set Turn the collet casing adjusting ring to optimally set the arc You can transfer the electrode position to the electrode gauge to keep using it for the same task 5 2 4 Selecting t...

Page 13: ...ing should be grinded mechanically This will increase the electrode service life and the welding result will become reproducible The grinding angle for cathode welding is 30 setting angle 15 The anode...

Page 14: ...g results In addition a blocked shielding gas supply may result in the welding torch being destroyed Always re fit the yellow protective cap when not using the shielding gas connection All shielding g...

Page 15: ...2017 15 5 4 Electrode replacement Figure 5 4 Item Symbol Description 0 1 Back cap 2 Collet chuck 3 Collet casing 4 Compensating spring 5 Electrode guide insert 6 Tungsten electrode 7 Setting gauge 8...

Page 16: ...ctrode From the front screw the setting gauge into the plasma nozzle thread as far as it goes so as to place the tungsten electrode into the correct position Screw the back cap into the threaded inter...

Page 17: ...anty is void In all service matters always consult the dealer who supplied the machine Return deliveries of defective equipment subject to warranty may only be made through your dealer When replacing...

Page 18: ...ly tighten if necessary Remove any spatter Clean the wire feed rollers on a regular basis depending on the degree of soiling 6 3 2 Monthly maintenance tasks Visual inspection Casing damage front rear...

Page 19: ...r on wheels indicates that the equipment must be collected separately This machine has to be disposed of or recycled in accordance with the waste separation systems in use According to German law law...

Page 20: ...our authorised dealer 7 1 Checklist for rectifying faults The correct machine equipment for the material and process gas in use is a fundamental requirement for perfect operation Legend Symbol Descrip...

Page 21: ...ted workpiece surface Bad current transfer on ignition Check the setting on the Tungsten electrode diameter Ignition optimisation rotary dial and increase if necessary higher ignition energy Setting t...

Page 22: ...nt tank than the minimum required you may need to vent the coolant circuit In this case the welding machine will automatically shut down the coolant pump and signal an error To vent the cooling system...

Page 23: ...HB 50 50 A Power range maximum value at 60 duty cycle 20 A 50 A Plasma gas Argon Shielding gas Argon argon hydrogen approx 6 7 vol Plasma gas quantity 0 3 0 5 l min Shielding gas quantity 3 0 6 0 l mi...

Page 24: ...NOZZ 1 6mm Plasma nozzle 10 03 094 002035 00000 PNOZZ 1 8mm Plasma nozzle 10 04 094 002036 00000 PNOZZ S 0 6mm Plasma nozzle pointed 10 04 094 002037 00000 PNOZZ S 0 8mm Plasma nozzle pointed 10 04 09...

Page 25: ...Appendix A Overview of EWM branches 099 002025 EW501 29 11 2017 25 10 Appendix A 10 1 Overview of EWM branches...

Reviews: