Design and function
Recurring welding tasks
099-007033-EW501
4.1.2022
43
1 Preparation
• Switch off the welding machine.
• Unscrew the gas nozzle from the welding torch.
• Unfasten the tungsten electrode and extract.
2 Configuration
• Activate the
rotary knob while switching on the welding machine at the same time.
• Release rotary knob.
• You can now use the
rotary knob (rotate and press) to select the parame-
ter
> see 5.9 chapter
.
3 Alignment/measurement
• Applying slight pressure, press the welding torch with the collet against a clean, purged location on the
workpiece and then press the torch trigger for approx. 2 seconds. A short-circuit current will flow
briefly, which is used to determine and display the cable resistance. The value can be between 0 mΩ
and 60 mΩ. The new value is immediately saved without requiring further confirmation. If no value is
shown on the right-hand display, then measurement failed. The measurement must be repeated.
4 Restoring welding standby mode
• Switch off the welding machine.
• Lock the tungsten electrode in the collet again.
• Screw the gas nozzle onto the welding torch.
• Switch on the welding machine.
5.4 Recurring welding tasks
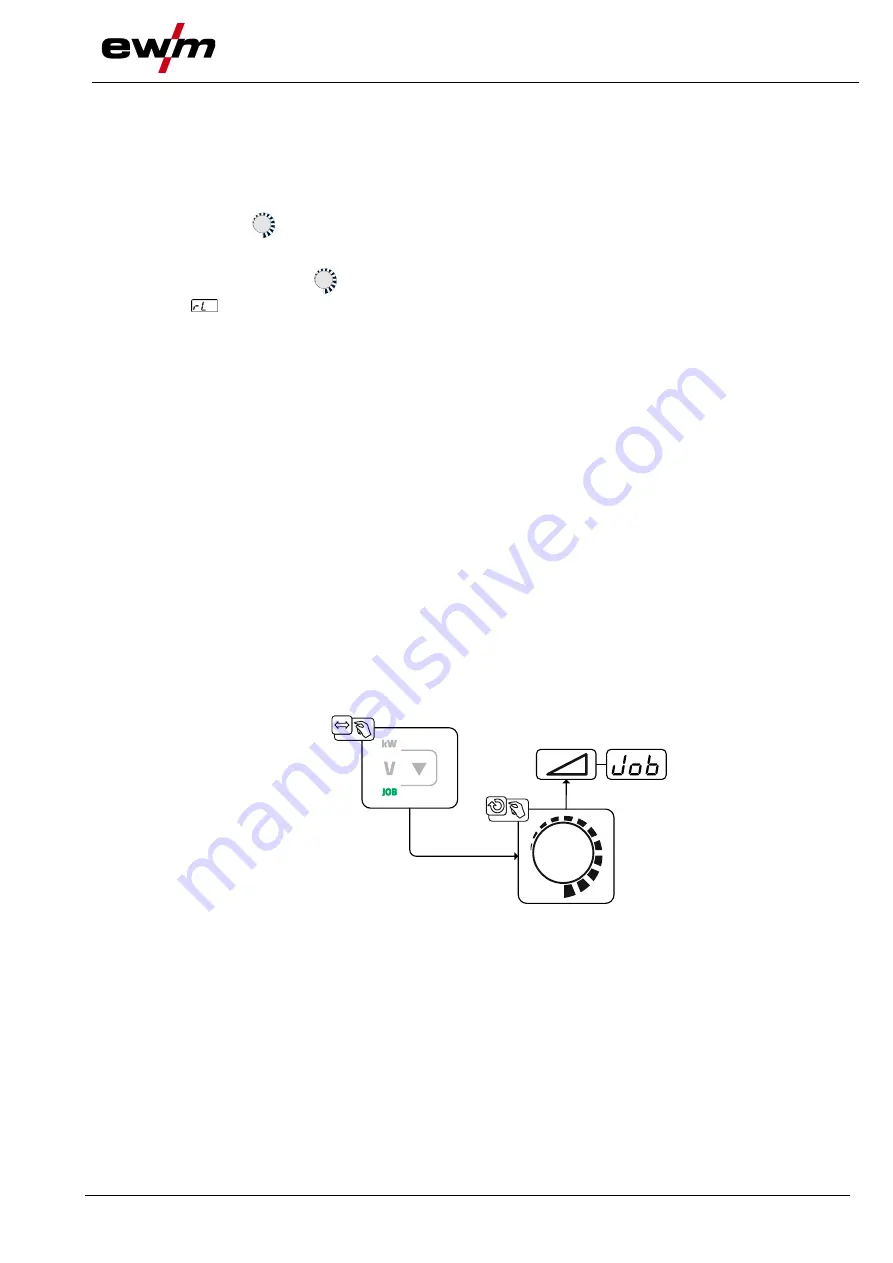
The user has additional memory locations at their disposal to save recurring or different welding tasks on
a permanent basis (101 plasma JOBs / 8 WIG JOBs). To do so, simply select the required memory loca-
tion and set the welding task as described previously.
Switching a JOB is only possible if no welding current flows. Up-slope and down-slope times can be set
individually for latched and non-latched operation.
Selection
Figure 5-22
When one or more of the recurring welding tasks has been selected, the JOB signal light comes on.


