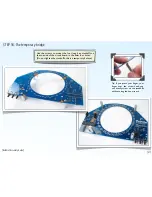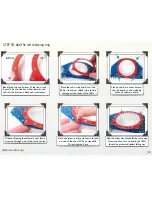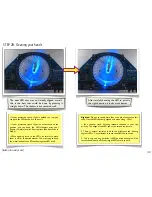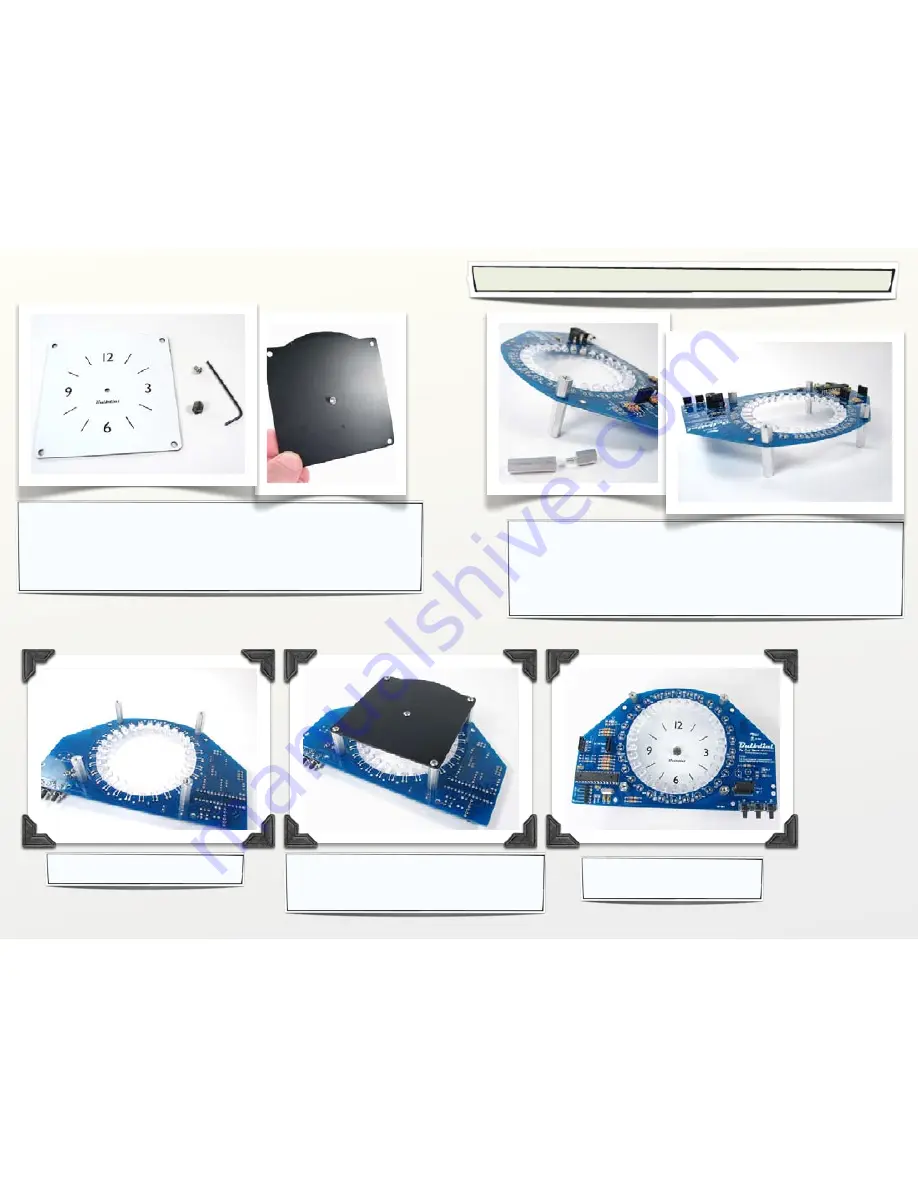
Flip the assembly over...
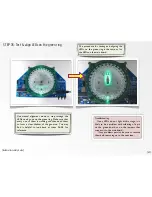
... and add the clock face. Screw it in
place with four of the longer screws.
It does not need to be tightened.
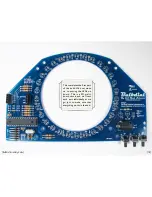
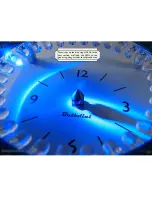
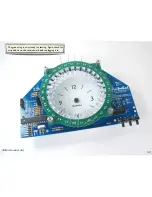
And there we are: starting
to look a lot like a clock.
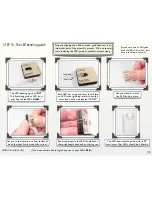
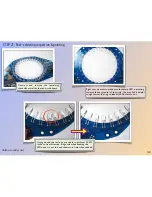
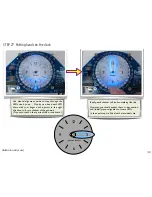
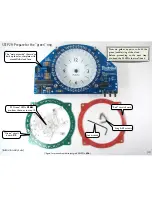
And now, the clock face,
#20
. Put the short screw,
#22
, though
the back of the clock face, and screw it into the gnomon spike,
#21
. Hold the spike with your fingers while you tighten the screw
with the hex wrench. As usual, be careful not to overtighten.
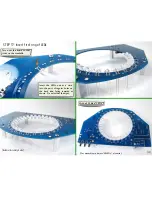
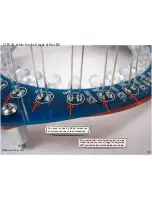
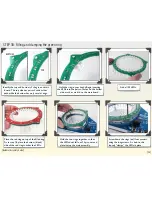
Thread four of the short M/F standoffs into the four long
standoffs, through the board as shown. The short ones go on
the top side. The threaded parts poke through the “inner”
four holes-- the ones that match the holes on the red board.
[Bulbdial Assembly Guide]
STEP 23: Adding the clock face
[28]
#20
#21
#22
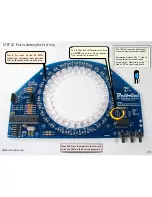
We’ll need the clock face to be in place for the next couple of steps.

