


6
7
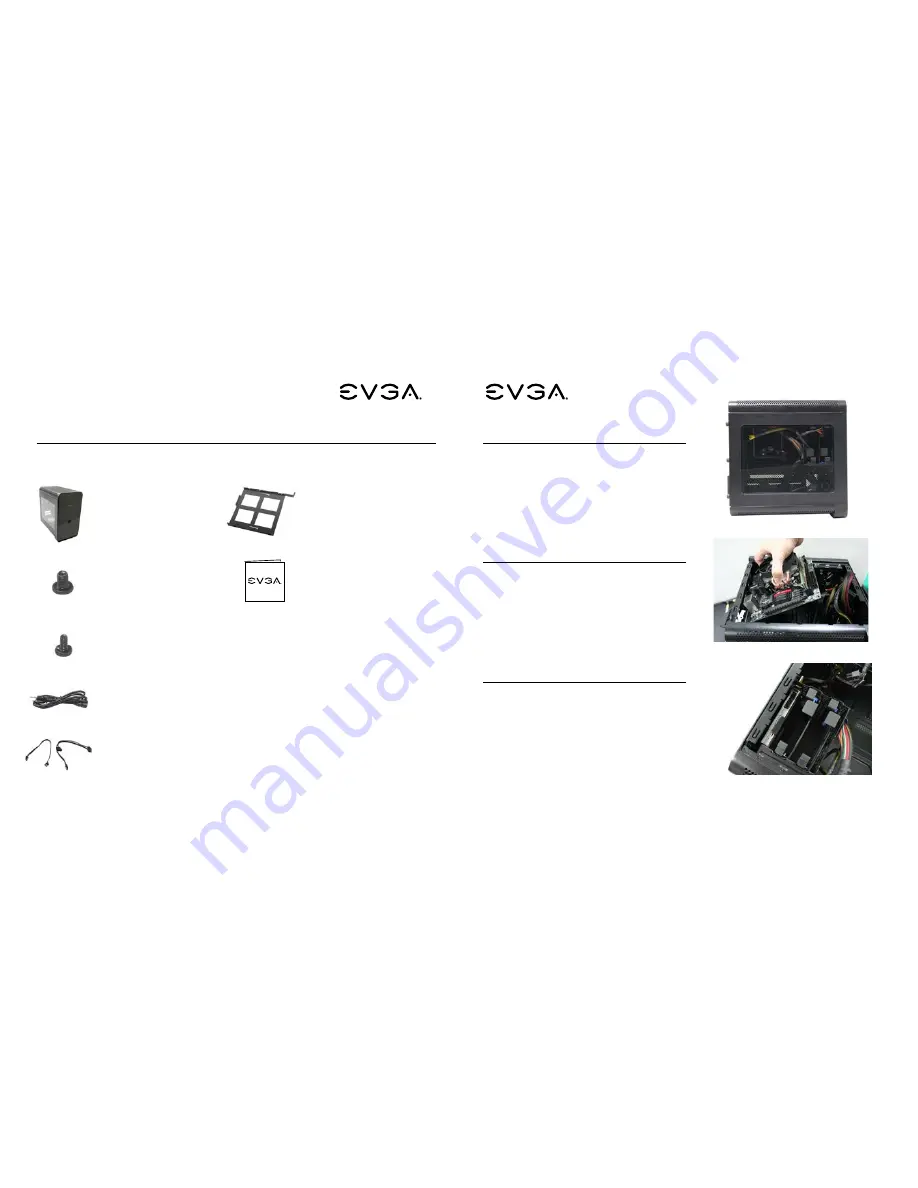
Removing the Side Panel
Installing the Motherboard
Installing the Hard Drive
Equipment
The following accessories are included with the Hadron Chassis:
Parts Descriptions
▪
EVGA Hadron Chassis
The star of the show!
▪
8pcs M3 x 5mm
These screws are used for the
motherboard, and 2.5” hard drives.
▪
4pcs M2 x 2.5mm
These screws are used for the
optical disc drive and are
optional.
▪
Power Cable
Connects to an AC power source.
▪
SATA Cable x 2
Use these to connect your hard
drive
.
▪
Optical Disc Drive Tray
A tray for your slim slot load
optical drive.
▪
Manual
All the important information. You
should know, you are reading it
right now!
▪
Losen the screws with a phillips screwdriver.
▪
Slide the side panel off in a straight motion.
▪
Lay the motherboard at a 45 degree angle
inside the chassis and ensure the screw holes
lineup with the standoffs.
▪
Tighten the screws.
▪
Pull out the removable hard drive tray by
squeezing together the outer clips.
▪
For 2.5in hard drive: Attach 4 screws to the
bottom of the hard drive tray.
▪
For 3.5in hard drive – Stretch each side of the
hard drive tray and insert the drive.
▪
Slide in the hard drive tray.
English
English
Summary of Contents for Hadron Air
Page 1: ...mini ITX Chassis...
Page 27: ...52 53 45 2 5 4 3 5 PCI E LED USB Audio LED LED USB 3 0 USB 3 0 HD HD...
Page 29: ...57 EVGA Hadron 56 58 59 60 60 61 61 61 PCI E 62 LED USB 62 63 63 64 EVGA Hadron Air...
Page 31: ...60 61 Hadron EVGA Hadron 8 M3 x 5mm 2 5 4 M2 x 2 5mm AC SATA x 2 45 2 5 4 3 5...
Page 32: ...62 63 PCI E LED USB LED LED USB 3 0 USB 3 0 HD HD EVGA Panasonic UJ8C5ADPK1 C 3pin...
Page 36: ...70 71 45 2 5 4 3 5 PCI E LED USB LED LED USB 3 0 USB 3 0...
Page 38: ...www evga com E006 00 000042 Los Angeles Miami Munich Taipei...


